Papercrafting Threads

  • Tutorials
    • PDF Tutorials
    • 3D Projects
    • Cardmaking
    • Fun Fold
    • Product Tips & Tricks
    • Projects
    • Techniques
  • Catalogs
  • Shop & Specials
    • Shop My Stampin’ Up! Online Store
    • Special Offers
    • Buy Me A Coffee
    • My Favorite Things on Amazon
    • Gift Certificates
  • Contact Me
  • Join the Fun
    • Join the Fun
    • Special Join Offers
  • Calendar of Events
  • Paper Pumpkin
    • Paper Pumpkin Kits
    • Paper Pumpkin Stamp Case Inserts
  • Nav Social Menu

    • Email
    • Facebook
    • Instagram
    • Pinterest
    • YouTube

Easiest Double Z Fold Card

February 26, 2018 Leave a Comment

26 Feb

Easiest Double Z Fold Card

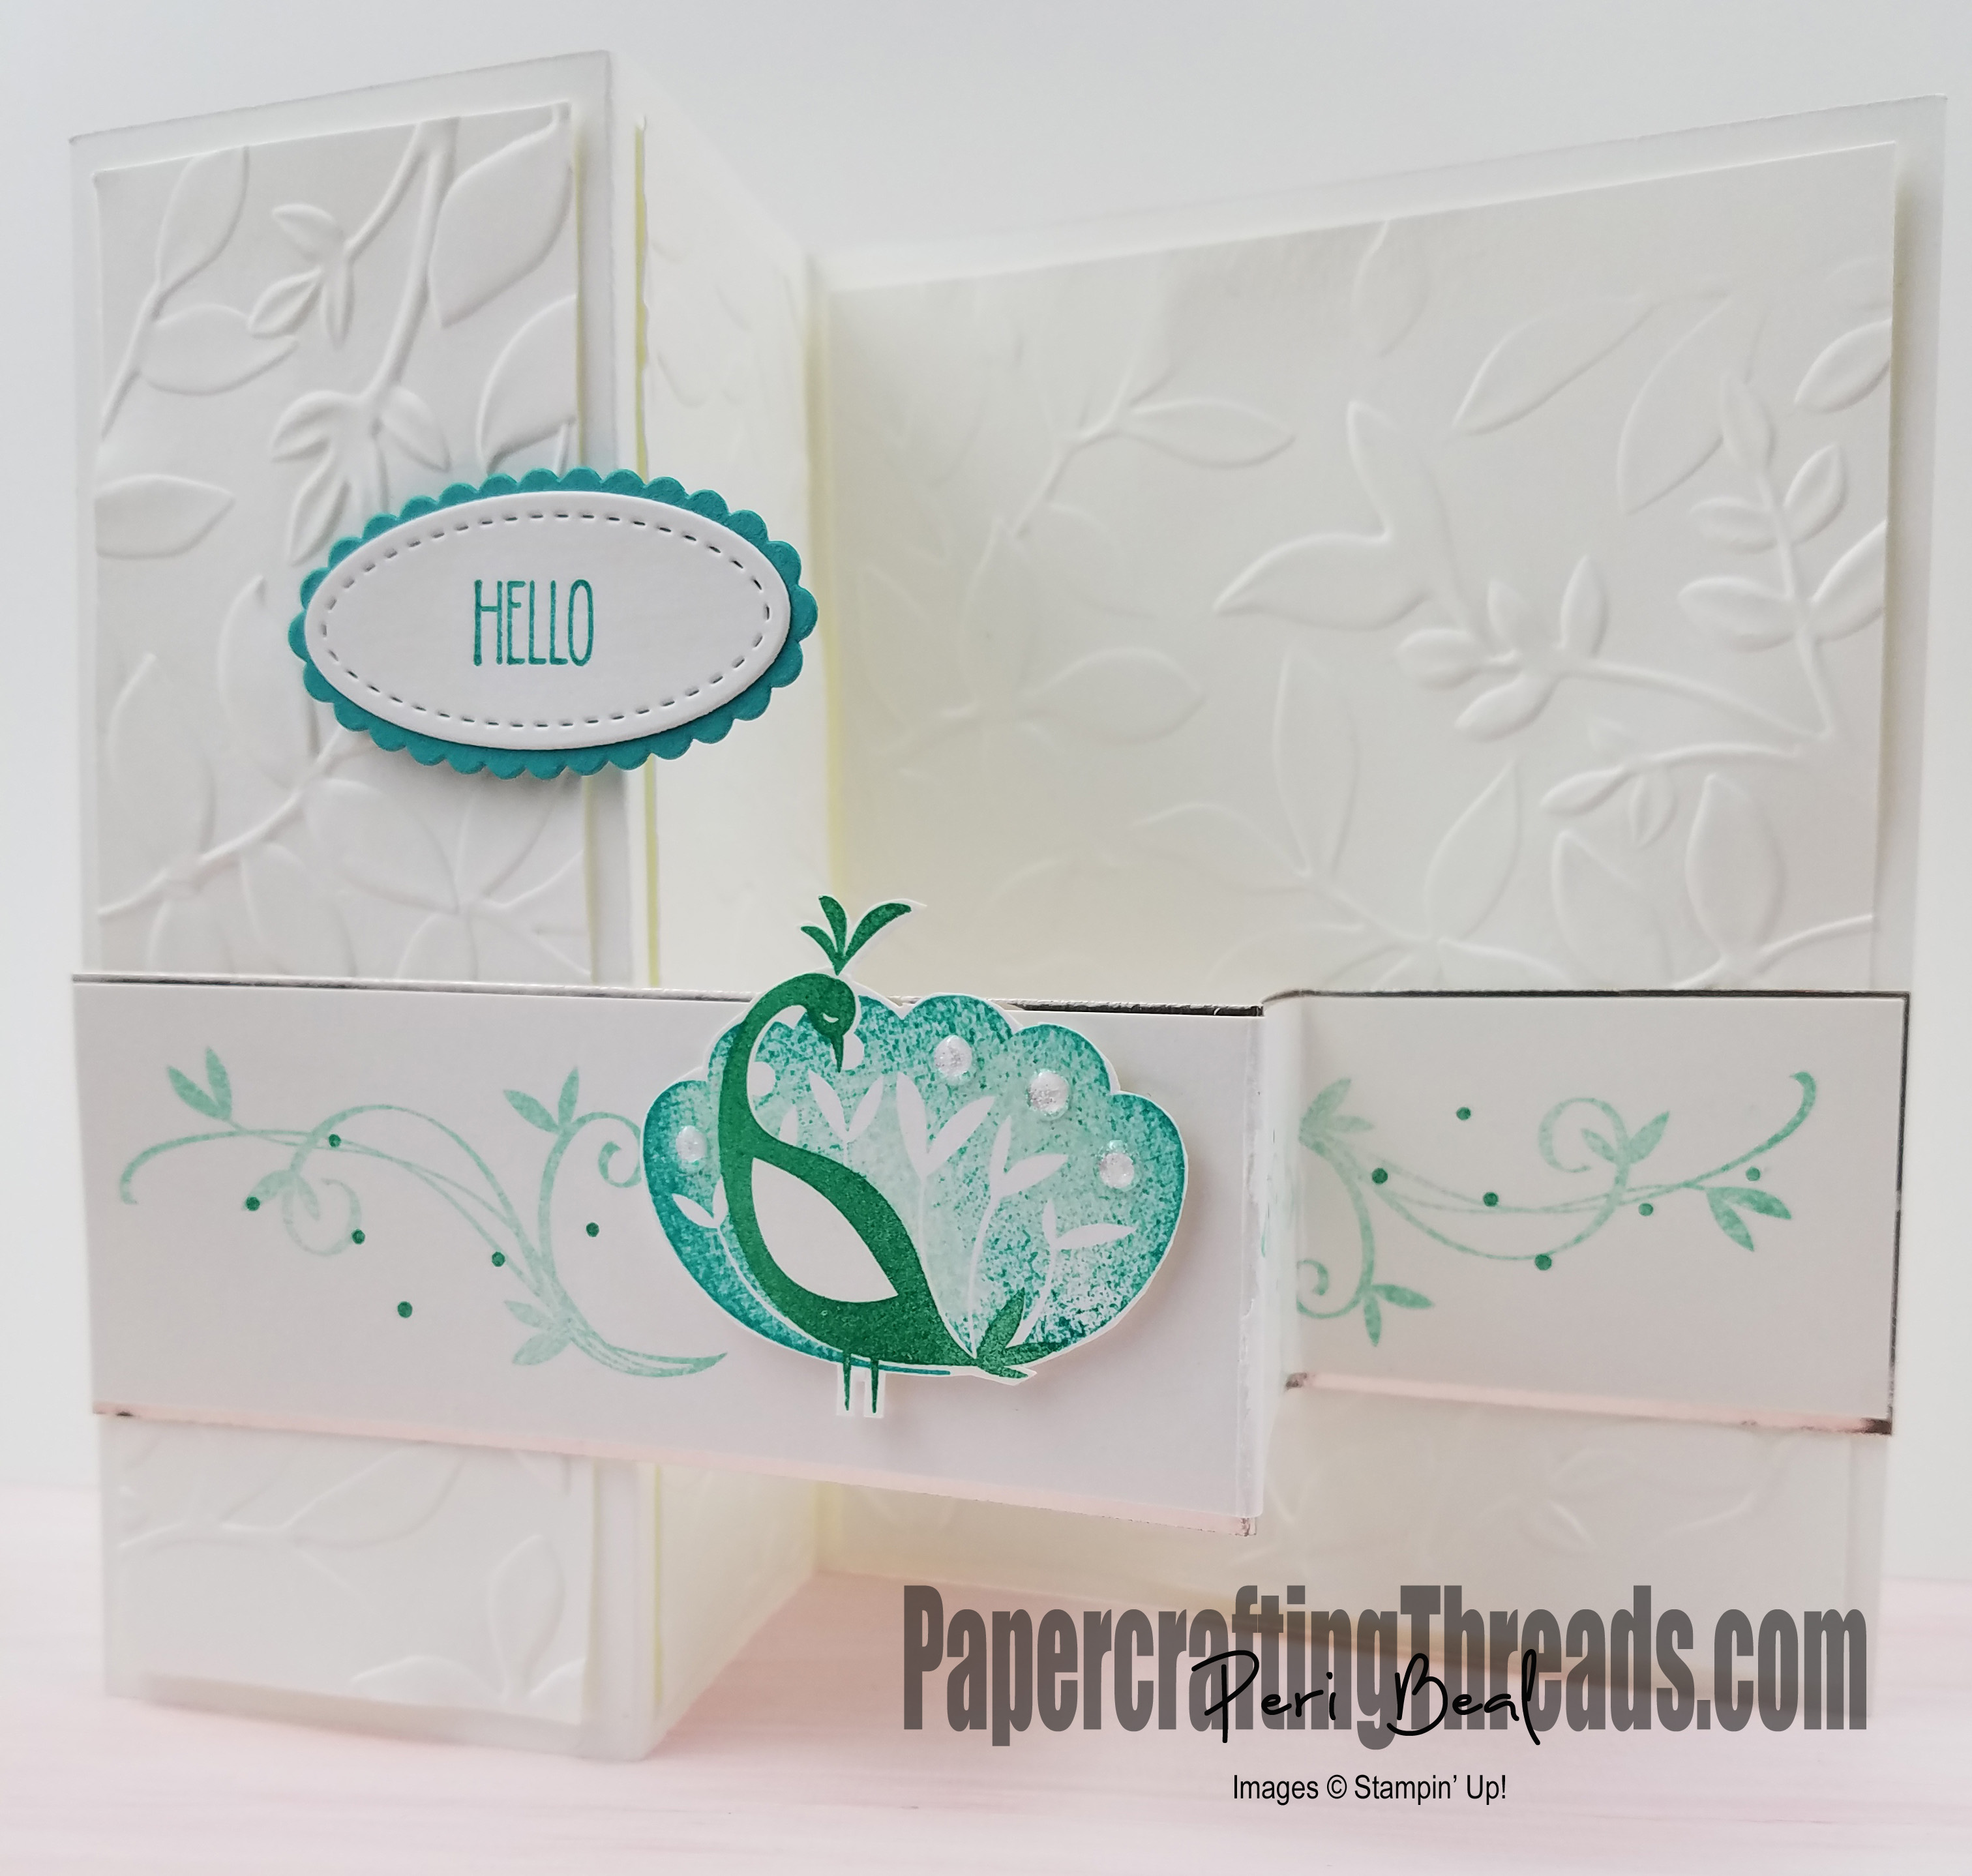
Don’t be intimidated by fancy fold cards – this is the easiest double z fold card there is!

Cut Whisper White cardstock 8 ½” x 5 ¼”, fold in half lengthwise; then fold one side back to make the z-fold.

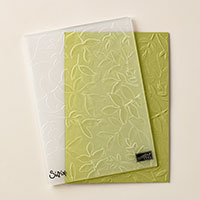
Cut Whisper White cardstock 5 ¼ x 4” and two at 5 ¼ x 1 7/8”, for a total of three panels. Spritz with water from a Stampin’ Spritzer and run through Big Shot with Layered Leaves 3D Dynamic Textured Impressions Embossing Folder, repeating for all three panels. Adhere panels to base card panel with Fast Fuse adhesive.

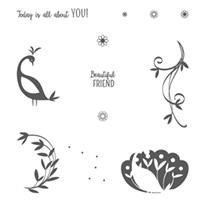
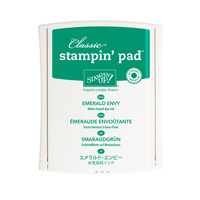
Cut Shimmery White Cardstock 8 ½ x 1 ½”, fold in half lengthwise; then fold one side back to make the z-fold. Stamp the flourishes from Beautiful Peacock on the strip with Pool Party ink as shown. Stamp the polka dots with Bermuda Bay ink.

Cut Champagne Foil Sheet 8 ½” 1 9/16”; fold in half lengthwise; then fold one side back to make the z-fold. Layer the stamped Shimmery White strip over the Champagne Foil strip, adhering with Multipurpose Glue.

To assemble the double-z fold, fold the base card like a regular size card. Fold the narrow strip the same way. Flip over the narrow strip, apply Multipurpose Glue to the back half of the longer strip (the part that is showing next to the fold). Place on left front fold of card base as shown in reference photo. Add glue to the other back half of the narrow strip and place on the right side of the base card. Easy peasy!

Ink the peacock body with Emerald Envy and stamp on a scrap of Shimmery White Cardstock. Ink the fantail with Pool Party ink, roll the edges in Bermuda Bay ink, and stamp over the top of the peacock body. Fussy cut the image with Paper Snips. Adhere to z-fold strip with Dimensionals. Add Glitter and Clear Epoxy Shapes to the circles at the top of the fantail.

Stamp the word “HELLO” from Sunshine Sayings in Bermuda Bay ink on a scrap of Shimmery White Cardstock. Cut out with smallest oval from Stitched Shapes Framelits.

Use Big Shot and Layered Ovals Framelits to diecut the smallest scallop circle oval from a scrap of Bermuda Bay Cardstock. Layer sentiment over scalloped oval with Multipurpose Glue. Adhere sentiment with Dimensionals to front of card as shown.

All supplies used for my easiest double z fold card are listed below:


Beautiful Peacock Photopolymer Stamp Set
$0.00

Sunshine Sayings Clear-Mount Stamp Set
$23.00

Stitched Shapes Framelits Dies
$30.00

Layering Ovals Framelits Dies
$35.00

Layered Leaves Dynamic Textured Impressions Embossing Folder
$9.00

Big Shot
$110.00

Whisper White 8-1/2″ X 11″ Cardstock
$9.00

Bermuda Bay 8-1/2″ X 11″ Cardstock
$8.00

Shimmery White 8-1/2″ X 11″ Cardstock
$8.00

Bermuda Bay Classic Stampin’ Pad
$6.50

Pool Party Classic Stampin’ Pad
$6.50

Emerald Envy Classic Stampin’ Pad
$6.50

Glitter & Clear Epoxy Shapes
$7.00

Stampin’ Spritzer
$3.00

Multipurpose Liquid Glue
$4.00

Stampin’ Dimensionals
$4.00

Paper Snips
$10.00
Generated by SUDSOL, Free Trial at www.sudsol.org
Share:

Leave a Comment
see more related posts: Cardmaking

Previous Post: « How to Craft on a Budget
Next Post: How to Clean Your Stamps »

Reader Interactions

Leave a Reply Cancel reply

Your email address will not be published. Required fields are marked *

Primary Sidebar

Peri Beal

Cheesehead. Avid reader. Antique hunter.

Shop Online

Shop with me and get a FREE PDF tutorial bundle delivered to your inbox AND a handmade card via snail mail

Search

Papercrafting Threads

Gift Certificates
  • Email
  • Facebook
  • Instagram
  • Pinterest
  • YouTube

Sign up for my Newsletter

Sign up for my newsletter and get a free PDF tutorial as my welcome thank you!

Almost there...

Please check your email to confirm your subscription

Retired Product
Privacy Policy

The Fine Print

Just so you know... This is a personal website and I am responsible for its content. Stampin' Up!® does not endorse the use of or contents of the classes, services, or non-Stampin' Up! products I offer.

Sign up for my Newsletter

Sign up for my newsletter and get a free PDF tutorial as my welcome thank you!

Almost there...

Please check your email to confirm your subscription

Footer

  • Calendar of Events
  • 3D Projects
  • Cardmaking
  • Fun Fold
  • Product Tips & Tricks
  • Projects
  • Techniques
  • Of Interest
  • Catalogs
  • Join the Fun
  • Contact Me
  • Email
  • Facebook
  • Instagram
  • Pinterest
  • YouTube

PAPERCRAFTING THREADS

Copyright © 2025 · Refined theme customized by Catherine Carroll

Privacy Policy · Affiliate Disclosure