Papercrafting Threads

  • Tutorials
    • PDF Tutorials
    • 3D Projects
    • Cardmaking
    • Fun Fold
    • Product Tips & Tricks
    • Projects
    • Techniques
  • Catalogs
  • Shop & Specials
    • Shop My Stampin’ Up! Online Store
    • Special Offers
    • Buy Me A Coffee
    • My Favorite Things on Amazon
    • Gift Certificates
  • Contact Me
  • Join the Fun
    • Join the Fun
    • Special Join Offers
  • Calendar of Events
  • Paper Pumpkin
    • Paper Pumpkin Kits
    • Paper Pumpkin Stamp Case Inserts
  • Nav Social Menu

    • Email
    • Facebook
    • Instagram
    • Pinterest
    • YouTube

How to Use a Background Stamp

July 12, 2020 Leave a Comment

12 Jul

There's more than one way to use a background stamp!

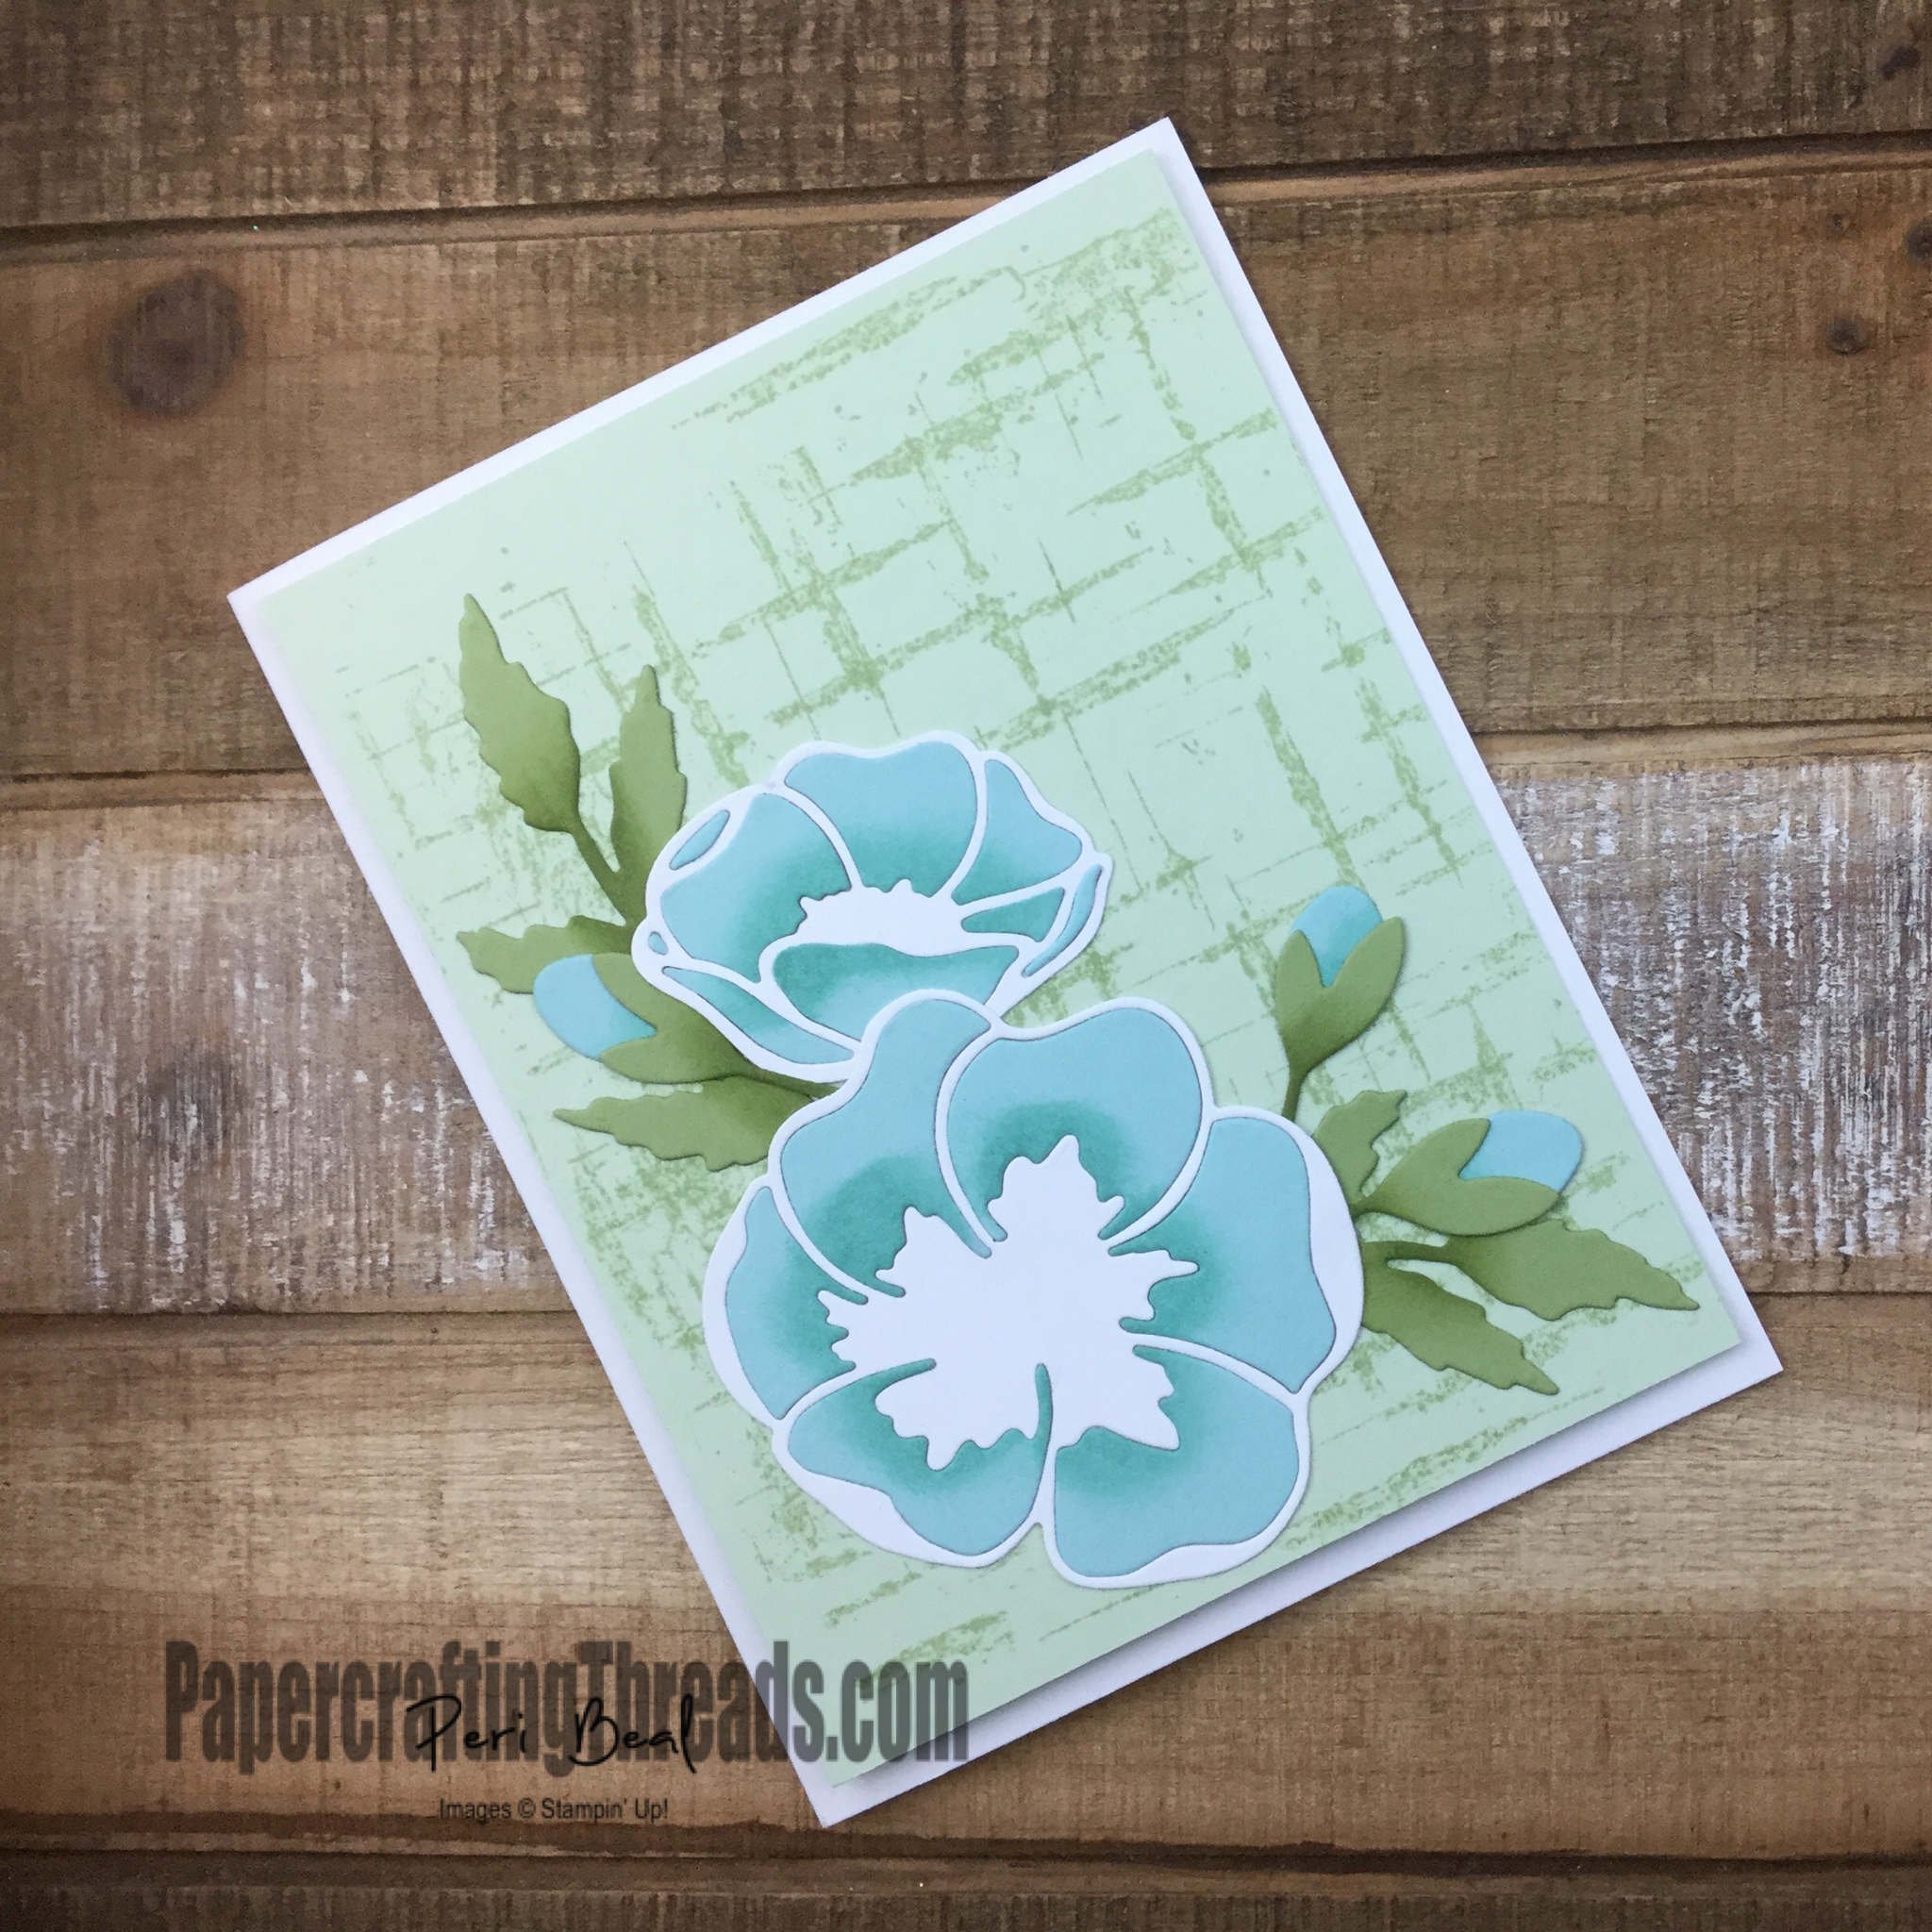
Think there’s only one way to use a background stamp? Think again! The interesting cross hatch patterned background on the card above comes from the Birch background stamp. I stamped the birch image with Pear Pizazz ink on Soft Sea Foam cardstock in portrait position first. Then I inked it again and turned the stamp to landscape position. And voila, a cool looking cross hatch pattern. It’s getting two background stamps for the price of one.

Want another idea?

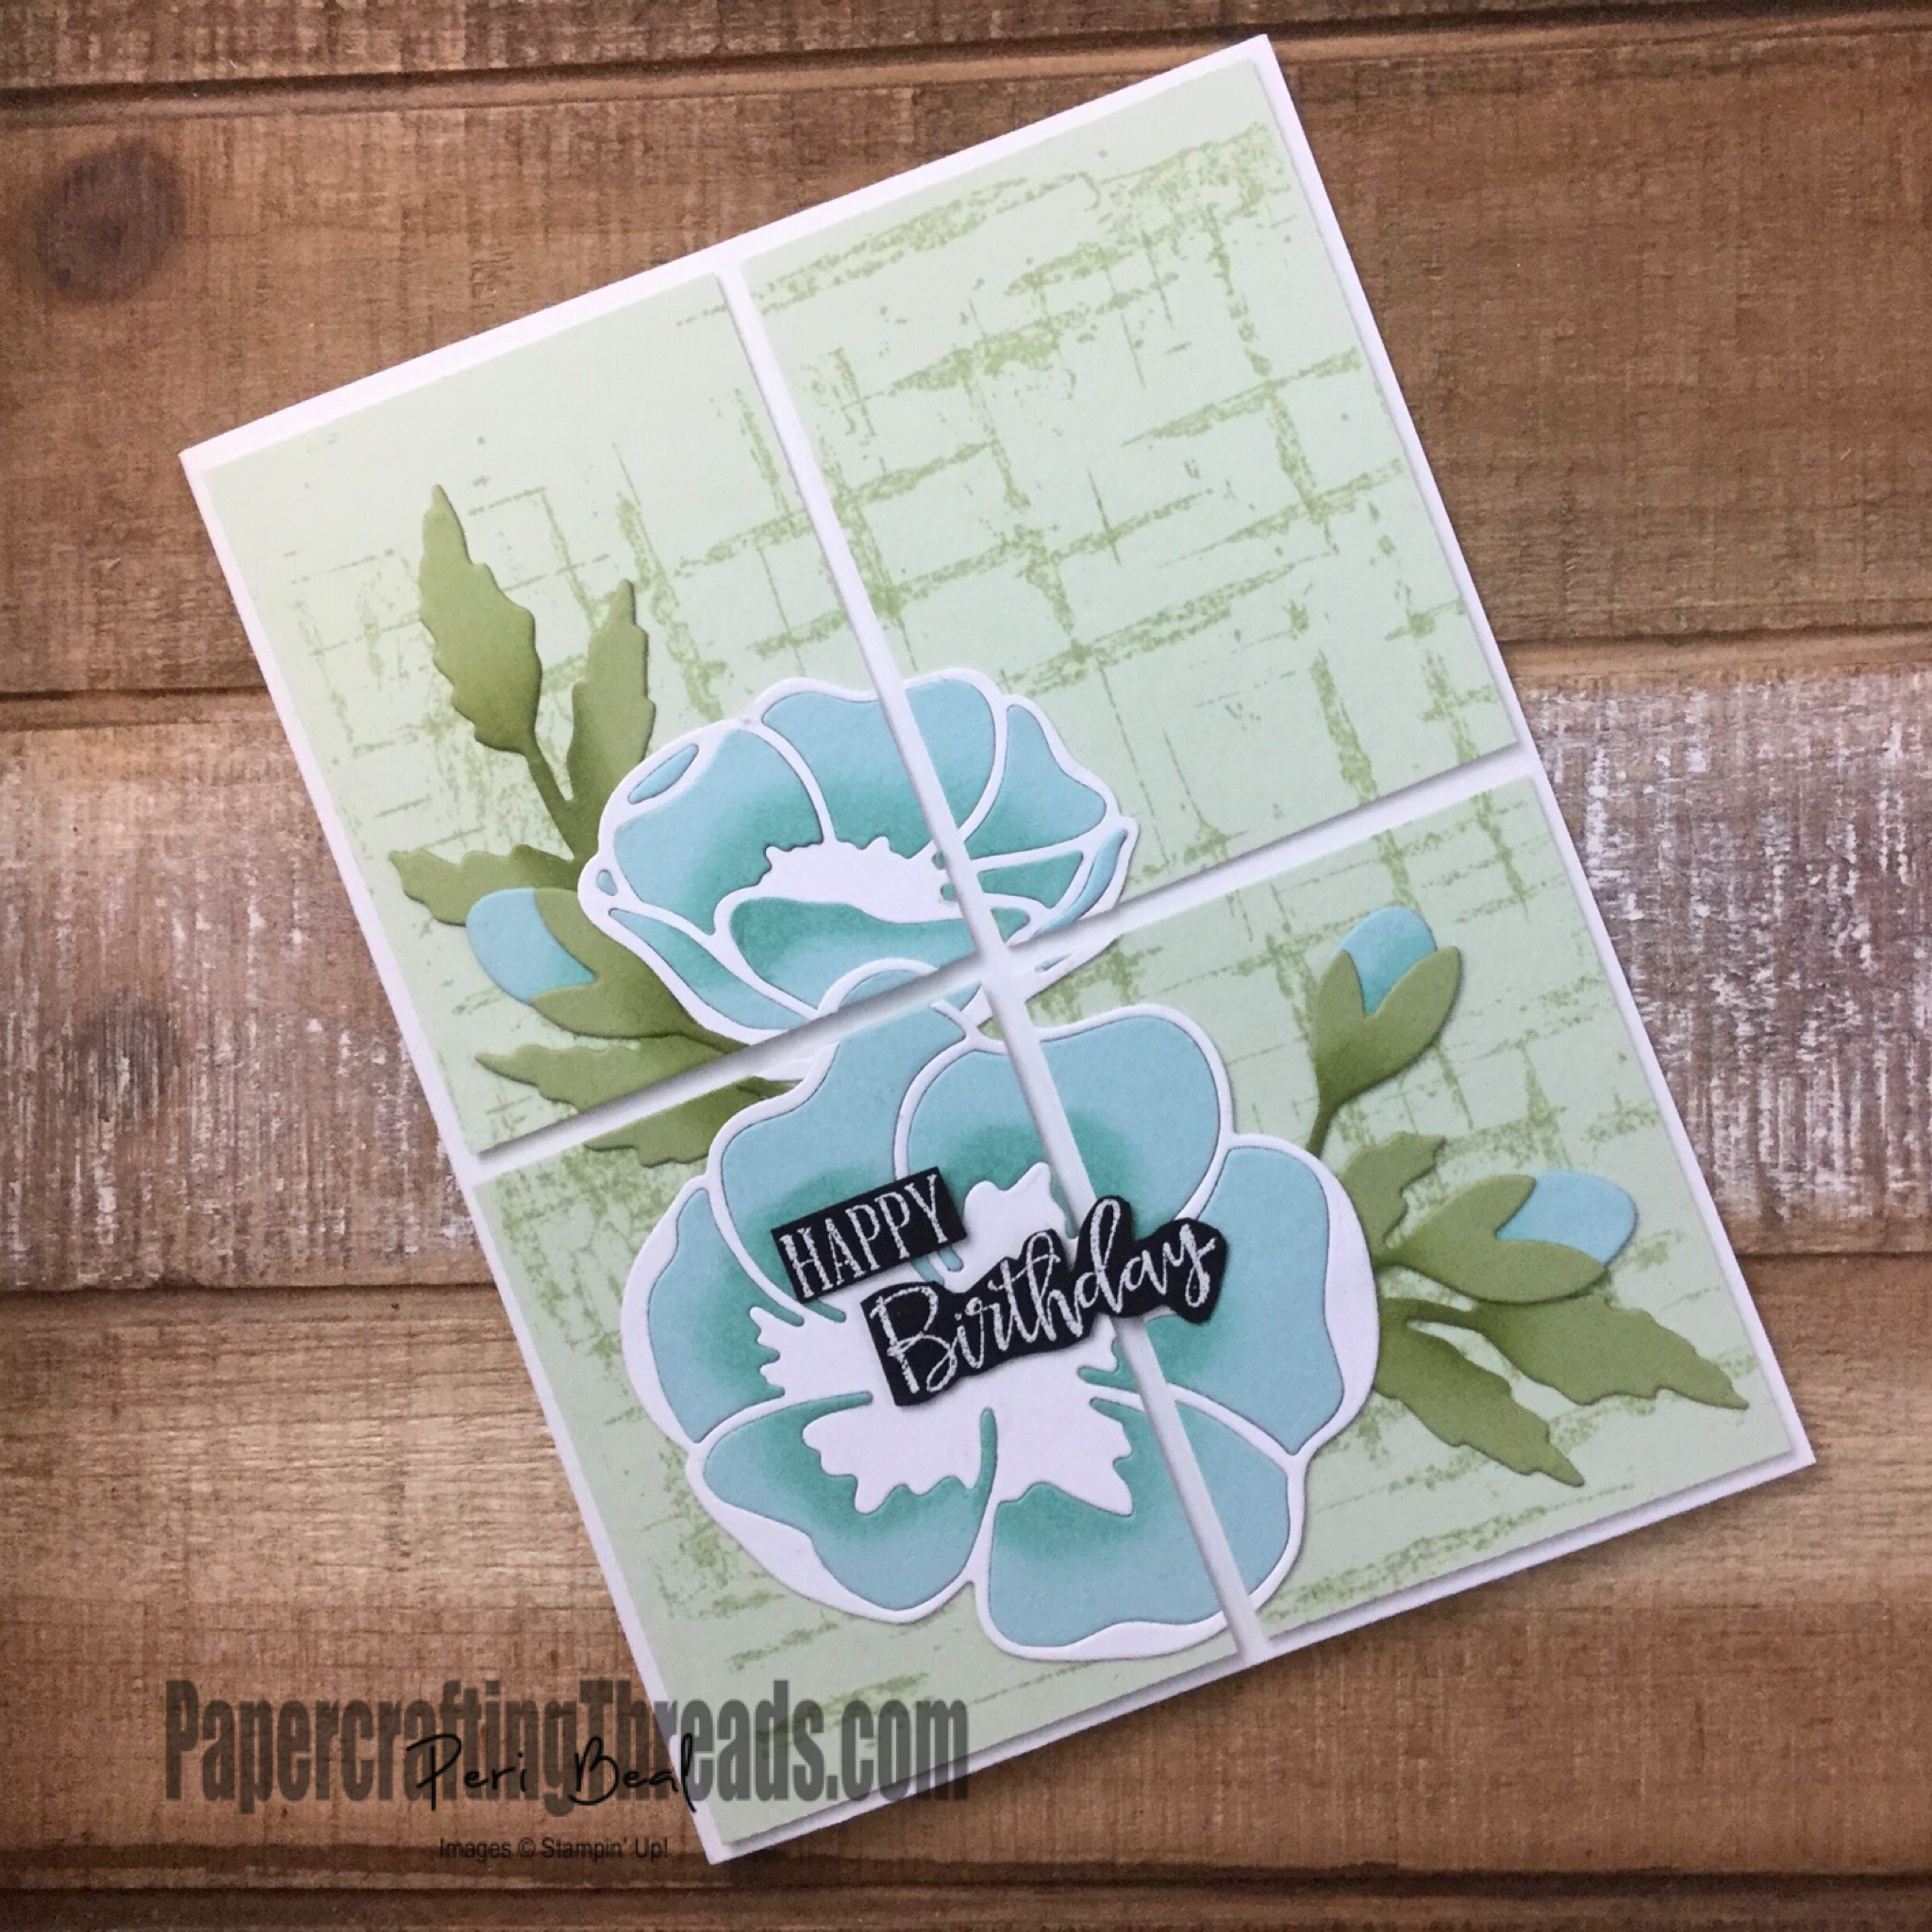
Make the same card front and chop it! I’ll admit, I held my breath when I cut the front panel into quarters, but I like the end result.

Chop it up to add another option to a background stamp!

More details on the poppies

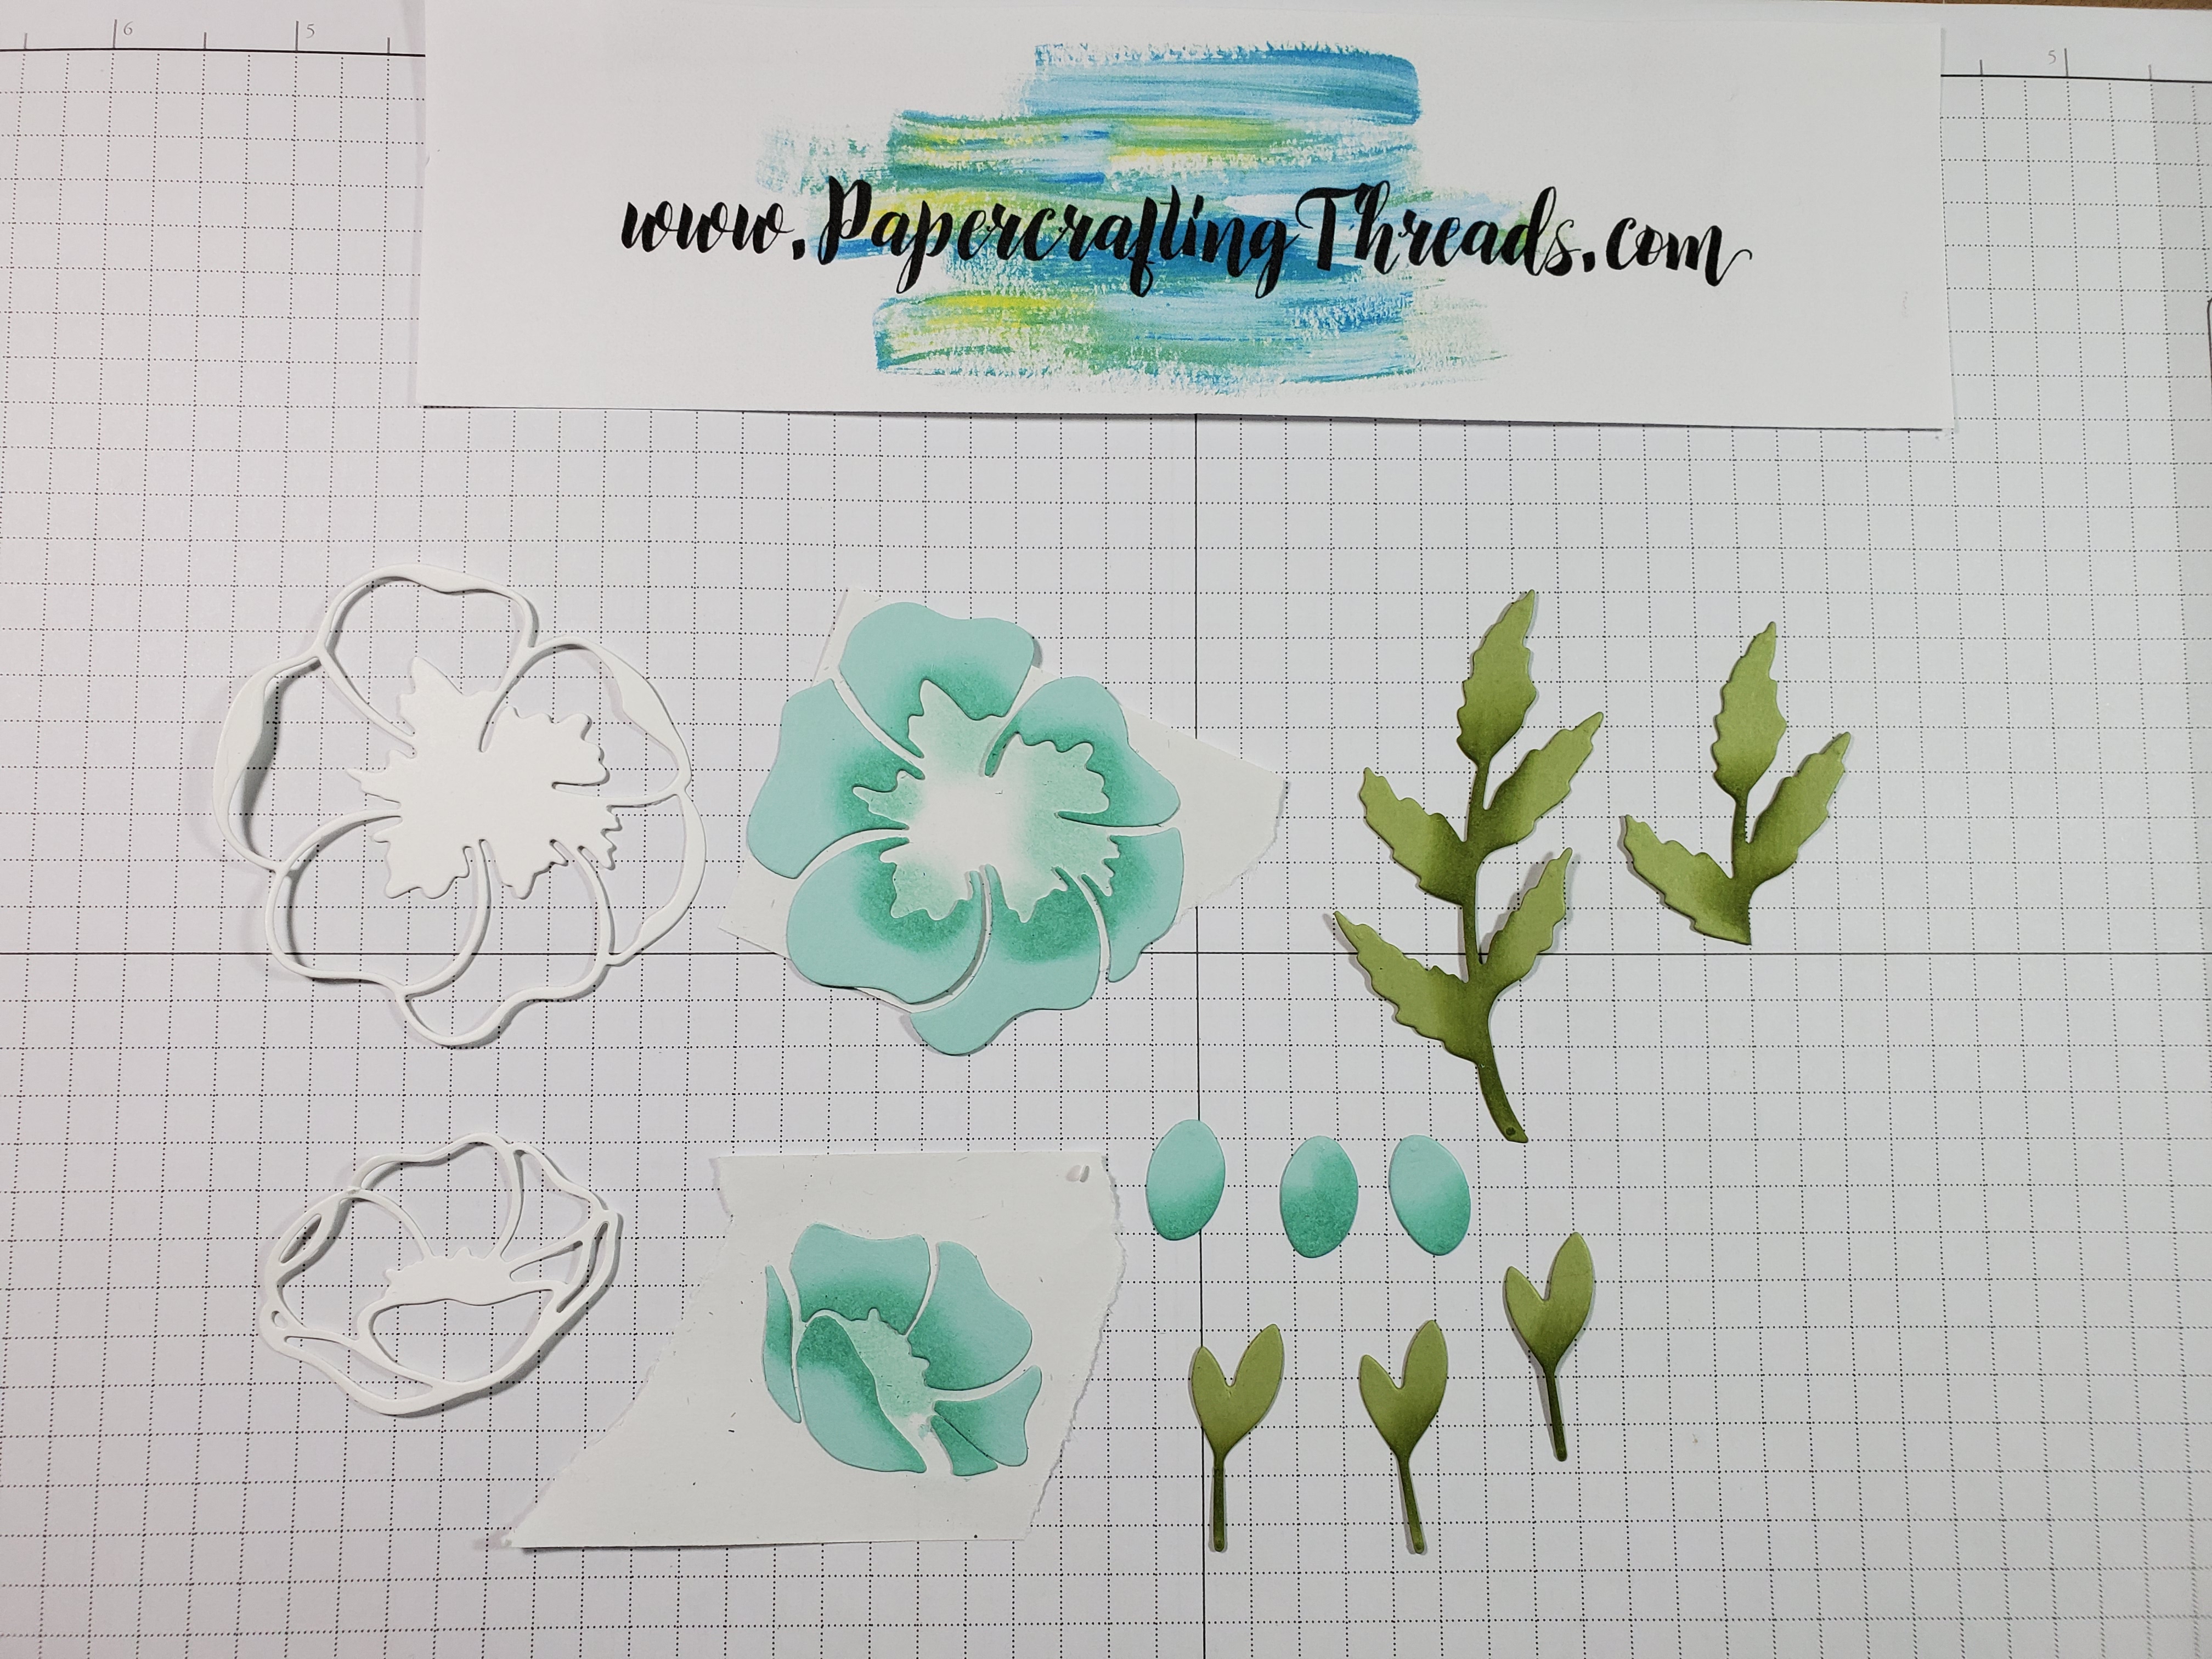
To get the added depth and dimension with the poppies, I diecut the poppies from Whisper White cardstock and from Pool Party cardstock. To make it easier to keep track of the Pool Party ‘negative’ pieces, I placed a piece of PostIt Removable Labeling Tape on the backside of the die to remove the Pool Party poppy centers and hold them together. Then I sponged Pool Party ink on the Pool Party cardstock poppies and Mossy Meadow on the Pear Pizazz leaves.

Close up of the bits and pieces used to make up the poppies that go over the background stamp

I glued the white diecuts onto the Soft Sea Foam front panel of the card after stamping the crosshatch Birch pattern in Pear Pizazz. Next I slipped the leaves and buds under the edges of the white diecuts. Then I glued the Pool Party centers inside the white outlines. Before cutting the panel into fourths, I let the whole piece dry for about an hour. If the cardstock is the least bit damp, the cut edges will not be crisp and clean, so have patience.

Order the Birch background stamp from my online store today – I can hardly wait to see what you create!


Share:

Leave a Comment
see more related posts: Product Tips & Tricks

Previous Post: « How to Use Laser-Cut Specialty Paper
Next Post: Pool Party Favorites »

Reader Interactions

Leave a Reply Cancel reply

Your email address will not be published. Required fields are marked *

Primary Sidebar

Peri Beal

Cheesehead. Avid reader. Antique hunter.

Shop Online

Shop with me and get a FREE PDF tutorial bundle delivered to your inbox AND a handmade card via snail mail

Search

Papercrafting Threads

Gift Certificates
  • Email
  • Facebook
  • Instagram
  • Pinterest
  • YouTube

Sign up for my Newsletter

Sign up for my newsletter and get a free PDF tutorial as my welcome thank you!

Almost there...

Please check your email to confirm your subscription

Retired Product
Privacy Policy

The Fine Print

Just so you know... This is a personal website and I am responsible for its content. Stampin' Up!® does not endorse the use of or contents of the classes, services, or non-Stampin' Up! products I offer.

Sign up for my Newsletter

Sign up for my newsletter and get a free PDF tutorial as my welcome thank you!

Almost there...

Please check your email to confirm your subscription

Footer

  • Calendar of Events
  • 3D Projects
  • Cardmaking
  • Fun Fold
  • Product Tips & Tricks
  • Projects
  • Techniques
  • Of Interest
  • Catalogs
  • Join the Fun
  • Contact Me
  • Email
  • Facebook
  • Instagram
  • Pinterest
  • YouTube

PAPERCRAFTING THREADS

Copyright © 2025 · Refined theme customized by Catherine Carroll

Privacy Policy · Affiliate Disclosure