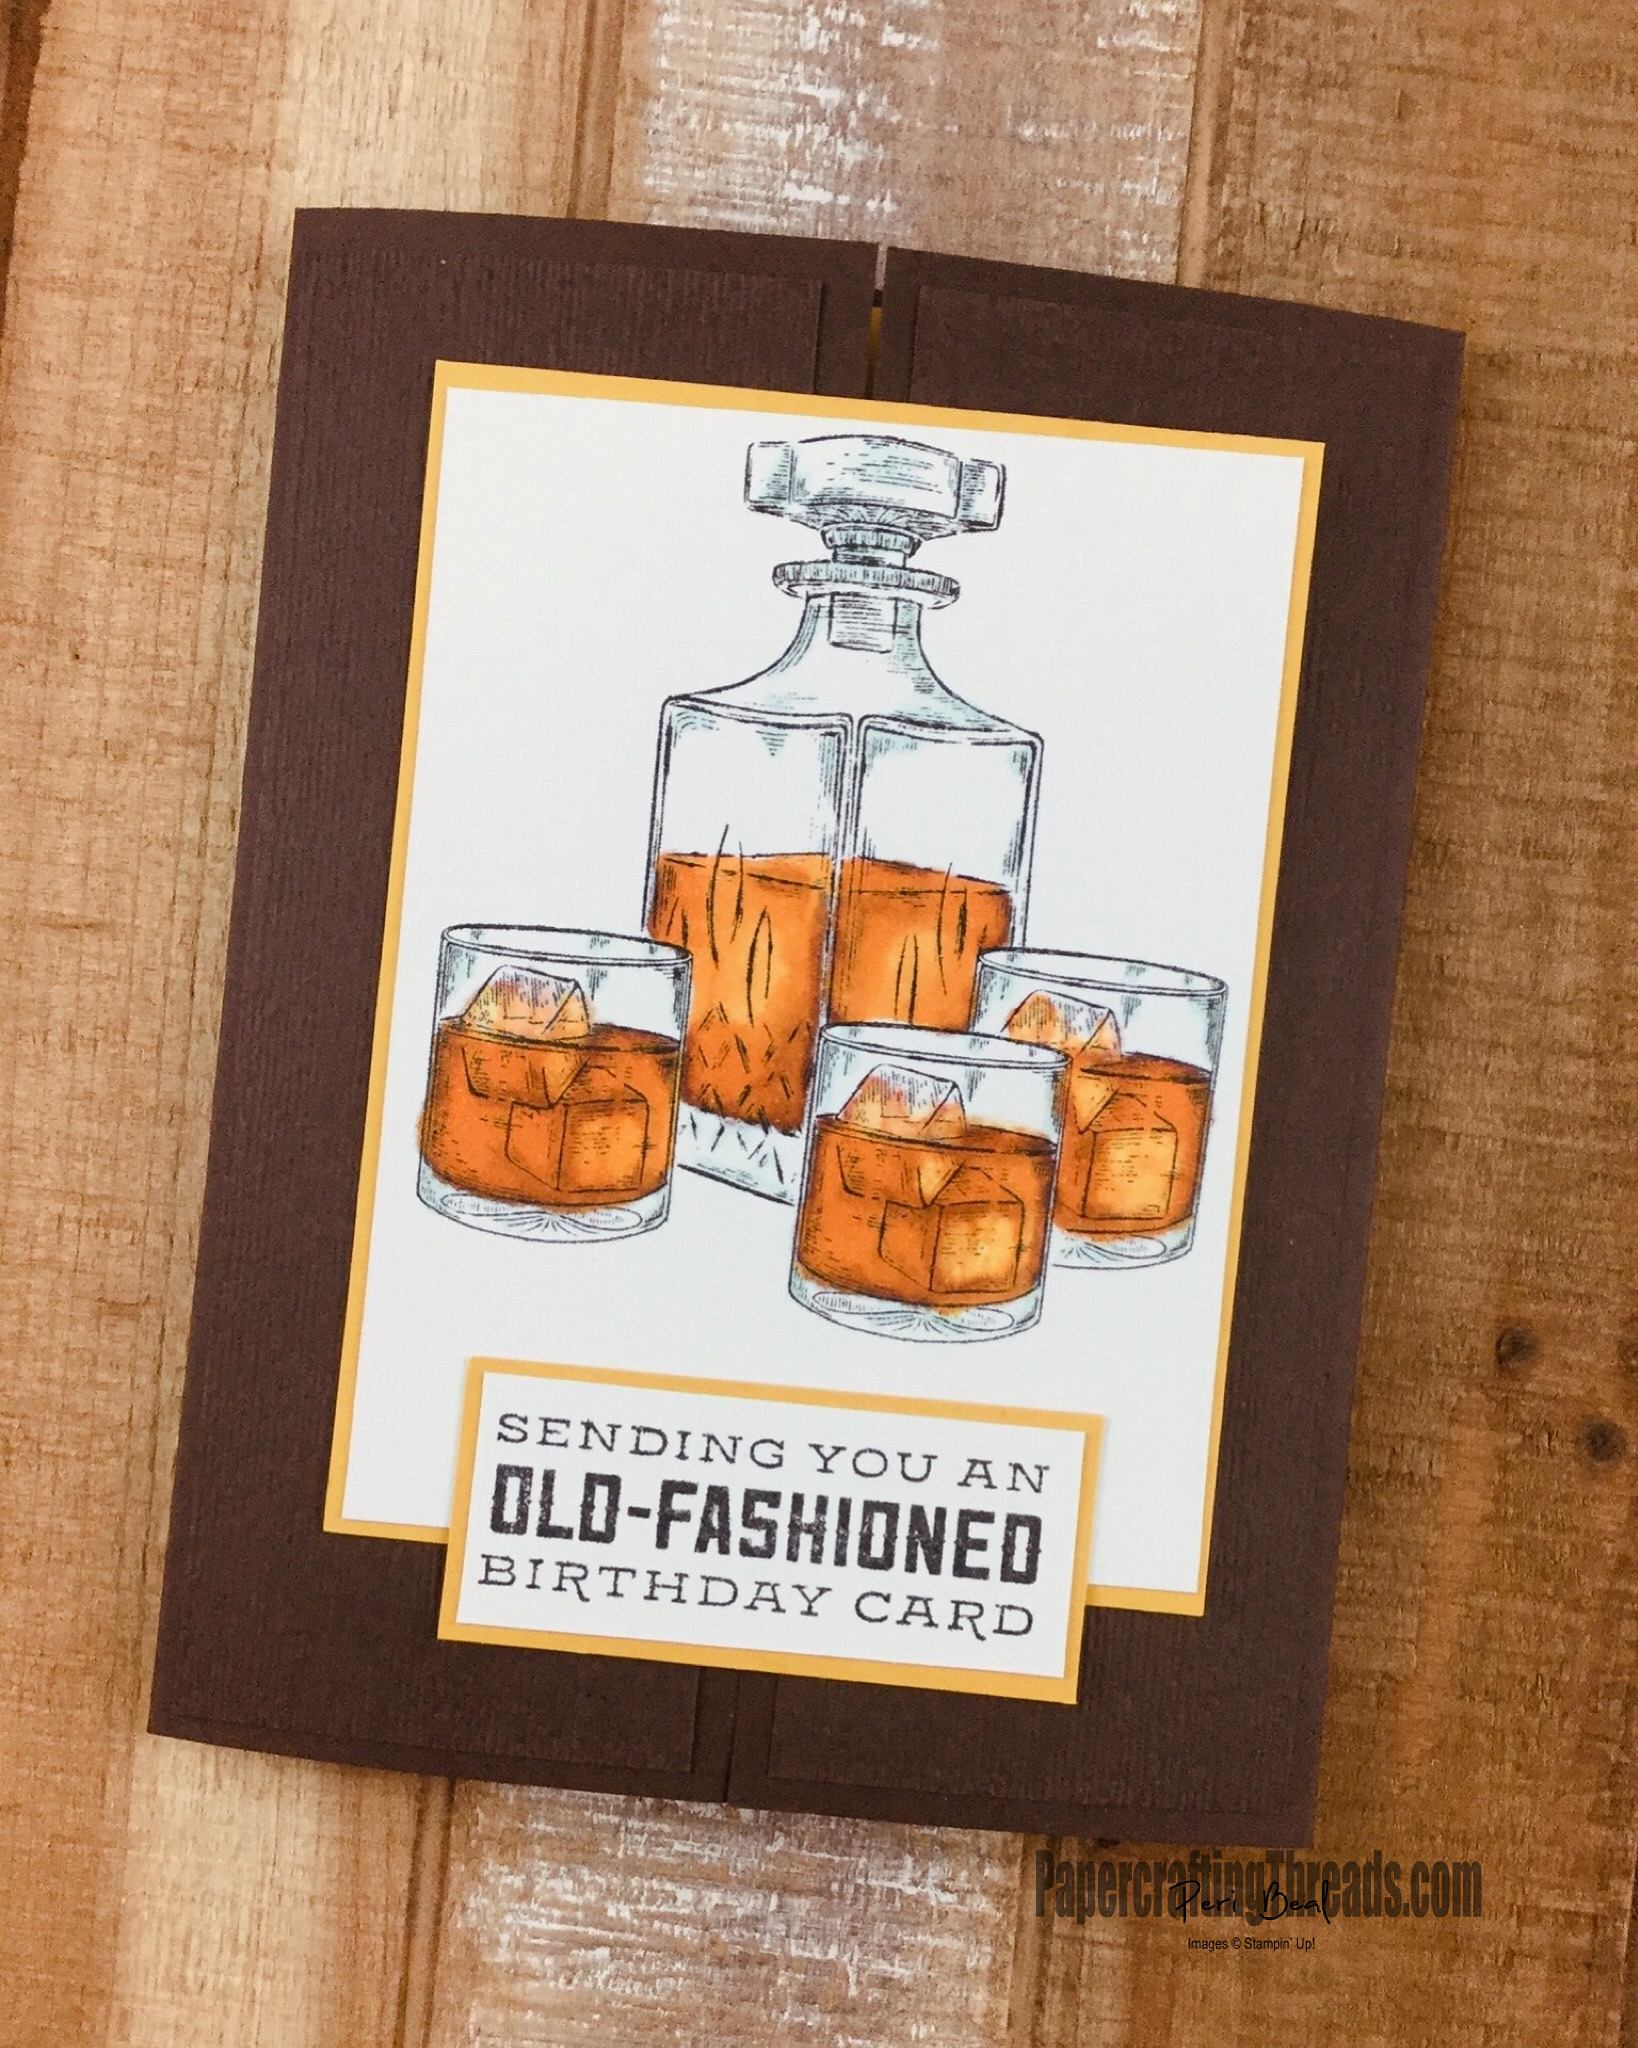
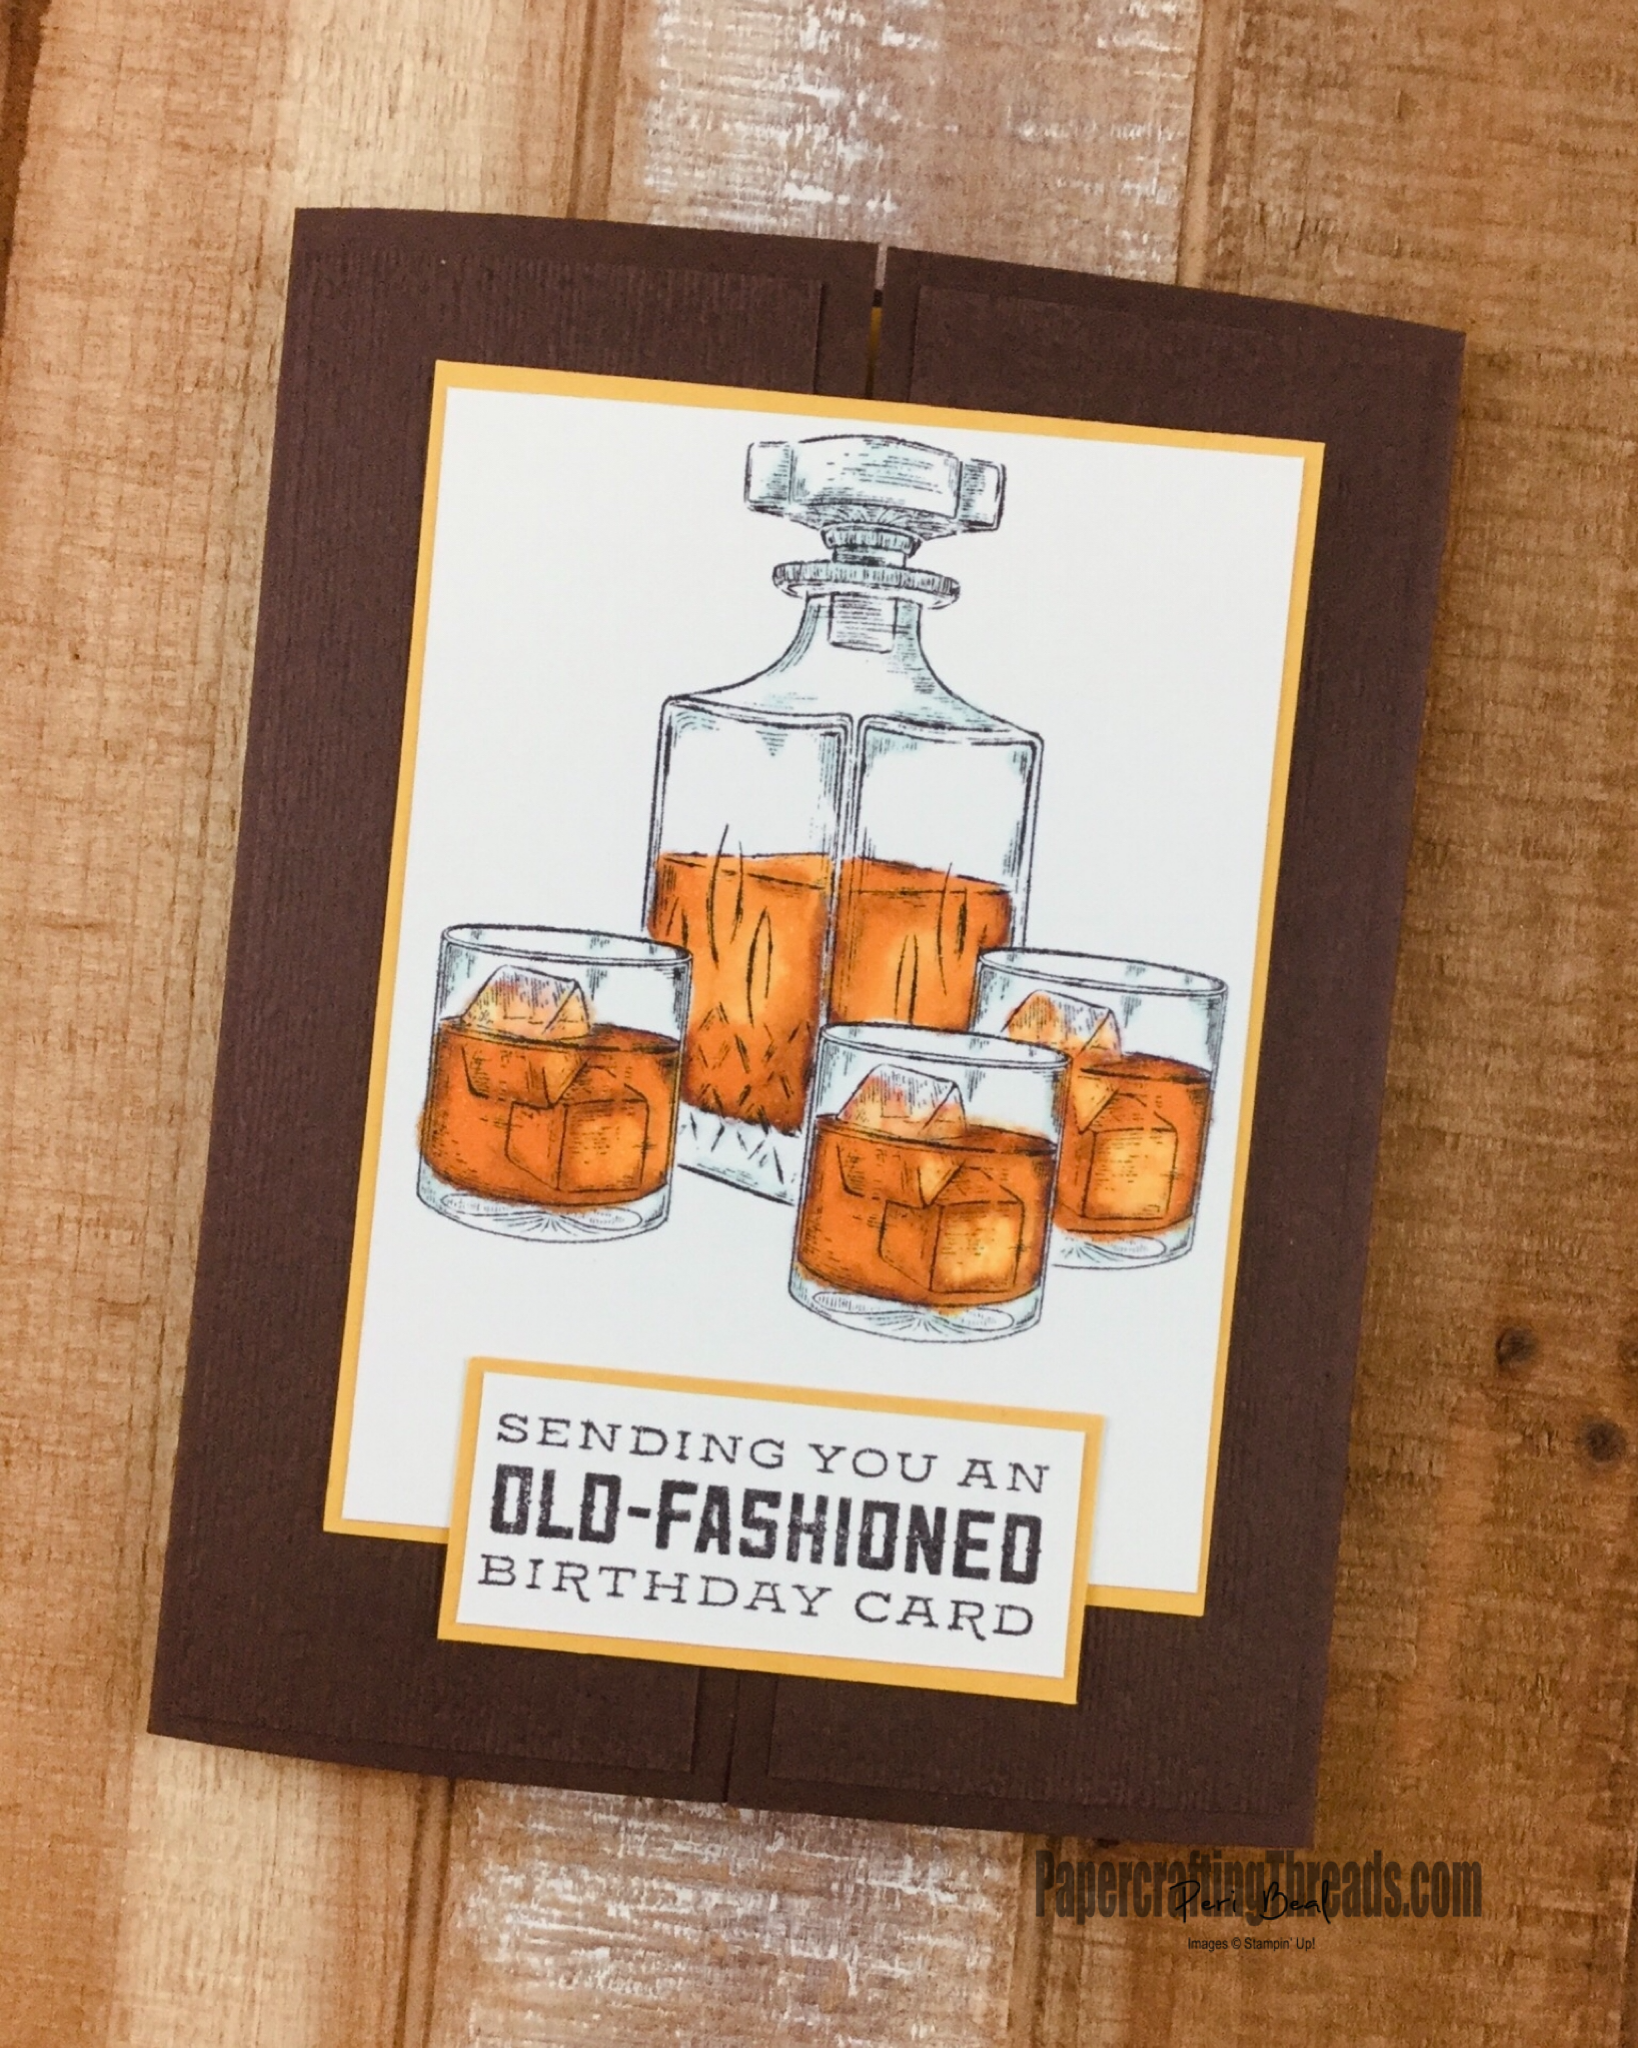
Whiskey in an Old Fashioned? Yes, a traditional Old Fashioned cocktail uses whiskey, but in Wisconsin it’s brandy. This Floating Gate Fold card features one of my favorite new stamp sets – Whiskey Business. And my new favorite way to color – with Stampin’ Blends.
To color the whiskey, after stamping the images with Memento ink, I first outlined the areas with the darkest shadows using the Bronze Stampin’ Blends bullet tip. Next I added Light Cajun Craze in a teeny tiny circular pattern over the top of the bronze. Then I swiped Dark Mango Melody over the whole thing with the brush tip. And I went over it again. And again. That’s the whole secret to Stampin’ Blends – add color, add more color, and add even more color. The colors will blend with gorgeous depth and interest.
The ice cubes that are sticking up out of the glass have a little bit of Light Calypso Coral swiped on first, then a dab of Dark Mango Melody, both with the brush tip. To add back in a few highlights, I selectively used the brush tip of the Color Lifter here and there. And the final touch is a bit of Light Pool Party softened with the Color Lifter on the etched glass of the decanter and glasses.
Floating Gate Fold Card Technique
Early Espresso cardstock base, 5 ½” x 8 ½”, score in landscape mode at 2 1/8 on each end
Two Early Espresso cardstock panels, cut at 2” x 5 3/8” and embossed with Subtles embossing folder
Cut inside Mango Melody cardstock mat at 4” x 5 ¼”
Mechanism: Cut two Mango Melody cardstock strips at 1” x 5 ¼”, score both at 1”, 2” and 4 ¼”
Whiskey Business Panels: Stamp Whiskey Business decanter and glasses, masking as you go to create a 3D vignette, greeting, inside sentiment, and glass with orange peel on Whisper White cardstock and cut to size
Cut Mango Melody cardstock mats slightly larger than the stamped images
To Assemble:
- Fold score lines on Early Espresso Base.
Adhere Mango Melody mat on inside of card and set aside.
Adhere stamped images to coordinating Mango Melody mats.
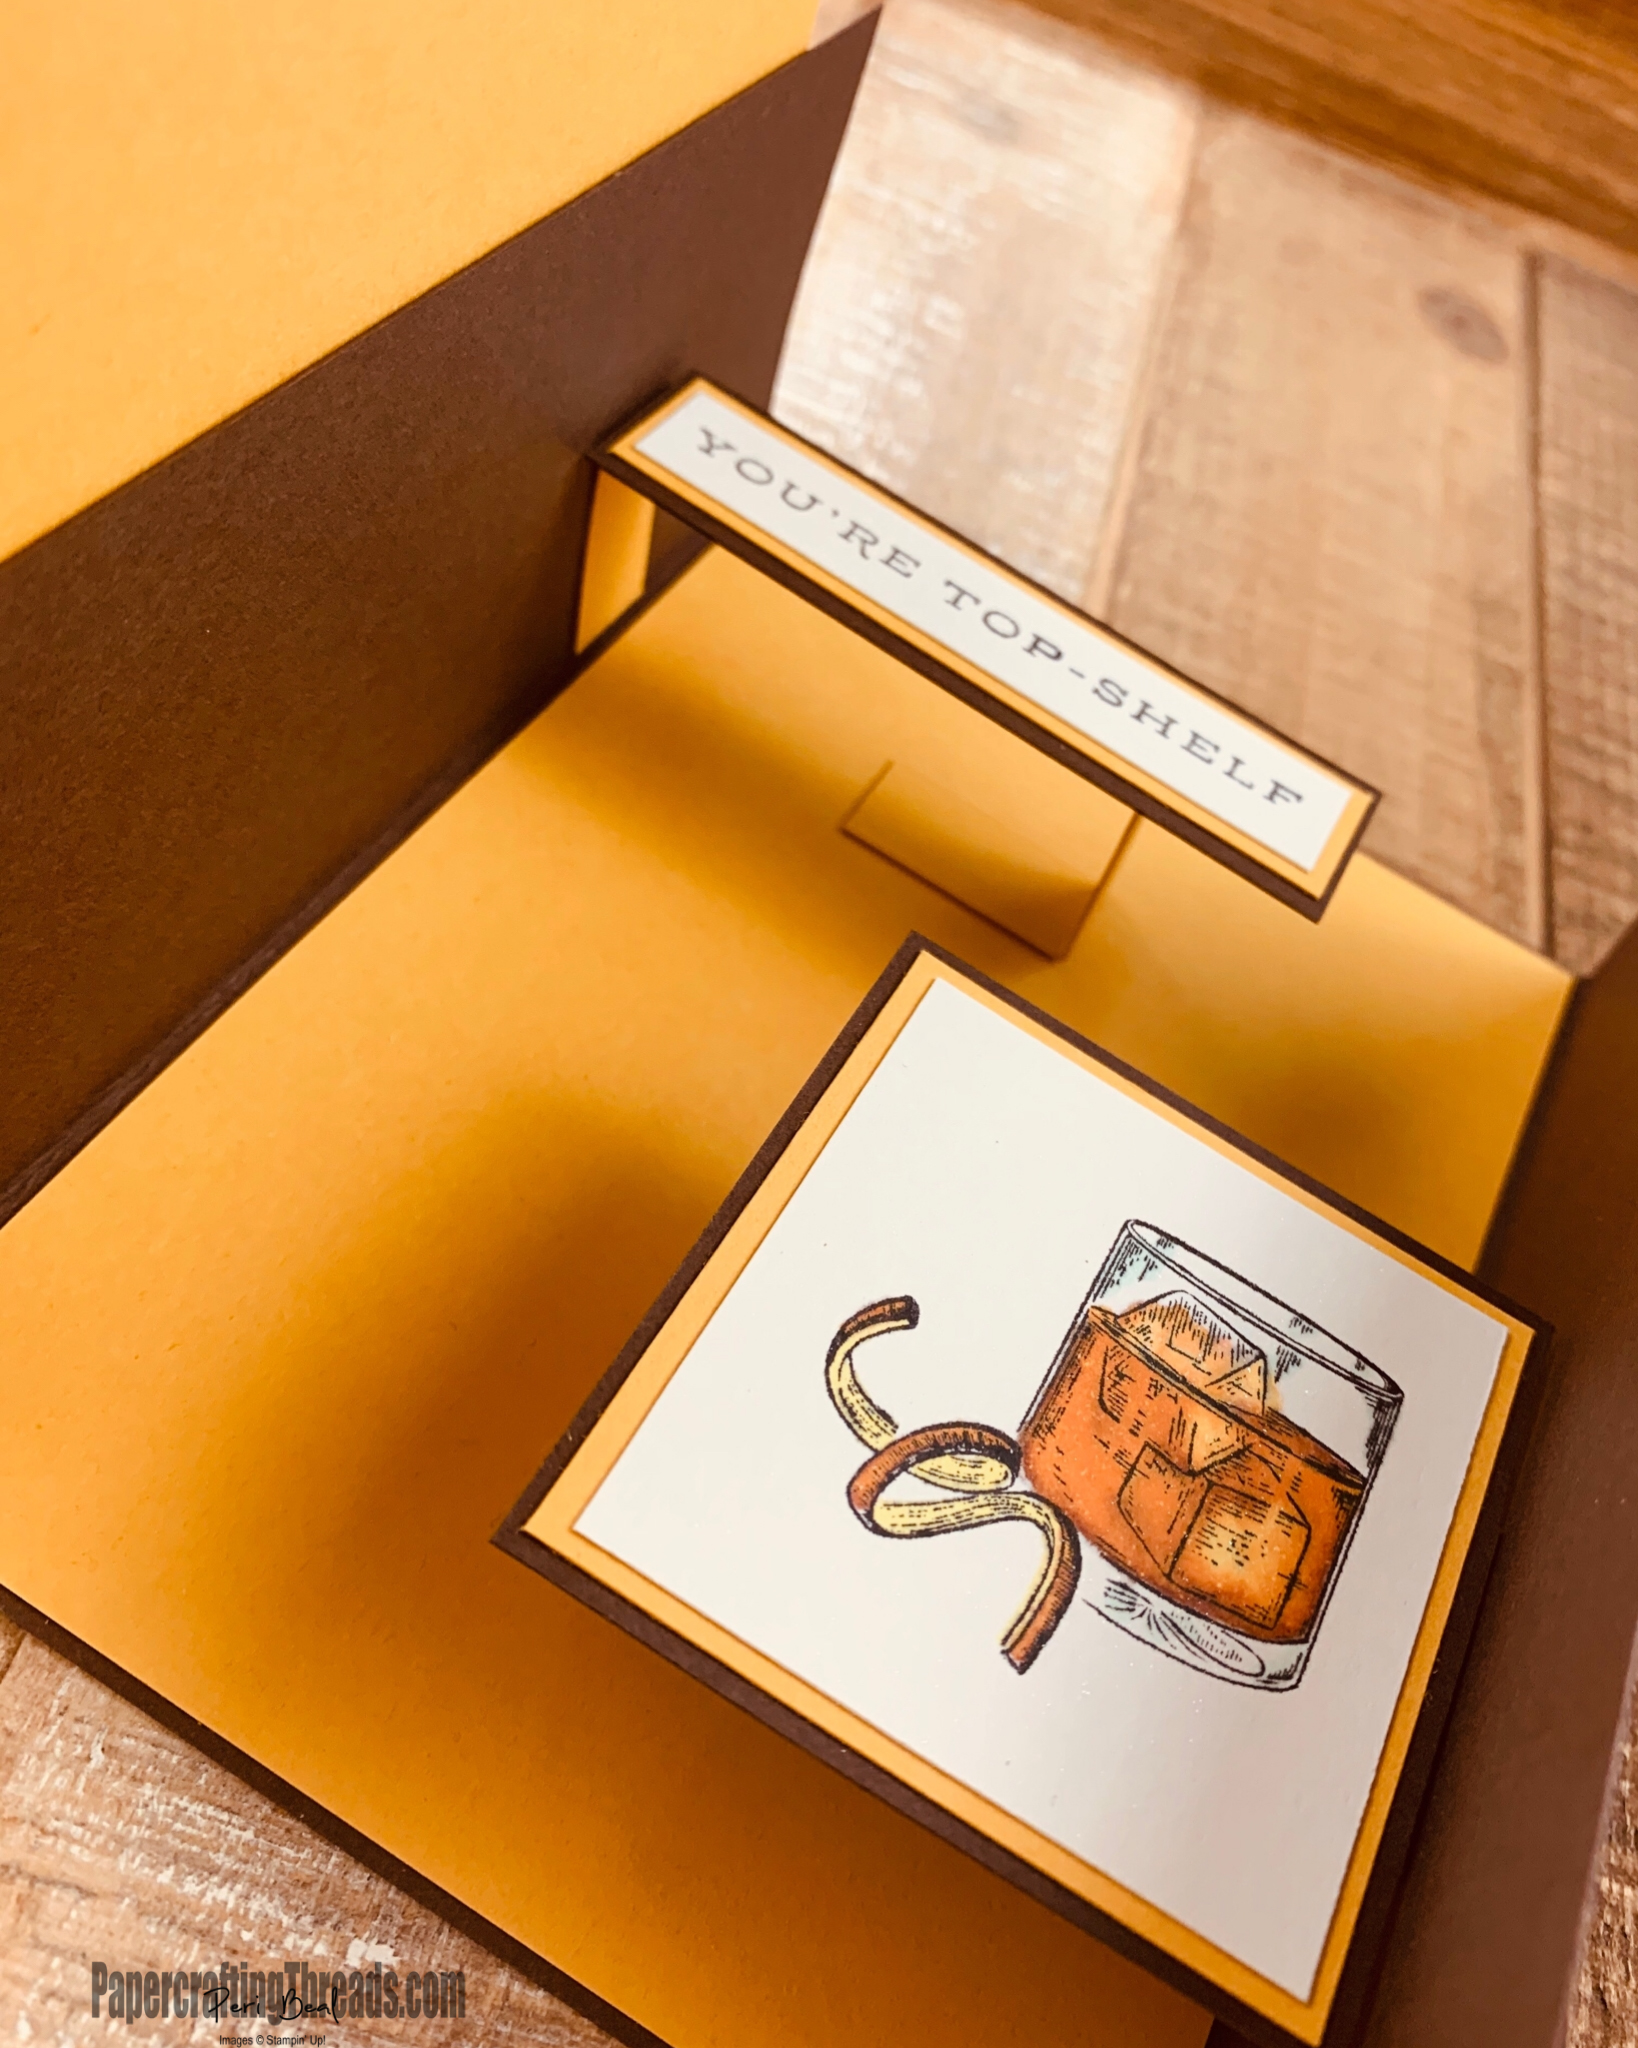
Fold score lines on both mechanisms. - Take one mechanism and hold it so the end that has one square is on the left side. Adhere the “You’re Top-Shelf” sentiment centered on the section of the mechanism that is approximately 2” in diameter.
- Take the other mechanism and hold it so the end that has one square is on the right side. Adhere the glass with orange peel image so that the image is centered vertically on the mechanism and the right edge of the image is aligned with the right edge of the 2” section.
- Place both pieces on the inside of the card base and position so that there is some space between the two images as well as the top and bottom edges of the card base.
- On the top mechanism, butt the left square up with the score line on the left, apply adhesive, and close the left flap. Apply adhesive to the right most square, fold it back on itself and adhere.
- For the bottom mechanism, butt the right square up with the score line on the right, apply adhesive, and close the right flap. Apply adhesive to the left most square, fold it back on itself and adhere.
- Adhere the Subtles Panels to the front gate folds.
Place the decanter image in the center of the gate folds, and add adhesive behind just the left side so the gate fold will still open.
Center and adhere the sentiment to the bottom of the decanter image.

Leave a Reply