Papercrafting Threads

  • Tutorials
    • PDF Tutorials
    • 3D Projects
    • Cardmaking
    • Fun Fold
    • Product Tips & Tricks
    • Projects
    • Techniques
  • Catalogs
  • Shop & Specials
    • Shop My Stampin’ Up! Online Store
    • Special Offers
    • Buy Me A Coffee
    • My Favorite Things on Amazon
    • Gift Certificates
  • Contact Me
  • Join the Fun
    • Join the Fun
    • Special Join Offers
  • Calendar of Events
  • Paper Pumpkin
    • Paper Pumpkin Kits
    • Paper Pumpkin Stamp Case Inserts
  • Nav Social Menu

    • Email
    • Facebook
    • Instagram
    • Pinterest
    • YouTube

How to Use Gilded Leafing

August 28, 2021 Leave a Comment

28 Aug
How to use Gilded Leafing card with blossom showing two different methods

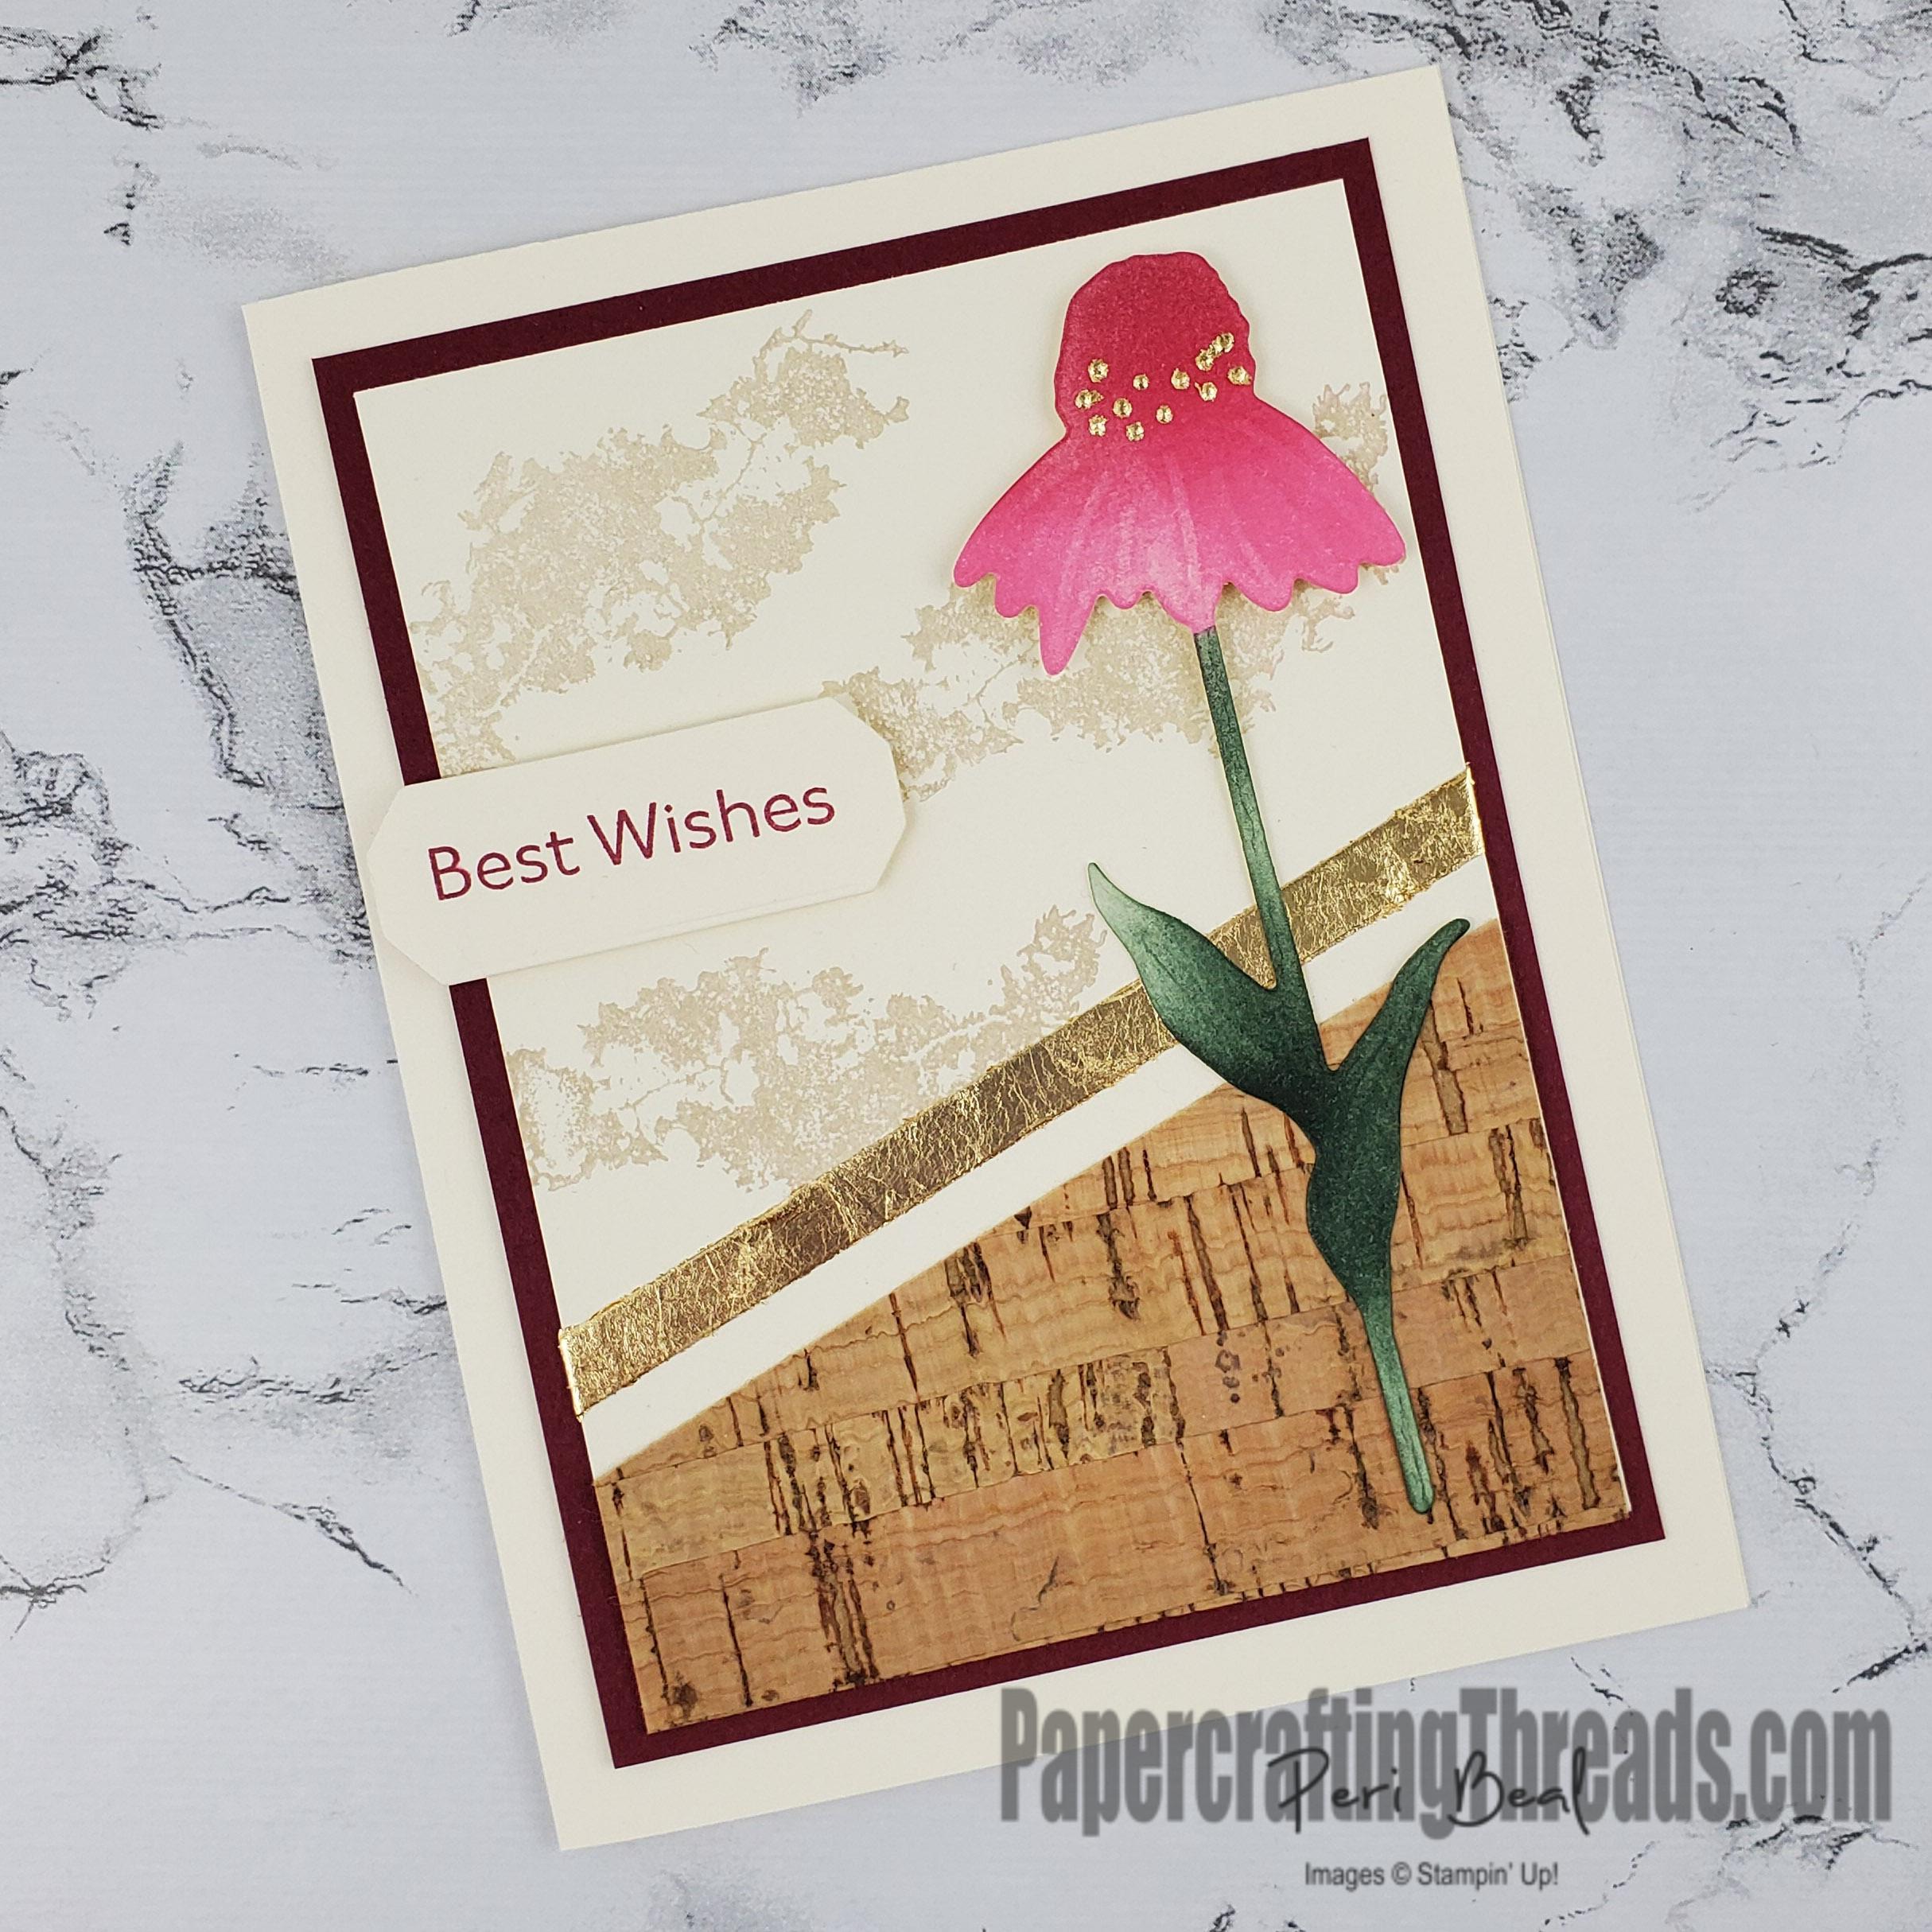
Thought Gilded Leafing could only be applied with Heat N Stick powder? Think again, because the card above shows two other methods of how to use Gilded Leafing in your paper crafting.

The little gold dots on the coneflower are Gilded. After die cutting my coneflower and applying Polished Pink and Merry Merlot inks with a Blending Brush, I placed tiny dots of Multipurpose Glue over the seed heads. I let it sit for awhile – I didn’t time it, but probably ten minutes or so. When the glue dries, it changes color from white to clear and becomes tacky to the touch! I then put a flake of the Gilded Leafing over the top of the tacky glue and gently rubbed over the surface with a clean Blending Brush to remove the excess gild. And voila! Gold seedheads! And no heat tool needed. I like the brighter gold this method provides versus using gold embossing powder.

The second example on this same card uses TearNTape. I cut a piece of Cork Specialty Paper at an angle and adhered it to my card mat. Following that same angle, I adhered a piece of TearNTape across the card mat. I wrapped the ends around to the back of the mat, because I wanted the gold to wrap around the edge. Peel off the protective backing and scatter flakes of Gilded Leafing along the strip. This time I used my finger to gently rub the Gilded Leafing all along the length of the sticky tape. Any excess leafing can be put back in the jar for another project. And again, no heat tool needed.

Share:

Leave a Comment
see more related posts: Product Tips & Tricks

Previous Post: « Woodland Christmas Card
Next Post: Halloween Cauldron Card »

Reader Interactions

Leave a Reply Cancel reply

Your email address will not be published. Required fields are marked *

Primary Sidebar

Peri Beal

Cheesehead. Avid reader. Antique hunter.

Shop Online

Shop with me and get a FREE PDF tutorial bundle delivered to your inbox AND a handmade card via snail mail

Search

Papercrafting Threads

Gift Certificates
  • Email
  • Facebook
  • Instagram
  • Pinterest
  • YouTube

Sign up for my Newsletter

Sign up for my newsletter and get a free PDF tutorial as my welcome thank you!

Almost there...

Please check your email to confirm your subscription

Retired Product
Privacy Policy

The Fine Print

Just so you know... This is a personal website and I am responsible for its content. Stampin' Up!® does not endorse the use of or contents of the classes, services, or non-Stampin' Up! products I offer.

Sign up for my Newsletter

Sign up for my newsletter and get a free PDF tutorial as my welcome thank you!

Almost there...

Please check your email to confirm your subscription

Footer

  • Calendar of Events
  • 3D Projects
  • Cardmaking
  • Fun Fold
  • Product Tips & Tricks
  • Projects
  • Techniques
  • Of Interest
  • Catalogs
  • Join the Fun
  • Contact Me
  • Email
  • Facebook
  • Instagram
  • Pinterest
  • YouTube

PAPERCRAFTING THREADS

Copyright © 2025 · Refined theme customized by Catherine Carroll

Privacy Policy · Affiliate Disclosure