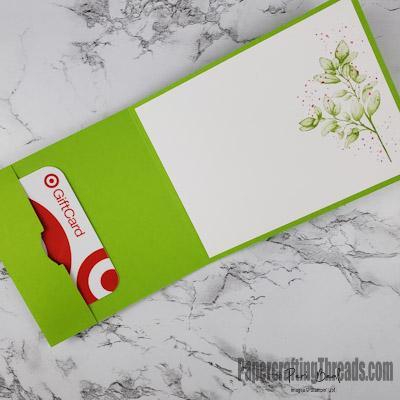
A leafy stamp. A square. And a Stamparatus (stamp position tool). And voila, a Wreath Gift Card Holder is born! Read on to see the magic trick revealed.
All you need are two 4-inch squares, overlapping each other as shown below. Click on the graphic to download a free printable for your own wreath template maker. Print the graphic on an 8-1/2″ x 11″ sheet of paper and trim the sheet to 7″ x 7″ to fit a Stamparatus. Now you’re ready to make a wreath.
Open the Stamparatus. Place the wreath template maker into the Stamparatus with the upper right wedged into the corner. Place magnets to hold the template in place.
Next, cut a 4″ x 4″ piece of cardstock and place it on the blue square. Choose a stamp and arrange it horizontally towards the top of the blue square. Pick up the stamp with the clear plate, ink the stamp, and close the lid to stamp. Then rotate the cardstock to the left and line up the edges with the diagonal square, ink and stamp. Rotate the cardstock to the left and line up the edges with the blue square, ink and stamp. Alternate and repeat until you’ve went all the way around, for a total of eight stampings. For a demo of this technique, see my Instagram Reel.
To make my Wreath Gift Card Holder, cut the base cardstock to 4-1/4″ x 11″, scoring on the long side at 1-1/4″ and 5-1/2″. Fold and burnish on the score lines. Notch the center of the gift card flap. I used the end of the Label Me Fancy Punch. Add adhesive to the sides of the small flap and adhere. Decorate as you wish.
I used Granny Apple Green and Melon Mambo for my cardstock and inks. The curvy greenery is from the Forever Fern stamp set (any of the greenery stamps from this set would make beautiful wreaths!) I even used another stamp from that set to make berry clusters by inking just the tip of two berries. And lastly, I added a bow of white Glittered Organdy Ribbon for a touch of glam.


Leave a Reply