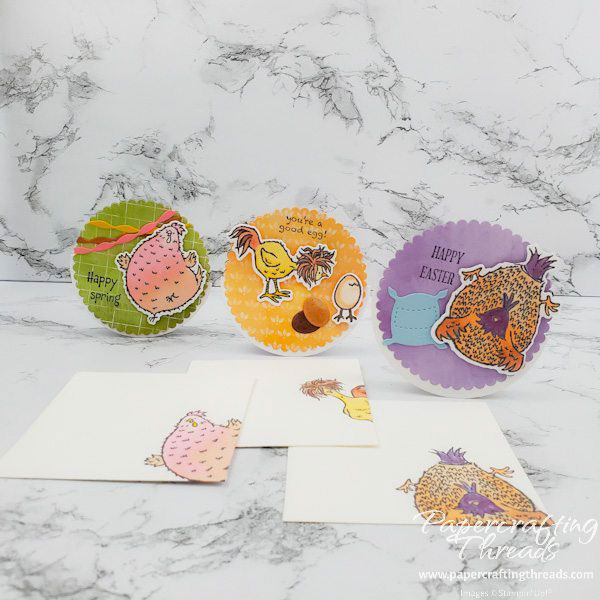
Follow my rocker card tutorial and make these sweet little chicks perfect for Easter table decorations and Easter baskets. Or sneak one in someone’s pocket. The chicks are out in force in all their glory and these chicks rock!
I used the largest circle die measuring 2-7/8″ in diameter from the Layering Circles die set for the base of these rocker cards. Score the circle in half and fold. Next I die cut two scalloped circles (approximately 2-5/8″ in diameter) from the same die set from Flowering Fields patterned paper. While one side of this paper features brilliant images of tulips, the ‘backside’ suited my chicks. With the Basic White circle folded in half, glue a scalloped circle to the front. Flip over and matching scallops, glue the second scallop circle to the back, covering the tulip pattern.

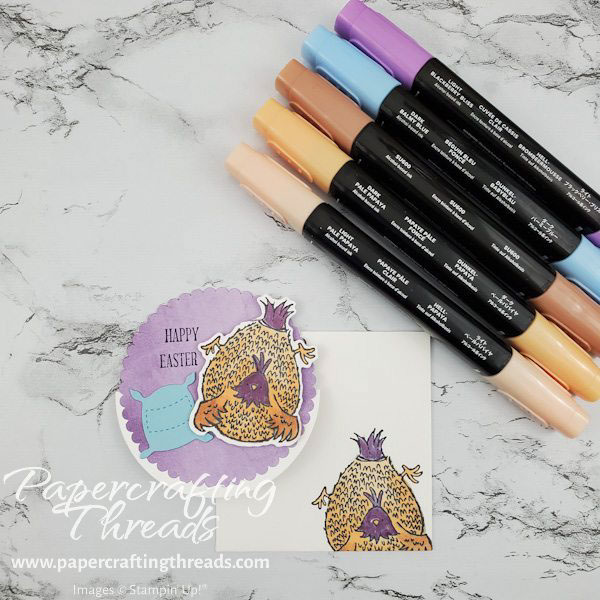
Now it’s time to decorate! For my Happy Easter chick, I masked off the balloon and string from my stamp before inking with Memento Black ink. After coloring my chick with Stampin’ Blends, I diecut her and fussy cut the leftover bits from the body of the chick. Sentiment came from A Wish for Everything stamp set.

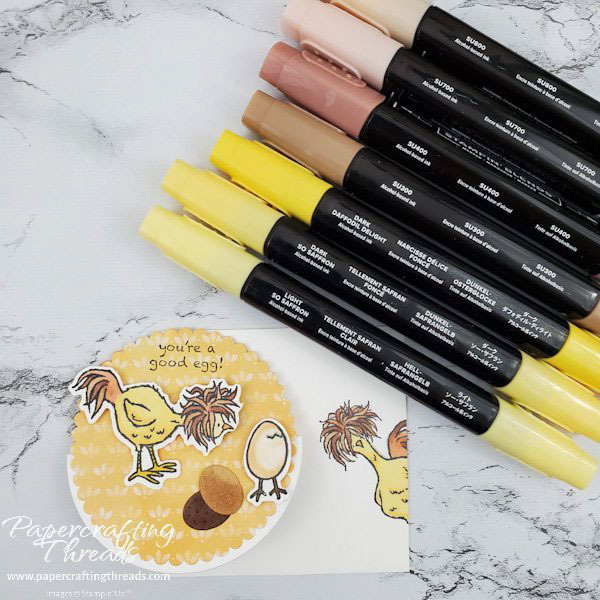
For my yellow rocker, I pulled out the retired Hey Chick set for the eggs and sentiment.

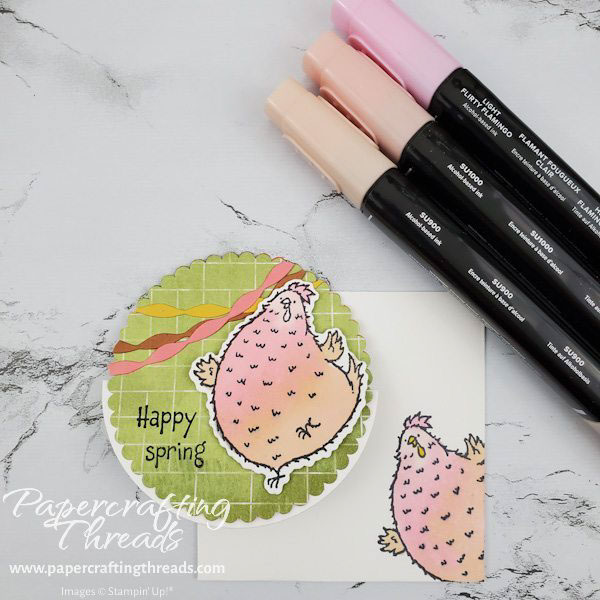
This chick is ready to par-tay! I masked off sentiments from the Hey Birthday Chick stamp set for the greeting. Banners are die cut from Flirty Flamingo, Cinnamon Cider and Bumblebee.
Which is your favorite? I’ll be making many more of these little gems with other themes. I hope this rocker card tutorial makes you smile 🙂
Leave a Reply