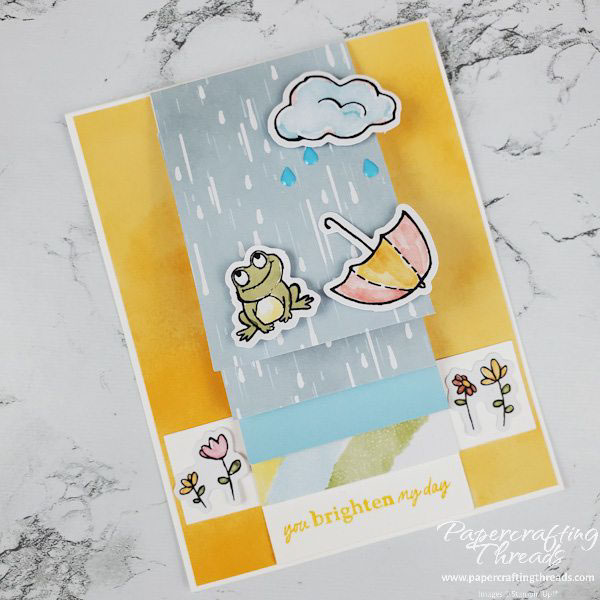
Create a super cute Waterfall card with the Sunshine and Smiles Paper Pumpkin kit! When you pull the tab at the bottom, the panels flip and cascade like a waterfall. I had the ‘rain rain go away, come again another day’ nursery rhyme in mind when I made this — you’ll see what I mean in a little bit. Let’s get started and craft…
cutting & scoring guide
| Paper Dimensions | Score Long Side | |||
| 4-1/4″ x 11″ Basic White cardstock base | 5-1/2″ | |||
| 2-1/4″ x 10-1/8″ Basic White cardstock waterfall mechanism | 3-1/4″, 3-3/4″, 4-1/4″ & 4-3/4″ | |||
| 1″ x 4″ Basic White cardstock anchor | ||||
| 2-1/4″ x 3-1/4″ patterned paper for waterfall (cut 4) | ||||
| 4-1/8” x 5-3/8” cut from patterned envelope |
Step by step instructions for waterfall card
Start with the envelope from the kit, trimming off the sides to open it fully. Then cut the large center piece to 4-1/8” x 5-3/8”. Next cut a cardbase of Basic White cardstock 4-1/4” x 11” scoring it down the middle at 5-1/2”. Cut the waterfall mechanism 2-1/4” x 10-1/8” and score it at 3-1/4”, 3-3/4”, 4-1/4” and 4-3/4”. And also cut a 1” x 4” strip of Basic White for the anchor.
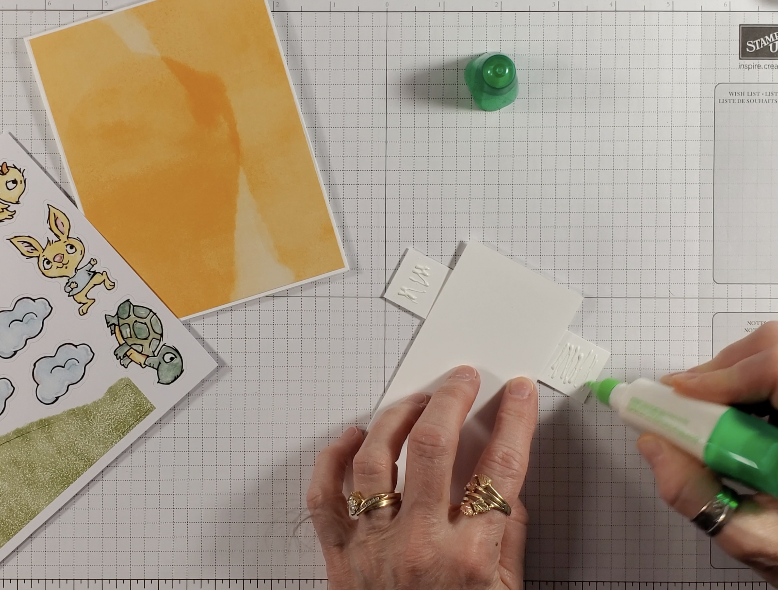
Use one of each of the cardbases from the kit and cut the fronts off (save those for other projects). Then trim the backs down to 2-1/4” x 3-1/4”, featuring a rainbow section, an ombre blue sky, and two of the falling rain.
Fold the mechanism strip all in the same direction with mountain folds. Then fold all of the scorelines the opposite direction or valley folds. And lastly, fold all of the scorelines into mountain folds again. This breaks down the paper fibers and helps the mechanism to move smoothly.
With the shorter end on top and facing you, add liquid glue to the rectangle and adhere the bottom of the stacked images, which is the rainbow. Stamp the sun in the upper right corner on the blue sky piece. Then add liquid glue to the ½” panel immediately above the rainbow panel and adhere the blue sky piece to it. Repeat this on each of the next ½” panels with the falling rain patterned papers.

Then flip the whole thing over to the back side and glue the 1” x 4” strip along the bottom edge of the shorter section. It sort of looks like a “T” when in place.
Returning to the front side, stamp the sentiment ‘you brighten my day’ in the open space at the bottom of the mechanism.
Final assembly
To assemble the card, adhere the envelope liner to the front of the cardbase. Turn the waterfall mechanism over and add glue to just the little squares hanging over each edge on both sides.
Then center the mechanism on the card front. Decorate the panels with the diecut animals, flowers, clouds and umbrella from the kit. Use glue dots to adhere all of these elements so there was a little bit of lift, but not enough to interfere with the mechanism. Use dimensionals on the front panel. Be sure to place the elements on the lower panels so they don’t show and ruin the surprise. Stamp and color flowers on the pull down strip just above the sentiment. And add a stamped frog with flowers on the inside of the cardbase.
I’ve created a YouTube video showing just how this card came together. Check it out below.
Waterfall cards are amazingly easy to create once you have the measurements for the mechanism. I see many more versions in my future 🙂

Leave a Reply