Papercrafting Threads

  • Tutorials
    • PDF Tutorials
    • 3D Projects
    • Cardmaking
    • Fun Fold
    • Product Tips & Tricks
    • Projects
    • Techniques
  • Catalogs
  • Shop & Specials
    • Shop My Stampin’ Up! Online Store
    • Special Offers
    • Buy Me A Coffee
    • My Favorite Things on Amazon
    • Gift Certificates
  • Contact Me
  • Join the Fun
    • Join the Fun
    • Special Join Offers
  • Calendar of Events
  • Paper Pumpkin
    • Paper Pumpkin Kits
    • Paper Pumpkin Stamp Case Inserts
  • Nav Social Menu

    • Email
    • Facebook
    • Instagram
    • Pinterest
    • YouTube

Double Diorama Card

May 29, 2023 Leave a Comment

29 May
Double Diorama Card in Copper Clay with bison and tent in a mountain meadow

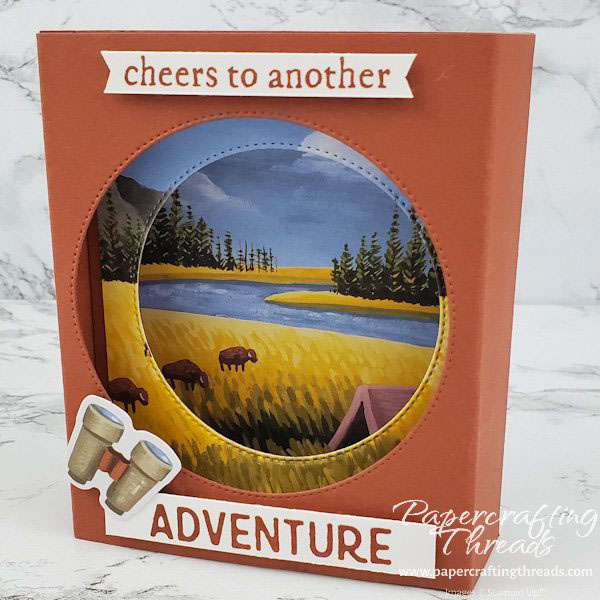
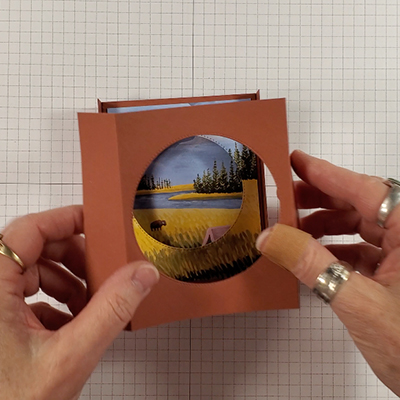
Look through the binoculars with this fun Double Diorama Card made from the scenic card bases included in May’s Exploring In Color Paper Pumpkin Kit! This format can be easily transformed with any coordinating patterned paper (or preprinted card bases). Let’s get started!

cutting & scoring guide

Paper DimensionsScore Long Side
4-1/4″ x 5-1/2″ Copper Clay cardstock base and top (cut two)1″ from each end
4-1/4″” x 4-1/2″” Copper Clay cardstock inner diorama1/2″ from each end
3-1/4″ x 4″ patterned scenic paper for inner diorama
3-1/4″ x 4″ patterned scenicpaper for inside back diorama
3-1/4″ x 4″ Basic White cardstock for back message panel
Scrap strips of Basic White cardstock
Cutting & Scoring Guide for Double Diorama Card

step by step instructions for double diorama card

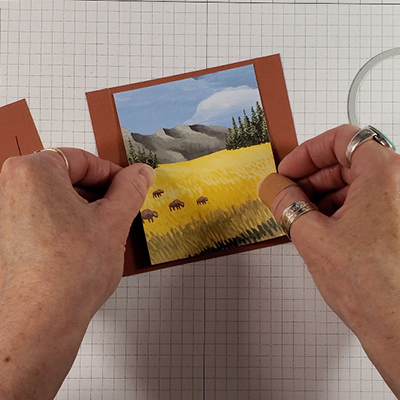
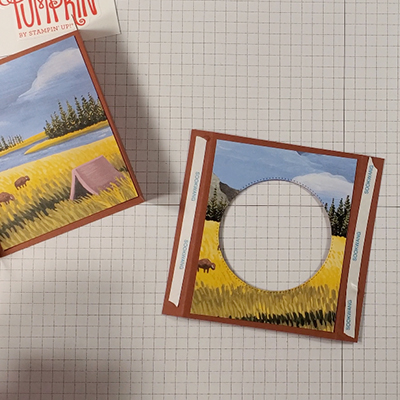
Adhere the inner scene to the smaller cardstock piece, centering the scene between the scorelines.

Inner Scene adhered to cardstock

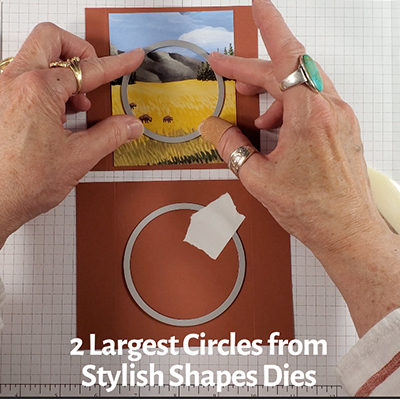
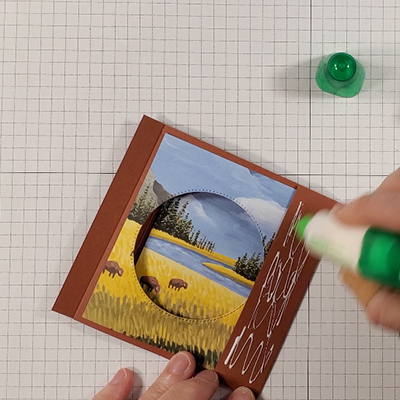
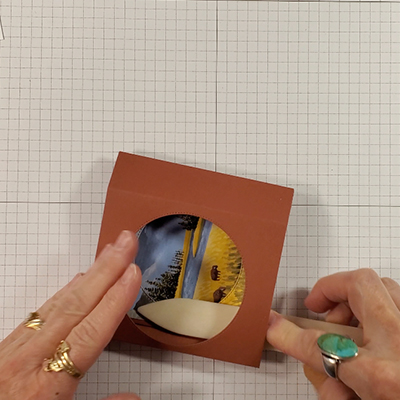
Using the two largest circles from the Stylish Shapes die set, center the smaller circle on the inner scene and diecut. Center the larger circle on one of the cardstock bases and diecut.

Cut large circle and small circle

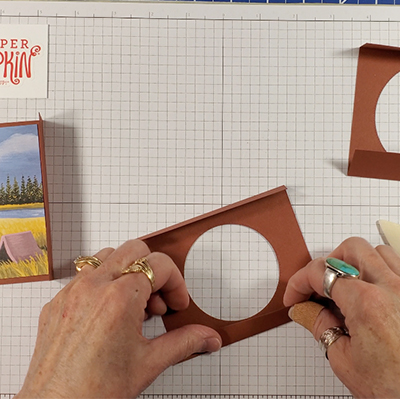
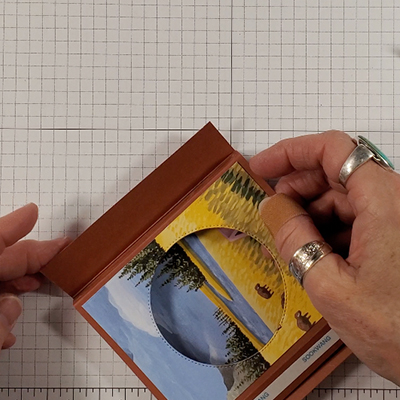
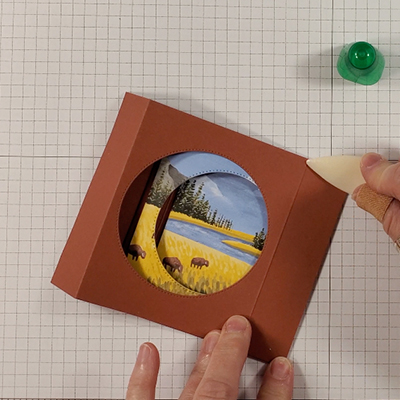
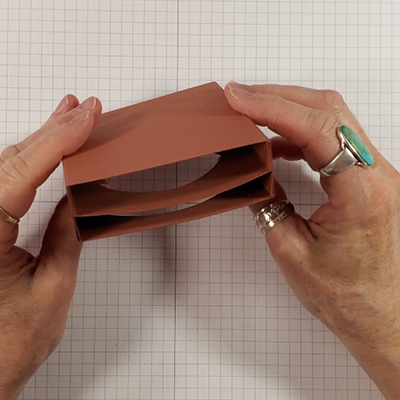
Fold on the scorelines on both pieces, creating mountain folds.

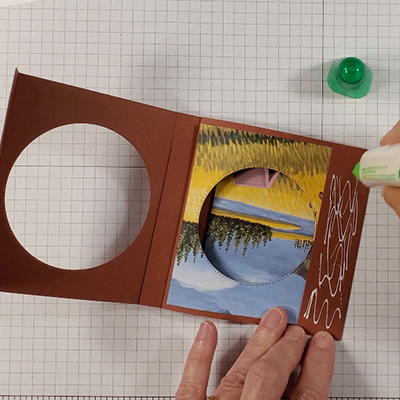
Then adhere the remaining scene between the scorelines of the remaining cardstock bases. Fold on the scorelines to create valley folds.

Fold on scorelines

Place the inner scene over the back scene. Add adhesive to the outside of the 1/2″ flaps and press the one inch flaps on top to adhere.

First inner seam of Double Diorama Card
Second inner seam
Finished inner scene assembly of Double Diorama Card

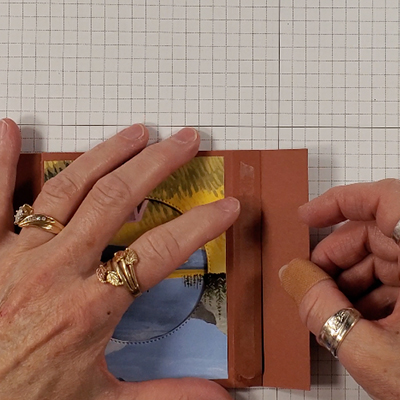
Dry fit the top — add the ‘lid’.

Dry fitting the 'lid' or top layer

Press one of the 1 inch flaps flat, add liquid glue and line up the cover flap, and burnish to adhere. Repeat on the other end.

Close up of liquid glue on top tab
Burnish first flap
Glue last flap
Double Diorama Card Top View with assembly complete

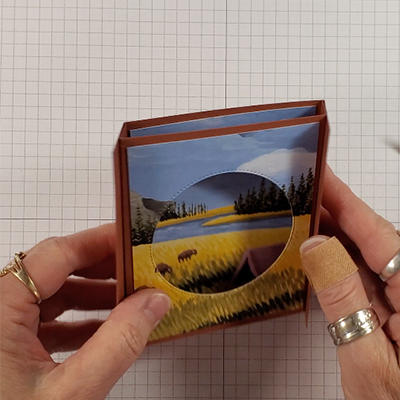
Reinforce the folded scorelines on the inner scene by inserting a bone folder and burnishing.

Burnish inner layer of Double Diorama Card with bone fold

Decorate with sentiment strips — I inked just the top portion ‘cheers to another’ and stamped on a narrow Basic White strip, and then flagged the ends. After cleaning the stamp, I inked the ‘ADVENTURE’ portion and stamped on a little bit wider Basic White strip. Both strips were popped up with dimensionals. I finished off the front with the binoculars hanging just over the sentiment strip and the open circle.

For a place to add a message, I added a Basic White cardstock piece on the back and decorated the bottom right corner with a second generation inked compass image.

Like this alternative? Subscribe to next month’s Paper Pumpkin Kit and see what I come up with!!

Share:

Leave a Comment
see more related posts: 3D Projects· Paper Pumpkin Alternative

Previous Post: « Double Tower Card
Next Post: Covered Paper Clips »

Reader Interactions

Leave a Reply Cancel reply

Your email address will not be published. Required fields are marked *

Primary Sidebar

Peri Beal

Cheesehead. Avid reader. Antique hunter.

Shop Online

Shop with me and get a FREE PDF tutorial bundle delivered to your inbox AND a handmade card via snail mail

Search

Papercrafting Threads

Gift Certificates
  • Email
  • Facebook
  • Instagram
  • Pinterest
  • YouTube

Sign up for my Newsletter

Sign up for my newsletter and get a free PDF tutorial as my welcome thank you!

Almost there...

Please check your email to confirm your subscription

Retired Product
Privacy Policy

The Fine Print

Just so you know... This is a personal website and I am responsible for its content. Stampin' Up!® does not endorse the use of or contents of the classes, services, or non-Stampin' Up! products I offer.

Sign up for my Newsletter

Sign up for my newsletter and get a free PDF tutorial as my welcome thank you!

Almost there...

Please check your email to confirm your subscription

Footer

  • Calendar of Events
  • 3D Projects
  • Cardmaking
  • Fun Fold
  • Product Tips & Tricks
  • Projects
  • Techniques
  • Of Interest
  • Catalogs
  • Join the Fun
  • Contact Me
  • Email
  • Facebook
  • Instagram
  • Pinterest
  • YouTube

PAPERCRAFTING THREADS

Copyright © 2025 · Refined theme customized by Catherine Carroll

Privacy Policy · Affiliate Disclosure