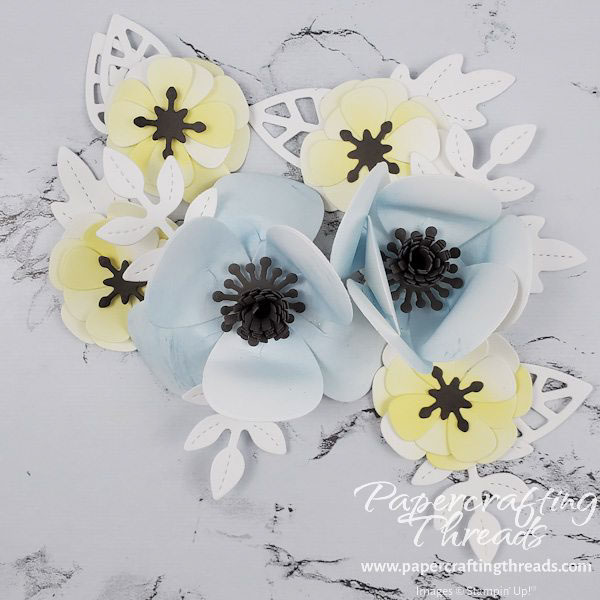
Learn how to use these sometimes baffling Paper Florist diecuts to create different varieties of flowers and before long you’ll have a garden full. I’ve got you covered with multiple ways to assemble the petals into different blooms. And my timesaving coloring technique will get you more flowers faster! Let’s get started.
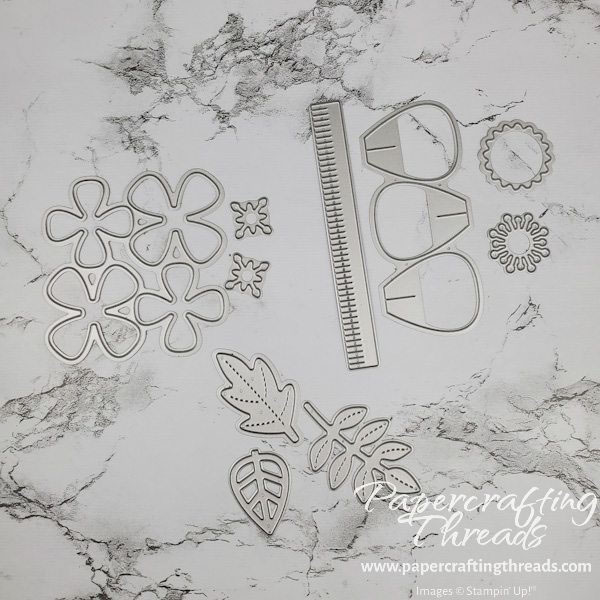
I chose the Paper Florist Diecuts pictured above since they might not be intuitive. Other supplies you’ll need are Basic White cardstock, Pebbled Path cardstock, Blending Brushes, Silicone Craft Mat, Dimensionals, and glue dots. I chose Lemon Lolly, Boho Blue and Pebbled Path for my ink colors. You’ll also need a bone folder. Click here to go directly to my online store.
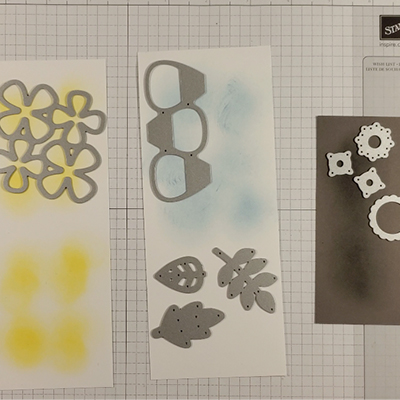
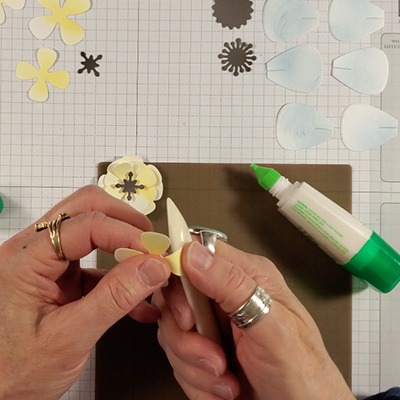
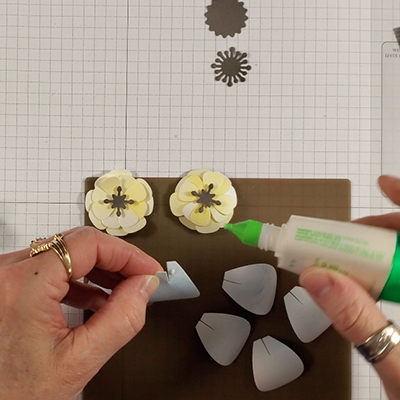
Begin by laying the petal diecuts on the Basic White cardstock. Remove the diecut piece and blend Lemon Lolly ink where the four-petal diecut was and Boho Blue for the 3-petal diecut. Just approximate where the ink matches the petal placement. The goal is to let some white shine through and to have some spots more inked than others. This adds variety to the petals so no two are alike (just like in nature!) and adds depth. I colored two sections for the 4-petal and two sections for the 3-petal. Diecut all pieces and place the Silicone Craft Mat on your work surface. Adhesive will not stick to this mat!!
Flower #1
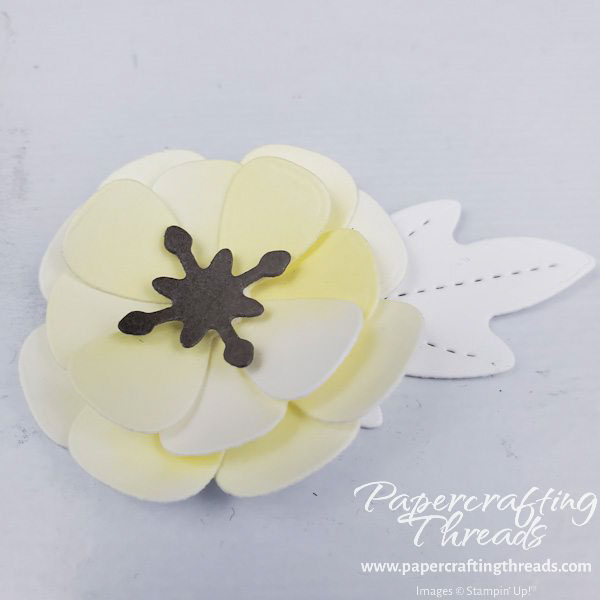
Start with the first set of four Lemon Lolly petals and fold each individual petal upward with the bone folder.
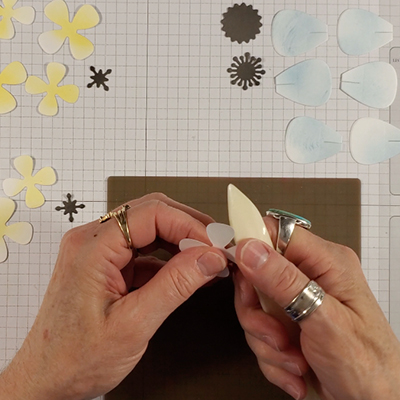
Then layer the petals from largest to smallest and adhering with a dot of liquid glue on the center back of each set of petals. Be sure to offset the petals to create more fullness. Scrunch up the Pebbled Path center, add a dimensional to the back and pop it in the center of the flower. I think this one looks like some type of mallow.
Flower #2
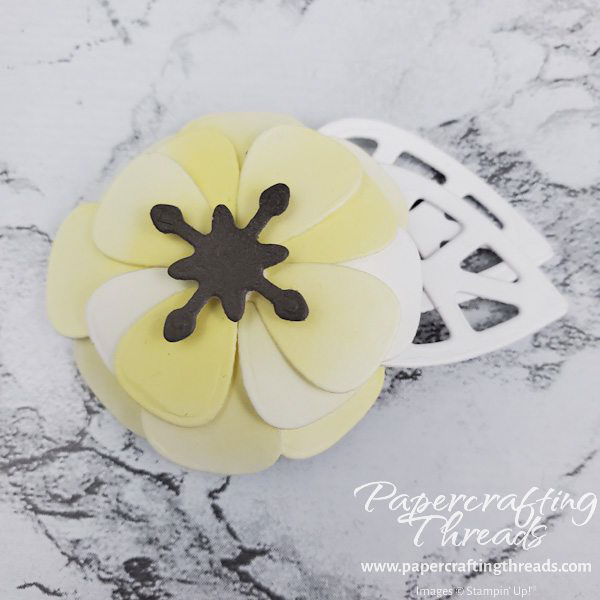
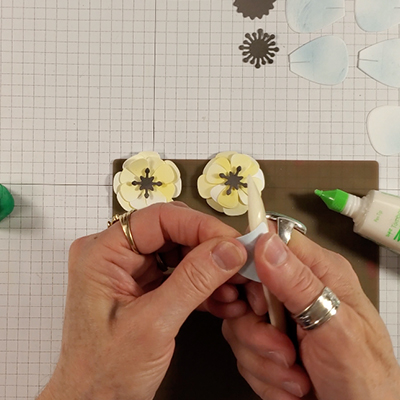
For the second Lemon Lolly flower, fold all of the petals downward.
Assemble in the same manner as the first flower.
Flower #3 from the paper florist diecuts
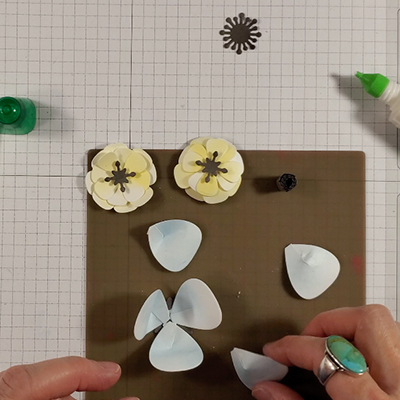
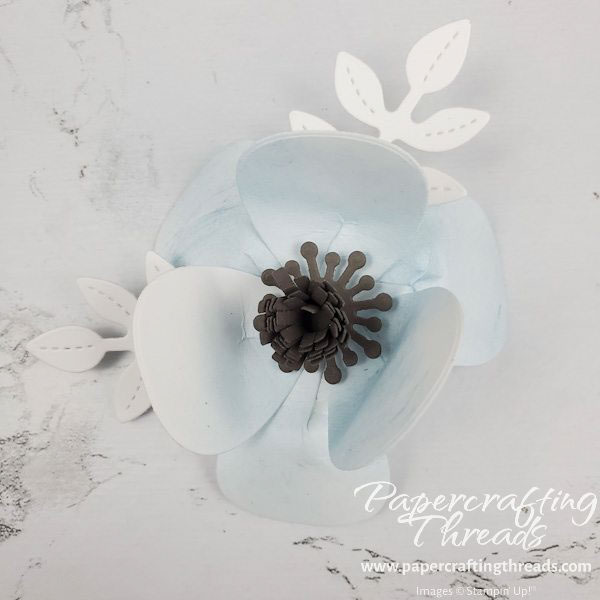
The third flower uses all six of the Boho Blue petals as well as the Pebbled Path fringed diecut, the scalloped circle and the floral center diecuts. Begin by curling the wider end of the petals downward. Really work those paper fibers until they soften up. The more curling done now the better shaping will happen later.
Once all six petals are curled, add a drop of glue to one of the tabs and pull the other tab on top, pressing to adhere. Change the shape of the petals by pulling the tab farther over and where the natural curve falls.
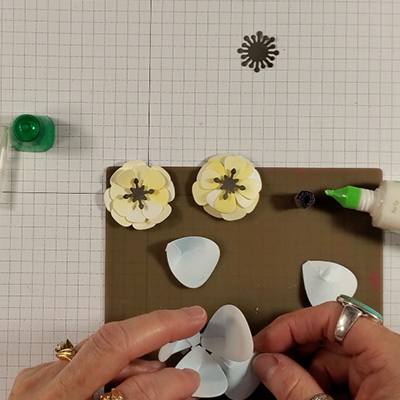
Then use the scalloped circle as a base. Position the first three petals in a triangular pattern by glueing the tips to the scalloped circle.
Add the next three petals by inserting the tips in between and behind the first set of adhered petals.
Once the petals are all adhered, add the flower center by popping it up on a dimensional. Then create the stamen by rolling up the fringed diecut and glueing the ends. Then loosen up the fringe with your thumb and glue to the center.
The possibilities are endless! Change the ink color. Change the number of petals. Change the leaves. And watch for Part II with more flowers from the other diecuts in the Paper Florist Diecut set.
Which flower is your favorite? Comment below! And go ahead and check out my YouTube video too!

Leave a Reply