Papercrafting Threads

  • Tutorials
    • PDF Tutorials
    • 3D Projects
    • Cardmaking
    • Fun Fold
    • Product Tips & Tricks
    • Projects
    • Techniques
  • Catalogs
  • Shop & Specials
    • Shop My Stampin’ Up! Online Store
    • Special Offers
    • Buy Me A Coffee
    • My Favorite Things on Amazon
    • Gift Certificates
  • Contact Me
  • Join the Fun
    • Join the Fun
    • Special Join Offers
  • Calendar of Events
  • Paper Pumpkin
    • Paper Pumpkin Kits
    • Paper Pumpkin Stamp Case Inserts
  • Nav Social Menu

    • Email
    • Facebook
    • Instagram
    • Pinterest
    • YouTube

Twisted Ribbon Card Technique

March 30, 2024 Leave a Comment

30 Mar
Twisted Ribbon Card Technique with Memorable Moments Paper Pumpkin Kit patterned envelope strips with cloud pattern, wood leaf diecut and purple accents

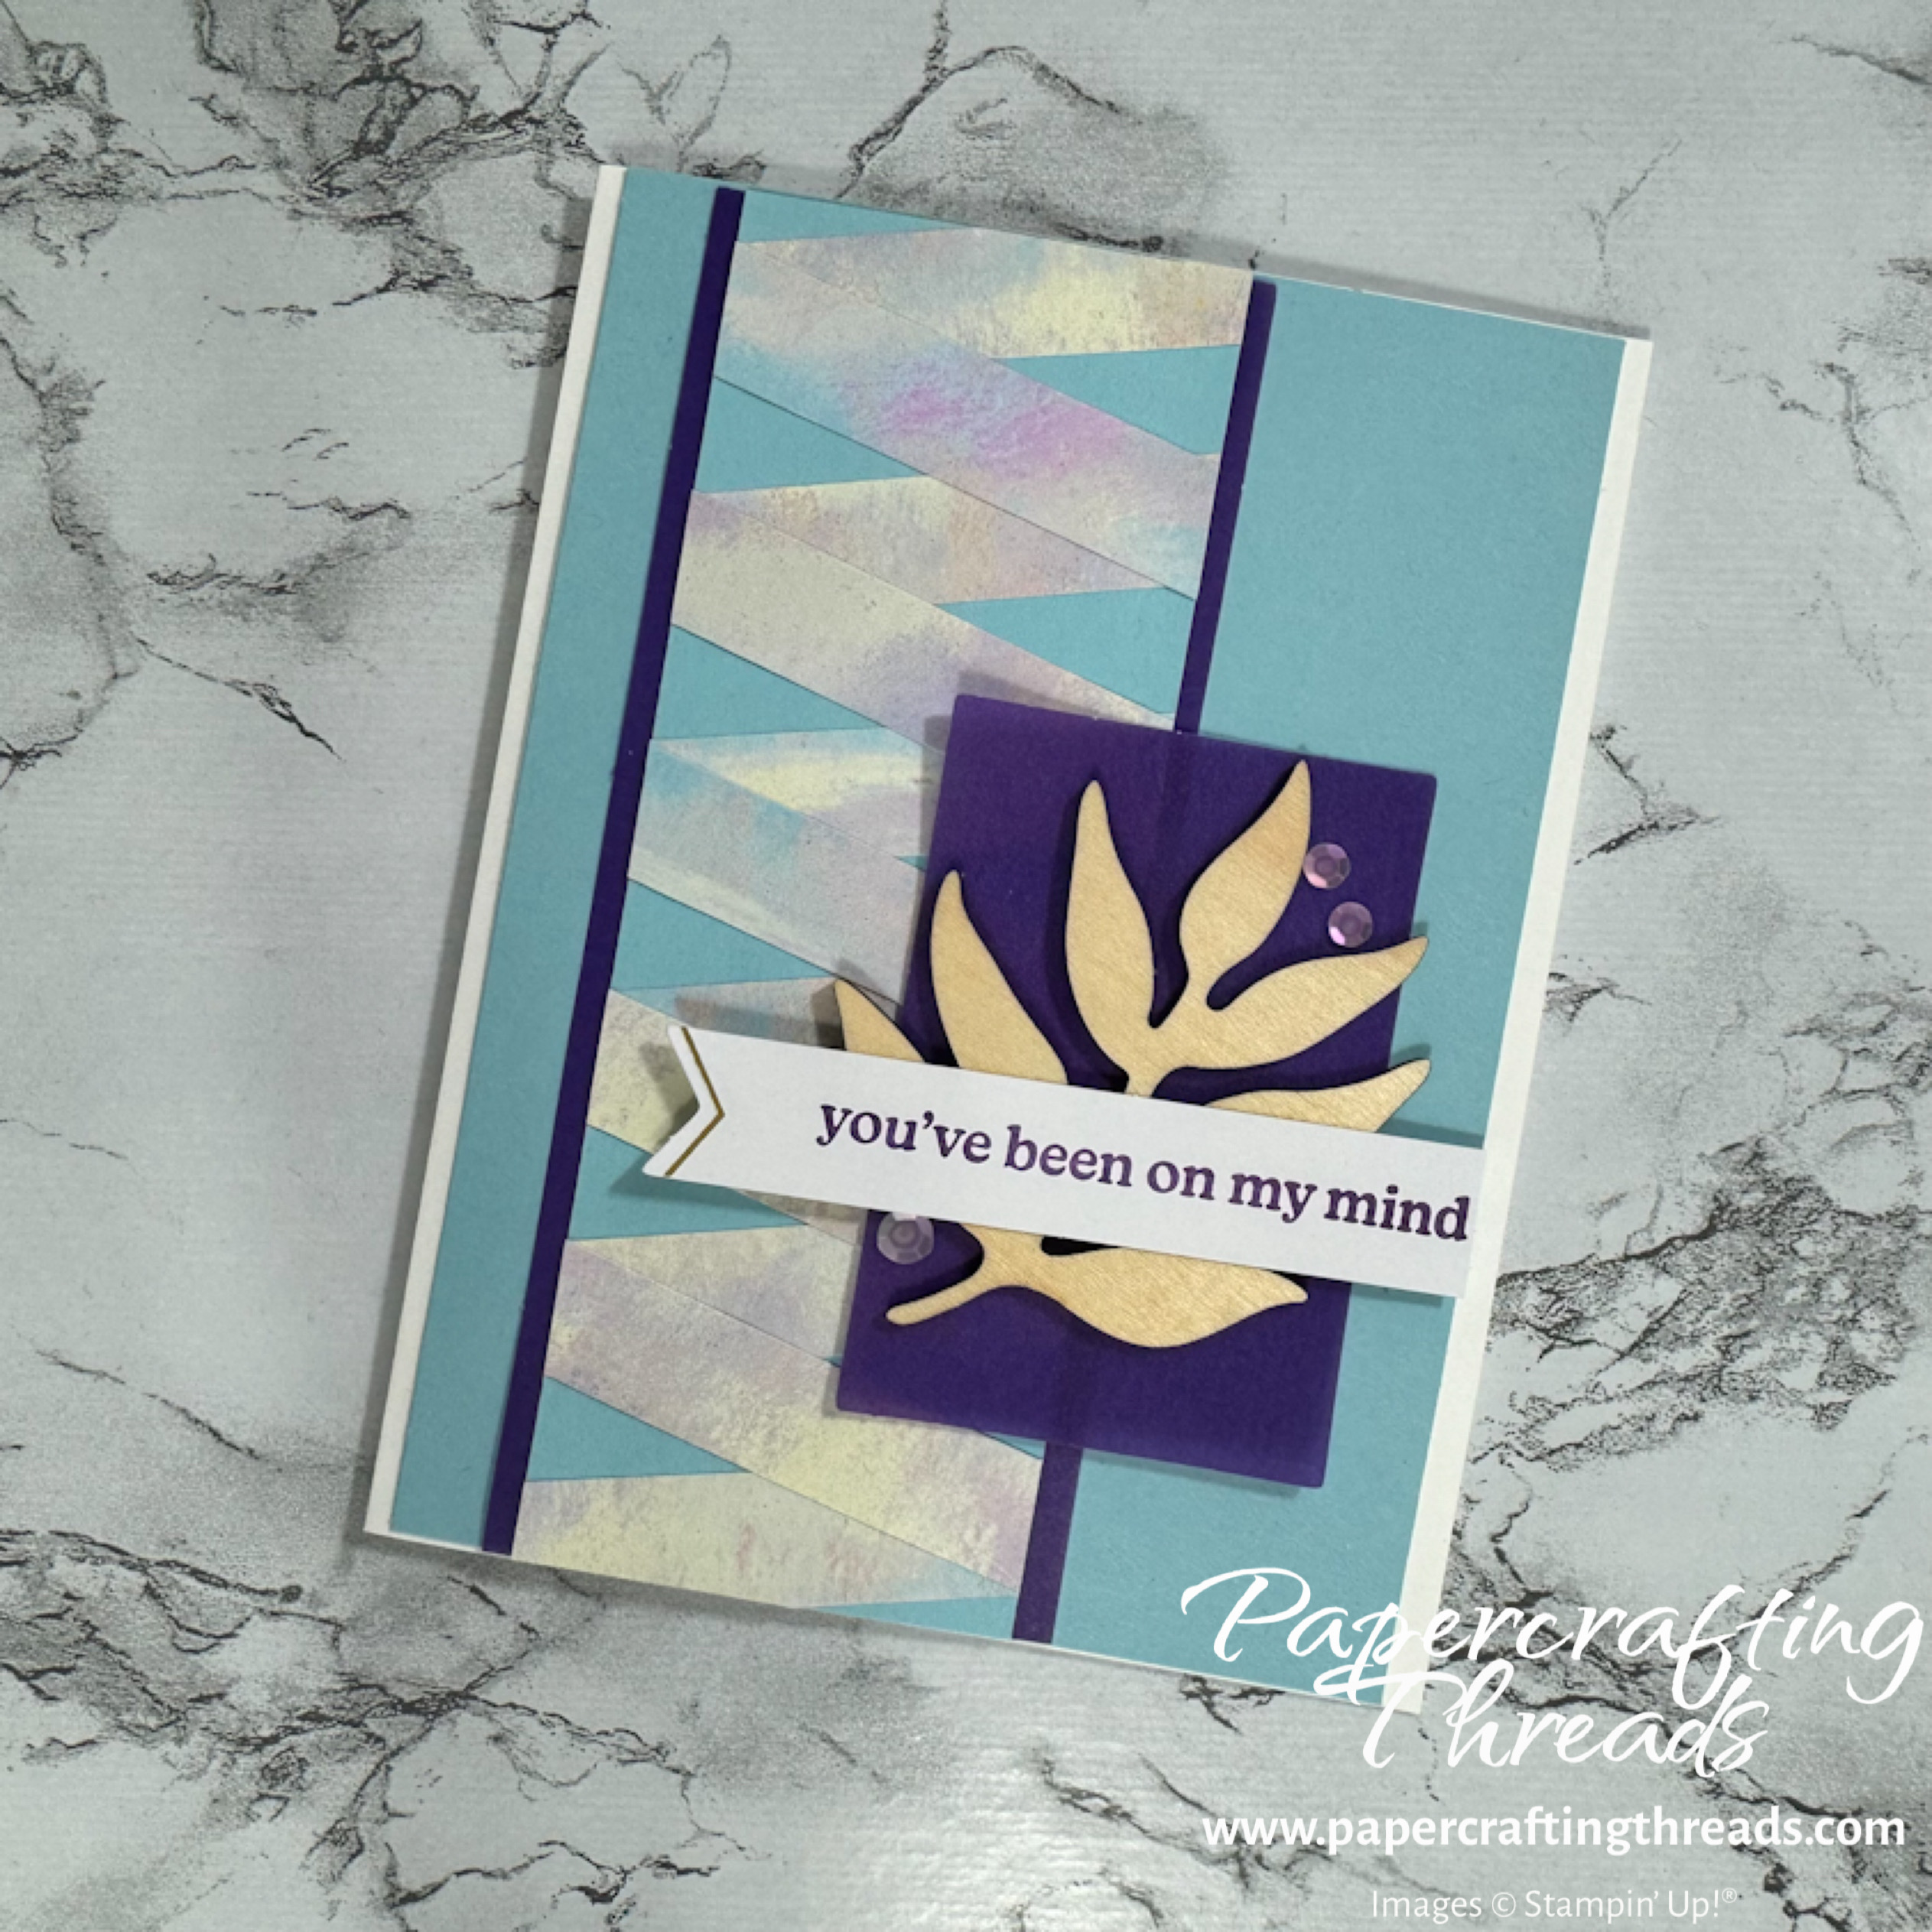
Use the Twisted Ribbon Card Technique for a fun Paper Pumpkin Alternative with the Memorable Moments Kit from March 2024. Sub any patterned paper for a great twist that will have your friends and family wondering ‘how did you make THAT’?

cutting & scoring guide

Paper DimensionsScore Long Side
5-1/2″ x 8-1/2″ Basic White cardstock base4-1/4″
4″ x 5-1/2″ Balmy Blue cardstock for mat
2″ x 6″ Balmy Blue cardstock1″, 2″, 3″, 4″ & 5″
1/2″ strips of patterned paper for twisted ribbon
Cutting & Scoring Guide for Twisted Ribbon Card Technique

step by step instructions for twisted ribbon card

Pick a patterned paper for the twisted ribbon. I used one of the envelopes from the latest Paper Pumpkin Kit. I cut the sides off the envelope to open it up, then sliced the paper in seven 1/2″ strips.

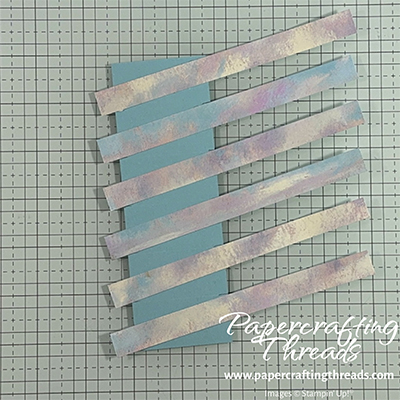
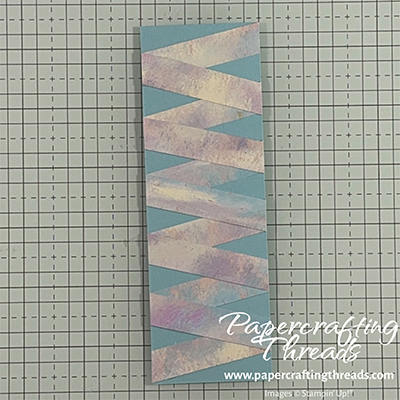
Using a 2″ x 6″ piece of Balmy Blue cardstock scored at every inch, I adhered the first strip with the bottom edge of the strip placed at the left edge of the first score line. The top edge of the strip meets the top right corner. I repeated this moving down the Balmy Blue panel creating a diagonal pattern as shown below.

First layer of half inch strips placed at a diagonal on a blue rectangle

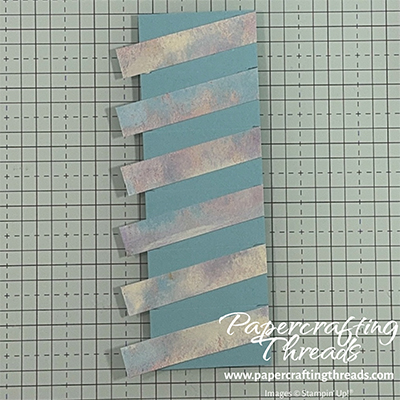
Then I trimmed off the long overhanging strips from the back side, lining up the blades of my scissors with the cardstock edge. This is how it looks from the front with the right side trimmed.

Trimmed half inch strips of patterned paper creating a diagonal pattern on a rectangular piece of blue cardstock

Next I used the left over strip pieces to go the opposite direction, using the already adhered strips as a guide. The left bottom edge meets the bottom of the previous strip. The top edge of the strip meets the top edge of the next strip down.

Second layer of half inch strips placed over first layer.

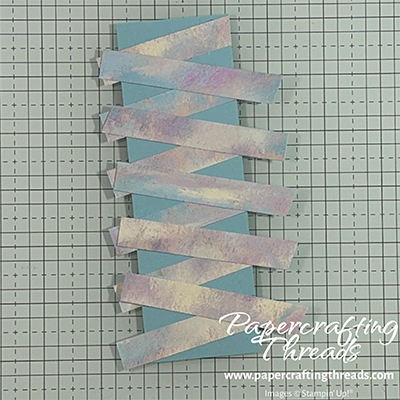
Again I turned the piece over and trimmed all overhanging strips from the edges.

Twisted Ribbon Card Technique panel showing the strips of patterned paper twisting back and forth.

putting it all together

I then placed the finished panel in my trimmer and cut off 1/4″ from BOTH ends. Next I used a scrap of Gorgeous Grape vellum from the Kit to edge the panel before adhering the panel to the large Balmy Blue cardstock. Then the whole thing was adhered to a Basic White standard card base. I used the large rectangular piece of Gorgeous Grape vellum from the kit as a mat for the wooden diecut foliage element. My sentiment was stamped with Gorgeous Grape ink on a gold-foil label and trimmed down to fit on my card front. Iridescent sequins provide the finishing touch on the front of the card. I used the last 1/2″ strip of the patterned envelope paper on the inside of the card.

I made a YouTube video showing the entire process, so check it out below. And if you’d like to get your hands on the next Paper Pumpkin kit, click here to go to my online store.

Share:

Leave a Comment
see more related posts: Paper Pumpkin Alternative· Techniques

Previous Post: « Panoramic Panel Card Tutorial
Next Post: TriFold Gift Card Holder »

Reader Interactions

Leave a Reply Cancel reply

Your email address will not be published. Required fields are marked *

Primary Sidebar

Peri Beal

Cheesehead. Avid reader. Antique hunter.

Shop Online

Shop with me and get a FREE PDF tutorial bundle delivered to your inbox AND a handmade card via snail mail

Search

Papercrafting Threads

Gift Certificates
  • Email
  • Facebook
  • Instagram
  • Pinterest
  • YouTube

Sign up for my Newsletter

Sign up for my newsletter and get a free PDF tutorial as my welcome thank you!

Almost there...

Please check your email to confirm your subscription

Retired Product
Privacy Policy

The Fine Print

Just so you know... This is a personal website and I am responsible for its content. Stampin' Up!® does not endorse the use of or contents of the classes, services, or non-Stampin' Up! products I offer.

Sign up for my Newsletter

Sign up for my newsletter and get a free PDF tutorial as my welcome thank you!

Almost there...

Please check your email to confirm your subscription

Footer

  • Calendar of Events
  • 3D Projects
  • Cardmaking
  • Fun Fold
  • Product Tips & Tricks
  • Projects
  • Techniques
  • Of Interest
  • Catalogs
  • Join the Fun
  • Contact Me
  • Email
  • Facebook
  • Instagram
  • Pinterest
  • YouTube

PAPERCRAFTING THREADS

Copyright © 2025 · Refined theme customized by Catherine Carroll

Privacy Policy · Affiliate Disclosure