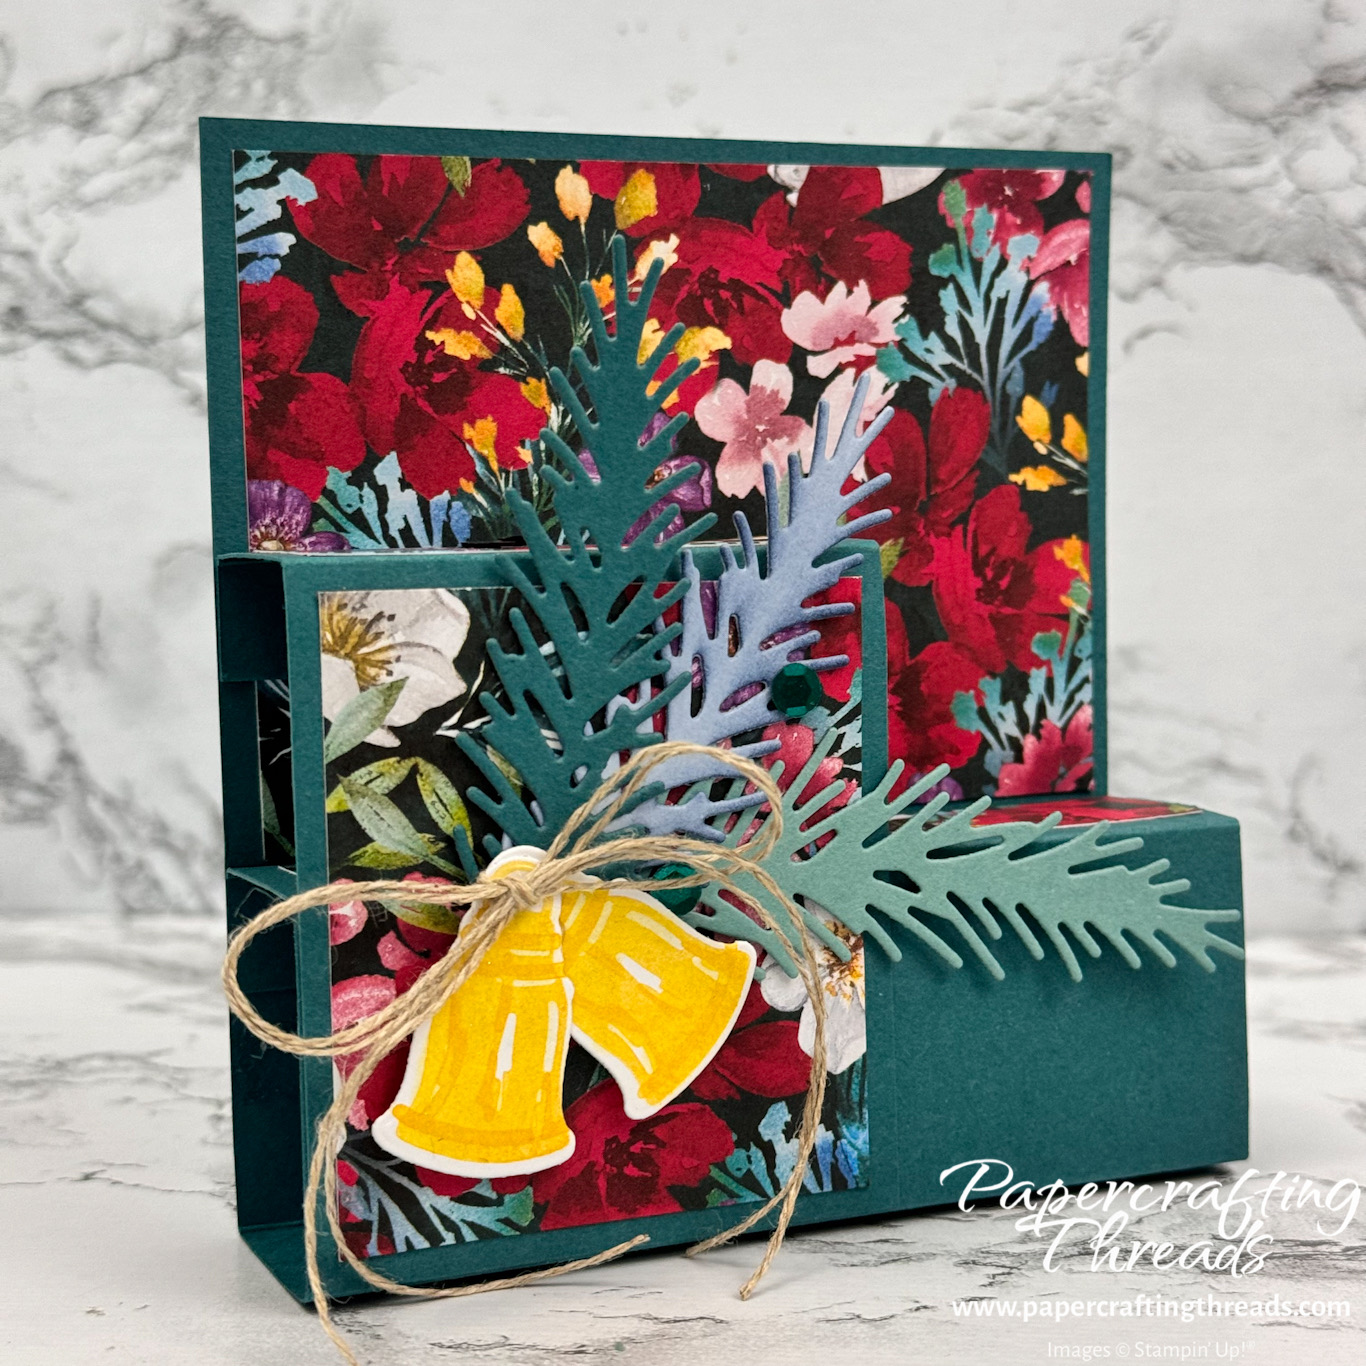
A Fun Fold Fold Flat Card is a fun surprise! The card is flat for mailing, and then voila!, pops up for display when removed from the envelope. The non traditional colors also add a pop of fun. Let’s get started.
| Paper Dimensions | Score Short Side | Score Long Side | ||||
| 4″ x 6″ patterned paper | ||||||
| cut down to 4″ x 2 ⅞”, 4″ x ¾”, 2¼” x 2½” and ¾” x 2¼” as described | ||||||
| 4 ¼” x 8 ½” Pretty Peacock cardstock | ½”, 1 ½”, 3″ and 4″ | |||||
| 2 ½” x 4 ¼” Pretty Peacock cardstock | ½” and 1 ½” | |||||
| 4″ x 4 ¼” Basic White cardstock | ||||||
| Scraps of Basic White, Pretty Peacock & Lost Lagoon cardstock |
Fun fold fold flat mechanism
I used stamps and dies from the Golden Greenery bundle, a sentiment from Greetings of the Season, and patterned paper from the Regal Winter DSP pack. Feel free to substitute what you have.
Cut down the 4″ x 6″ DSP by placing it in landscape position in a trimmer, then slicing off 2 ⅞”, and repositioning and slicing off ¾”. Then turnnthe piece vertically and trimm it down to 2¼” wide before shortening the piece to 2½”. And lastly, slice off another ¾”.
After cutting and scoring the Pretty Peacock cardstock, fold and burnish all score lines. Starting with the larger piece vertically, adhere the largest piece of DSP to the large top portion. Add Tear N Tape to the narrow flap at the bottom, and fold up two score lines and adher the narrow flap just below the already adhered DSP. This creates a channel at the bottom. Then adher the long narrow strip of DSP to the top of the channel.
Next take the remaining piece of Pretty Peacock cardstock, fold and burnish the score lines. With the small narrow flap at the top, add Tear N Tape to the flap where it was folded back. Then line up the bottom of the narrow piece with the flattened bottom of the card, also lining up the left sides and press to adhere the flap. Use liquid glue to adhere the bottom of the side piece to the bottom of the card base.
decorate the fun fold fold flat card
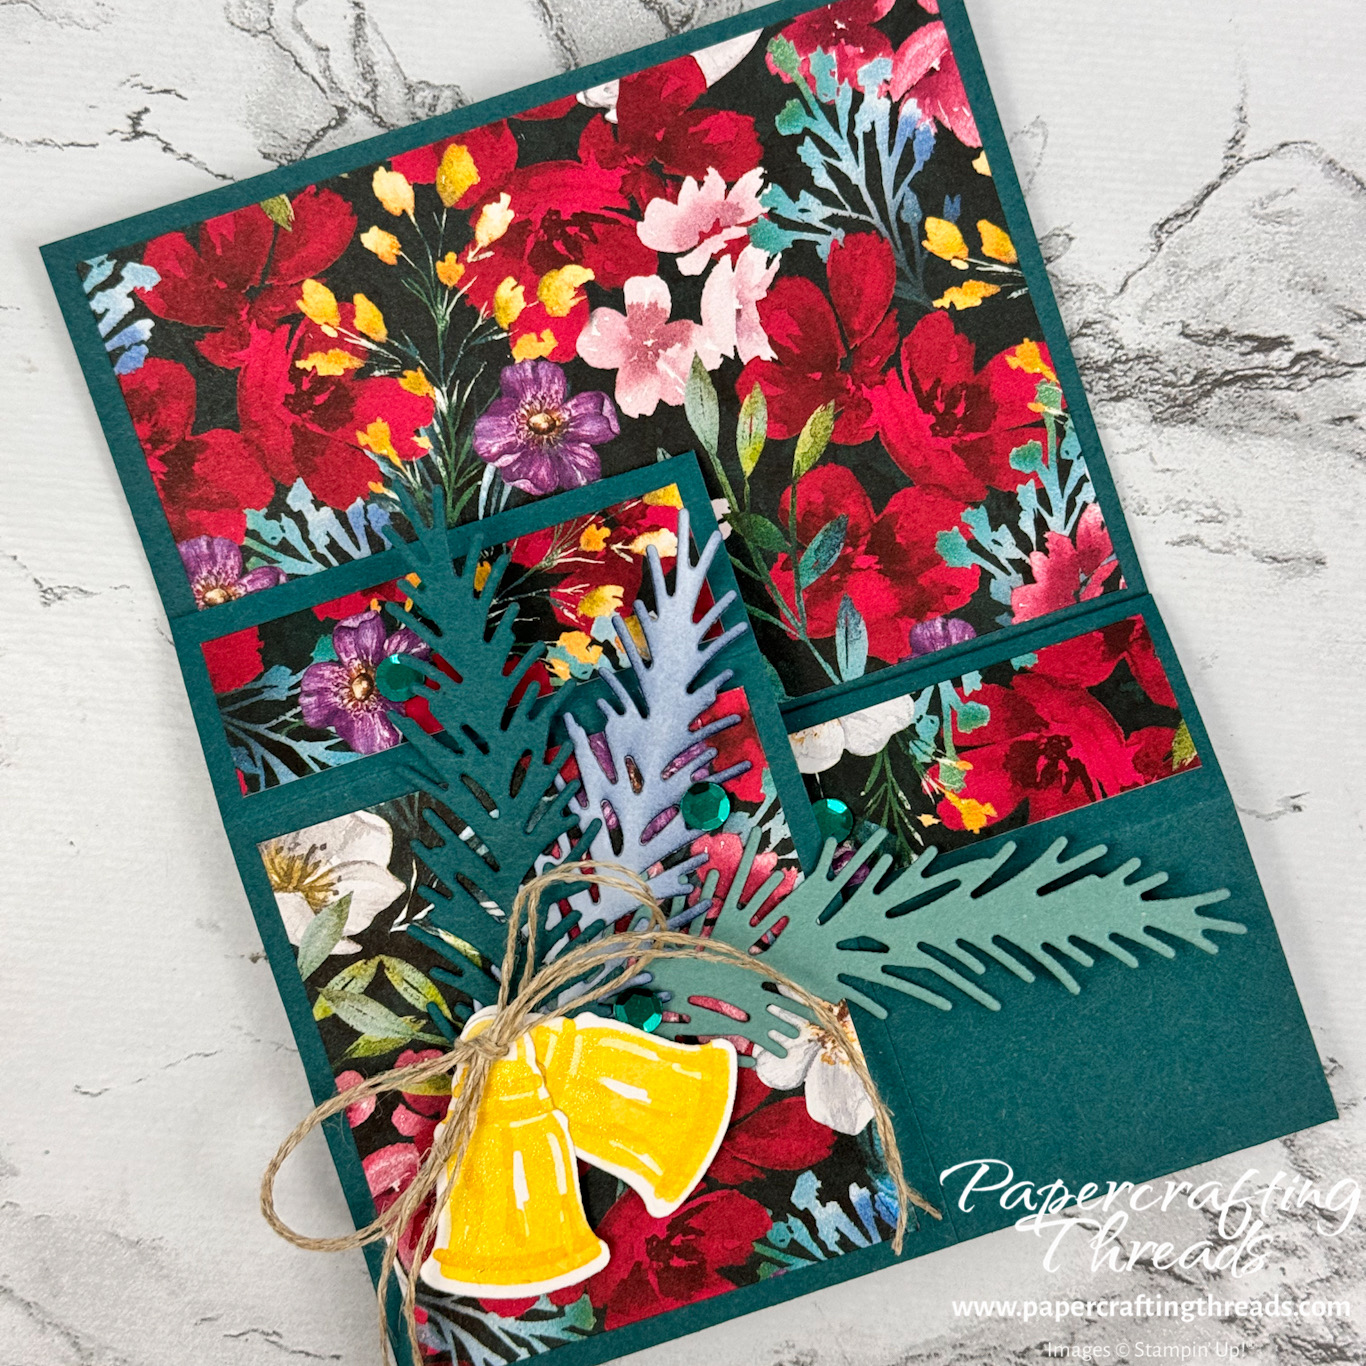
Now it’s time to decorate!! Stamp two small bells in Crushed Curry ink on the scrap of Basic White cardstock and die cut. Also stamp a pair of bells in the top right corner of the 4″ x 4 ¼” Basic White cardstock. Stamp the sentiment ‘Seasons Greetings’ to the left of the bells in Pretty Peacock ink. Then glue the entire piece to the back of the card with liquid glue.
Tie the bells together with a length of doubled Linen Thread and tie a large floofy bow. Diecut small pine boughs from Pretty Peacock and Basic White scraps. Blend Night of Navy ink on the white bough with a Blending Brush. Diecut a large pine bough from a scrap of Lost Lagoon. Layer the boughs into a spray using glue dots. Adhere the bells on top of the spray. Use a glue dot between the bells so one doesn’t cover the other. Add dimensionals to the back of the bells and more glue dots to the back of the spray. Adhere to the left bottom side of the card base.
Scatter green sequins from the Adhesive Backed Sequins Trio on the front of the card. Add Wink of Stella to the bells on both the front and back of the card. Adhere a tiny bow to the top of the bells on the back.
A complete supply list can be found here. And check out the video over on my YouTube channel!

Leave a Reply