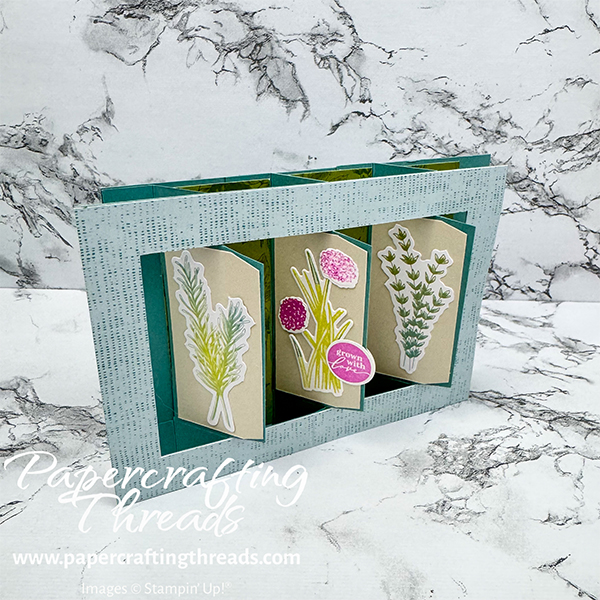
This interactive Triple Action Shutter card featuring a herb garden design brings in the freshness of spring! Perfect for celebrating the season’s renewal, this handcrafted card showcases delicate herbs. The triple shutter mechanism (also known as Flip Flap Shutter or Shutter Door) creates a delightful surprise as each panel reveals itself. I’ve paired it with a matching envelope to complete this special springtime greeting that’s sure to impress its recipient. Let’s get started!
cutting & scoring guide
| Paper Dimensions | Score Short Side | Score Long Side | ||||
| 4⅛” x 5⅞” Lost Lagoon cardstock base & frame | ||||||
| 4⅛” x 5⅞” patterned paper for frame | ||||||
| 2⅛” x 4⅛” Lost Lagoon cardstock (cut three) for mechanisms | ||||||
| 1⅜” x 2¾” Basic Beige cardstock (cut six) for panel mats | ||||||
| 1½” x 4″ patterned paper (cut three) for background strips | ||||||
| Scrap of Basic White cardstock for stamping chives | ||||||
| Matching Envelope | ||||||
| 8½” x 9½” Lost Lagoon cardstock | ¾” and 7″ | 2½” and 7⅛” |
step by step instructions for triple action shutter card
Place a piece of Adhesive Sheet on the back of one of the Lost Lagoon card bases and remove the liner. Adhere the patterned paper for the frame. Cut a ⅝” border frame from the reinforced front.
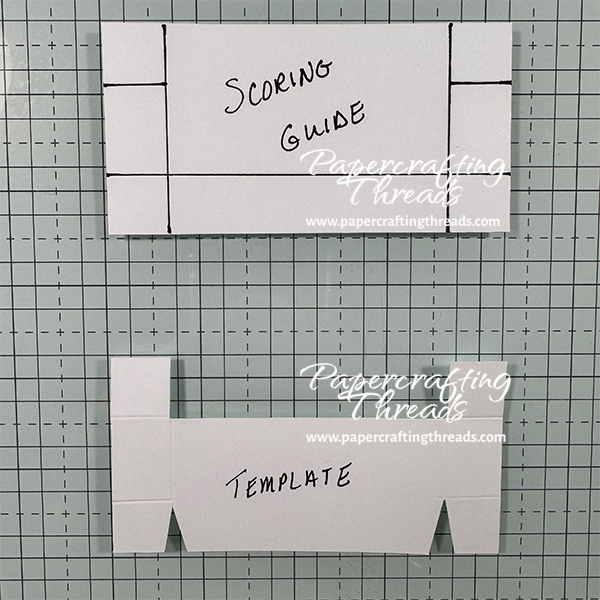
Score the three mechanisms as shown in the photo below. Then cut each mechanism to look like the template.
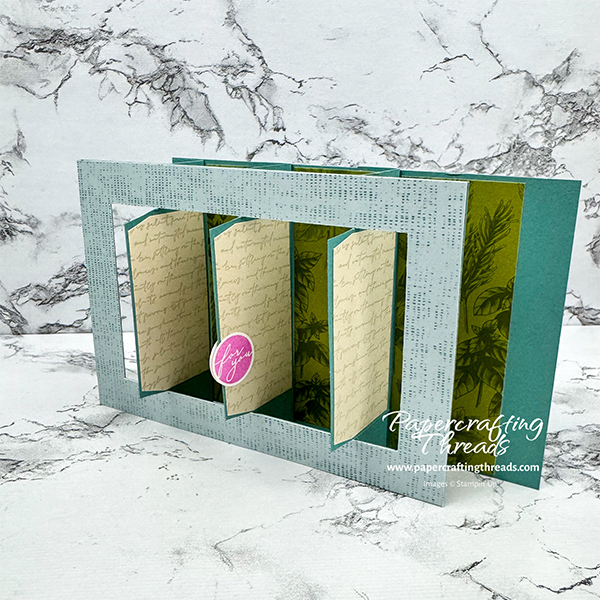
Turn all three mechanisms so the large cutout is facing towards the left and the wedges face to the right. Adhere a piece of Basic Beige to each front. Stamp the remaining three pieces of Basic Beige with the circle of text from the Elements of Text stamp set using Basic Beige ink. Adhere to the backs of all three mechanisms. Trim the corners to match the angle of the edges on the mechanisms.
Ink the chives stems from the Hello Spring February 2025 Paper Pumpkin Kit in Lemon Lime Twist ink. Swipe sections with the side of the large brush tip of a Lost Lagoon Stampin’ Write marker. Stamp onto a scrap of Basic White. Ink the chive blossom with Petunia Pop ink and stamp twice on a scrap of Basic White. Die cut the stems and blossoms with the Add-On Spring is in the Air Dies. Adhere the chives and the die cuts of rosemary and thyme from the kit to the front panels of the shutters.
completing the mechanisms
Adhere the mechanisms in place on the card base. Watch my video at the 00:00 mark over on my YouTube channel.
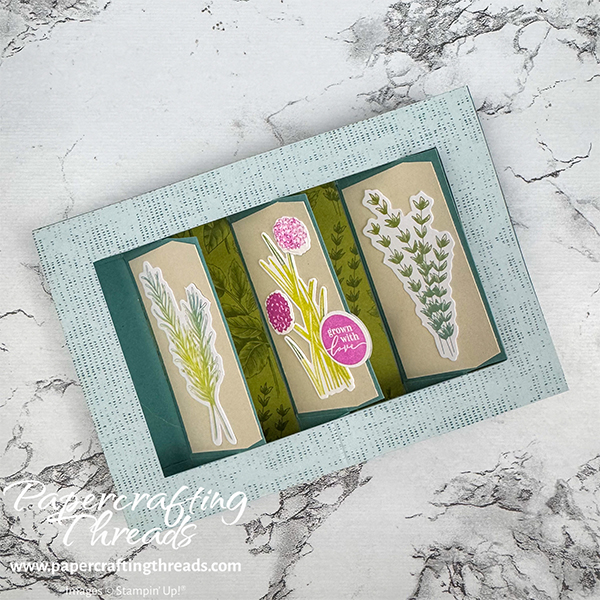
Adhere the top frame over the mechanisms. Finish decorating by stamping the greeting ‘grown with love’ from the Grow With Love stamp set in Petunia Pop ink on a scrap of Basic White. Stamp the greeting ‘for you’ in Petunia Pop ink on another scrap. Punch out with a 3/4″ circle punch and adhere by sandwiching the two greetings to the middle panel as shown in sample.
When ready to send, write your message on a tag from the Kit and adhere to the back of the card.
matching envelope
Cut and score the Lost Lagoon cardstock as noted in the guide above. Remove all four corner rectangles. Round all corners. Fold the side panels in first and adhere. Add glue to the small bottom flap and adhere. Add a strip of Tear & Tape to the flap edge. When ready to mail, write the address on a tag from the kit and adhere to front of envelope.
If you found this tutorial helpful, consider a contribution to my coffee fund ☕️ Coffee → Creativity → Content → More Coffee (help fuel the cycle!)

Leave a Reply