
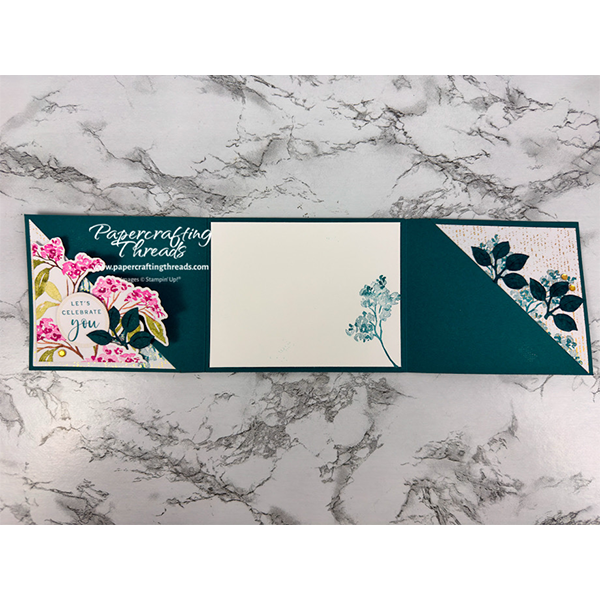
This Swivel Fun Fold Card has a little surprise up its sleeve! It looks like a regular portrait card, but with a slight twist, it transforms into landscape – it’s fascinating. I used my favorite Stampin’ Up! color Pretty Peacock as the base with a split layer of gorgeous gold foil speckles that catch the light. Delicate foliage creates the perfect backdrop, while vibrant pink florals and fresh green leaves sweep dramatically from one corner almost to the other. And because there’s no such thing as too much sparkle, I scattered gold sequins throughout for that extra touch of glamour. Let’s get started!
cutting & scoring guide
| Paper Dimensions | Score Short Side | Score Long Side | ||||
| 8½” x 10 ⅜” Pretty Peacock cardstock base | 5½” | |||||
| Scrap of Pretty Peacock for die cutting | ||||||
| 4 x 4″ patterned paper | ||||||
| 4″ x 5¼” Basic White liner |
step by step instructions
Cut apart one of the pink flowered die cut elements from the Full of Charm June 2025 Paper Pumpkin Kit as shown on the card front. And remember, if you don’t have this kit, you can substitute any supplies you have in your paper crafting stash. But if you feel like you’re missing out on the fun of getting a stamping kit delivered straight to your mailbox, sign up for future Paper Pumpkin Kits in my online store today.
Cut the gold foiled patterned cardstock base from the kit down to 4″ x 4″. Stamp the large branch image in Pretty Peacock ink across the front. Cut in half diagonally and set aside.
On a scrap of Pretty Peacock cardstock, repeatedly ink and stamp the large branch image creating a textured abstract pattern. Die cut three of the leaf images from the Hugs Abloom Die Add-On set.
make the swivel fun fold
After cutting and scoring the full sheet of Pretty Peacock cardstock as noted in the table, cut the short side down the middle at 4¼”, creating two bases. Fold both pieces on the scorelines with the short flap on top. Open the flap. Measure ⅝” from the scoreline towards the left side. Pencil in a tick mark. Repeat on the other piece. Place one piece in the Stampin’ Trimmer with the tick mark at the bottom and centered over the track. Swivel the opposite top corner into the track and score. Repeat on the other piece.
Position one of the bases on the work surface in landscape orientation. Pull the bottom right corner front up towards the top of the base, aligning the top edges. Adjust the folded scoreline if necessary and burnish. Repeat on the other base.
Then position the bases opposite each other in portrait orientation and glue the large section of the bases together.
decorating the swivel fun fold card
Adhere dimensionals to the bottom portion of the large pink die cut and position in the lower left corner of the card flap, lining up the left and bottom edges parallel to the flap.
Next, use liquid glue to adhere two of the leaf images to the top flap, tucked under the large pink die cut.
Add a drop of liquid glue to the base of the stem on the front of the last leaf and drops of glue to the back of three of the leaves and insert into the space at the lower right of the pink die cut.
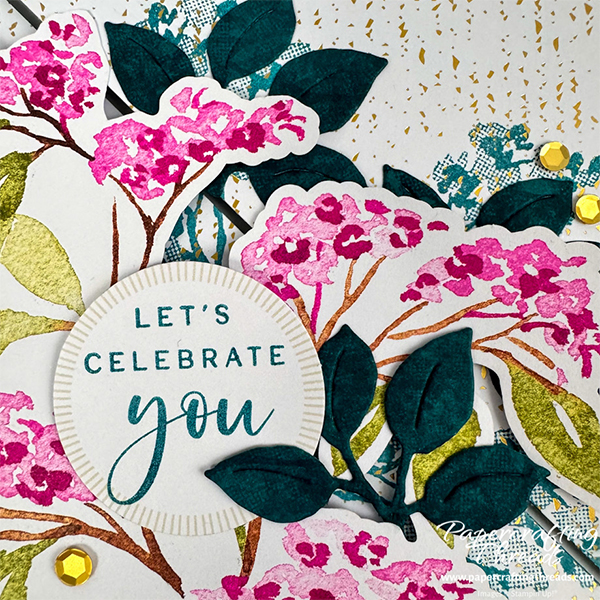
Place a dimensional on the back of the circle greeting at the top, add liquid glue at the bottom and tuck slightly under the leaf on the left at the card base.
Stamp the large branch in Pretty Peacock ink on the 4″ x 5¼” Basic White liner and adhere to the inside of the card.
And for the final touch, scatter gold sequins on the front.
If you found this tutorial helpful, consider a contribution to my coffee fund ☕️ Coffee → Creativity → Content → More Coffee (help fuel the cycle!)
Check out my video tutorial over on my YouTube channel to see this card in action!

Leave a Reply