Hey there, crafty friends! 🎃 Are you ready to make Halloween treat containers that are almost as sweet as the goodies going inside them? Today I’m sharing my super simple Tuck and Fold Box tutorial that’ll have you creating adorable Halloween boxes faster than you can say “trick or treat!”
Here’s the best part – you literally need ZERO special tools and absolutely no crafting experience to nail these beauties. We’re talking just some scoring, folding, and two strategic cuts. No mess, no fuss, no “how does this come together?!” moments. Just pure, satisfying box-making bliss!
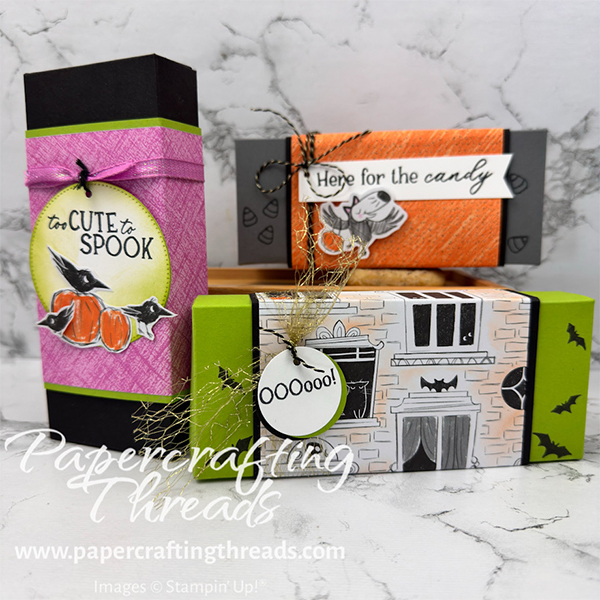
First up, we’ve got major creepy apartment vibes with my favorite of the patterned papers. Then there’s my candy corn cutie featuring an adorable costumed pup out trick-or-treating (because who doesn’t love dogs in Halloween costumes?!). And finally, a murder of crows hanging out with some perfectly plump pumpkins.
Whether you’re planning a Halloween party, need containers for classroom treats, or just want to make trick-or-treat handouts extra special, these boxes are about to become your new obsession. Let’s get started!
cutting & scoring guide
| Paper Dimensions | Score One Side | Score Other Side | ||||
| 8″ x 8″ Granny Apple Green box base | 1″ each end | 1″, 2″, 4½” & 5½” | ||||
| 4¼” x 7½” Basic Black cardstock for belly band | ||||||
| 4″ x 7½” Spooky Sweet patterned paper for belly band | ||||||
| Scraps of Basic White, Basic Black & Granny Apple Green cardstock |
step by step instructions
Once the eight-inch square cardstock is scored as noted in the table above, position the base on the work surface with a small square in the lower left and right corners. Locate the next two squares vertically along the edges above the bottom two corners. Score a diagonal line in the center of each of the four squares with the line angling in towards the large rectangle.
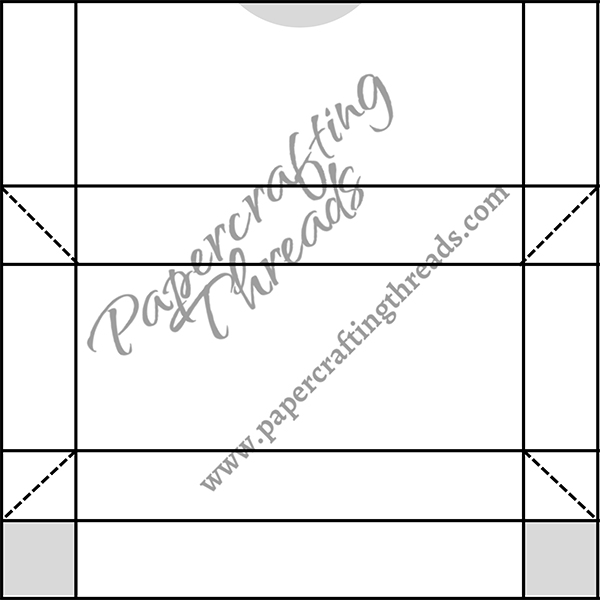
Fold and burnish all scorelines except for the diagonals as valley folds. Fold and burnish the diagonals as mountain folds. I used a 1¼” circle punch to create a finger hold in the middle of the largest rectangle on the edge.
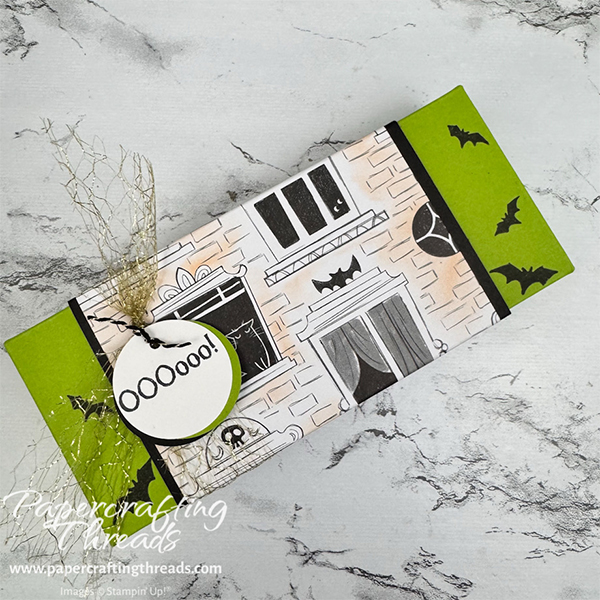
Stamp any images on the front rectangle as desired. I stamped the bats from the Sweet Halloween stamp set in Tuxedo Black Memento ink.
Push in on the diagonals and fold the box up. Gently try tucking the narrow flap into the large rectangle – don’t force it. If it doesn’t quite fit, trim off just a skosh from one edge of the narrow flap. The fit should be snug so the box stays formed.
If you are finding this tutorial helpful, consider a contribution to my coffee fund ☕️ Coffee → Creativity → Content → More Coffee (help fuel the cycle!)
decorating the Tuck & Fold Box
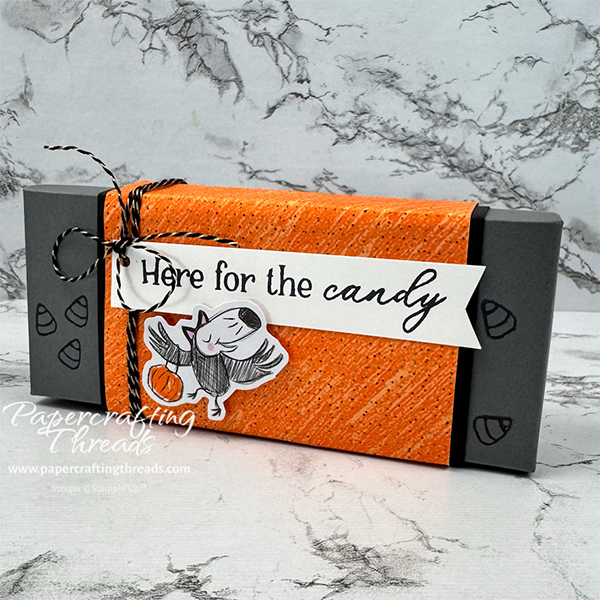
Fill the box with treats – I added a full size candy bar and some glow in the dark critters.
Adhere the patterned paper strip to the Basic Black cardstock with liquid glue. Flip over to the back side and slide a bone folder over the top, spreading the glue flat.
Wrap the belly band around the box, with the ends meeting in the middle of the back of the box. Line up the box and the belly band on grid paper. Slide a stylus along the edge of the box on each side, creating scorelines on the belly band. Remove the box and fold and burnish the scorelines.
Place the belly band around the box again and stand the box on one side, score the belly band using the box as a guide. Repeat on the last remaining side. Remove the box and fold and burnish the scorelines. And as before, wrap the belly band around the box, add a line of liquid adhesive to the back seam, and press to adhere.
Loving the patterned paper I used? Visit my online store now before it’s sold out.
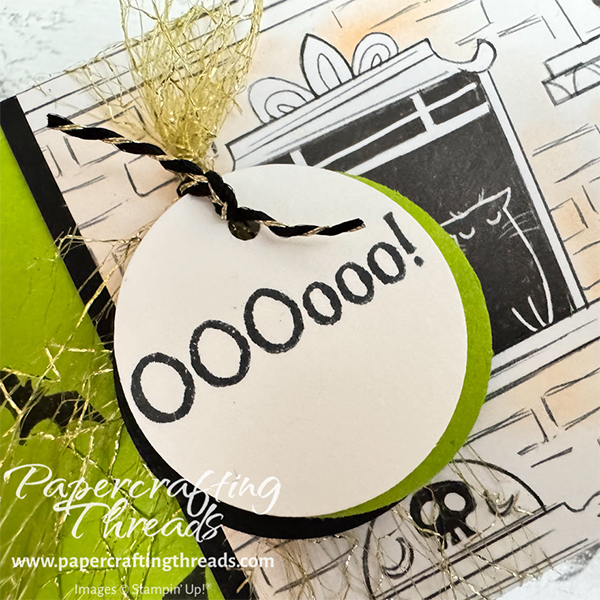
Take a length of gold Open Weave Trim, wrap it around the belly band and tie in a knot. Trim ends as needed. Stamp a greeting in Tuxedo Black Memento ink on a scrap of Basic White and cut out with the 1¼” circle punch. Cut out another circle from Granny Apple Green and Basic Black cardstocks. Offset the layers and adhere the circles together. Punch a ⅛” circle out of the top, thread a piece of black/gold baker’s twine through the hole and tie around the middle of the gold knot.
Here’s a close up to see all the details.
alternative tuck and fold boxes
These Tuck and Fold Boxes are so easy to do that I whipped up several alternatives. This version celebrates all things candy corn. The box is Basic Gray with a Basic Black/Spooky Sweet patterned paper belly band. The dog in the costume is a die cut from the same patterned paper pack. I stamped the candy corn images and the sentiment in Tuxedo Black Memento ink. And wrapped the black/gold baker’s twine around the belly band three times before tying a nice big bow.
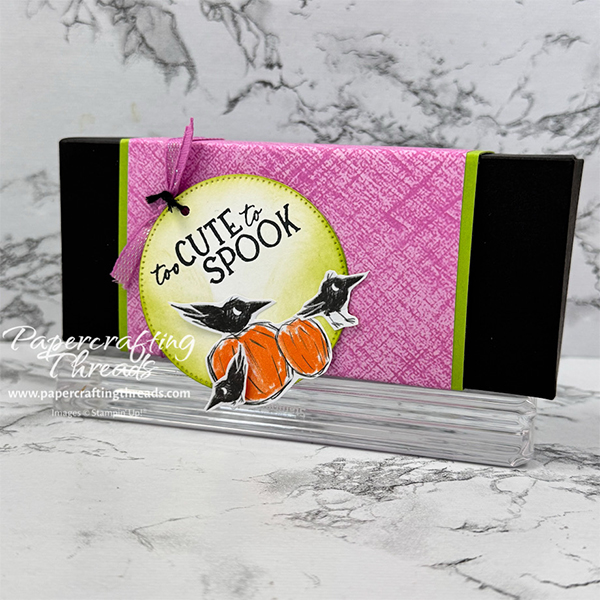
And my third version has a Basic Black box, Granny Apple Green and Spooky Sweet patterned paper. I die cut the second largest circle from the Stylish Shapes die set, and used a blending brush with Granny Apple Green to add more depth around the edge. The two pumpkins with the largest crow are another die cut from the paper pack. I fussy cut the two smaller crows from another sheet of patterned paper. The tag was attached with a length of Petunia Pop Iridescent ribbon and black baker’s twine.
Which one’s your favorite? I’m partial to that creepy apartment building and its tenants!
I did whip up a video showing how to put the box together. It’s over on my YouTube channel – click below to view.

Leave a Reply