Create a fun, fast & extremely easy Gift Card Pouch to dress up those last minute holiday gifts. In literally minutes, you’ll have a customized package that’ll look like you spent hours on it. No boring packaging here. And there’s even room for a little sweet treat like a flat chocolate square or a tea packet. Let’s get started!
cutting & scoring guide
| Paper Dimensions | Score Short Side | Score Long Side | ||||
| 6″ x 8½” Basic White cardstock base | 1¾” | 4¼” | ||||
| 3¼” x 3¼” Night of Navy cardstock mats, cut three | ||||||
| 3″ x 3″ Peaceful Garden patterned paper, two patterns | ||||||
| 3″ x 3″ Basic White cardstock | ||||||
| Scraps of Basic White cardstock for stamping & die cutting |
step by step instructions
Fold and burnish the cardstock base on the 4¼” scoreline. Then open the base flat and fold on the remaining scoreline. Next, fold the base in half, squaring up the corners and burnish again. This creates the base gift card pouch.
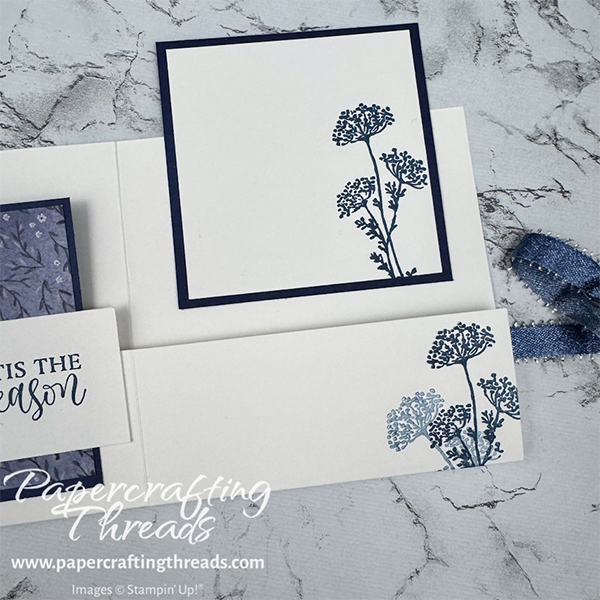
To decorate, stamp several of the floral images in the lower right corner inside the pouch. I used the Gallery Blooms stamp set and Misty Moonlight ink. I stamped the same floral image on the lower right corner of the 3″ x 3″ Basic White square. Using several of the greetings from the Ornamental Christmas stamp set, I stamped again in Misty Moonlight ink on scraps of Basic White.
If you are finding this tutorial helpful, consider a contribution to my coffee fund ☕️ Coffee → Creativity → Content → More Coffee (help fuel the cycle!)
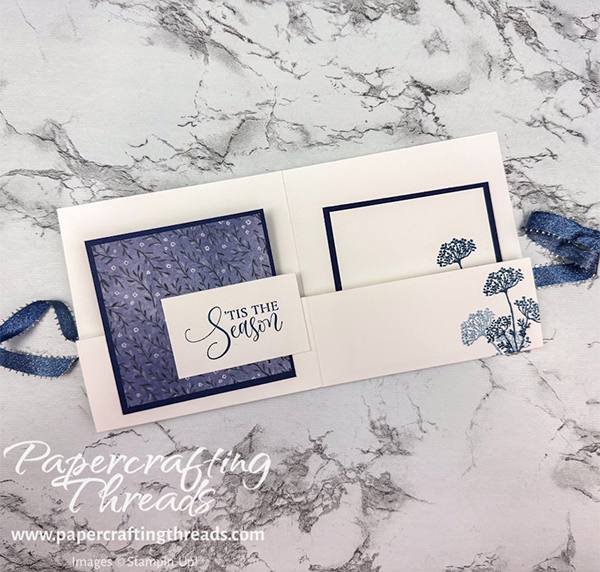
Layer the white square on one of the Night of Navy squares and slide into the right pocket. Adhere one of the squares of patterned paper on another one of the Night of Navy squares and adhere to the front of the left-sided pocket. Adhere the sentiment as shown.
finishing the gift card pouch
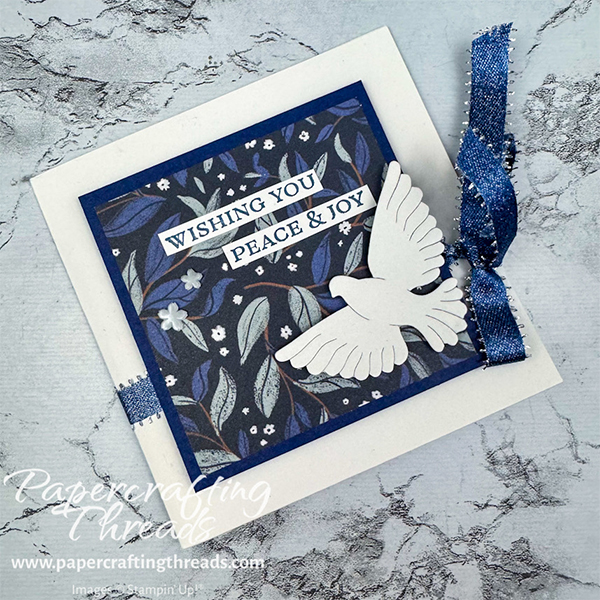
Flip the pouch over to the front side. Lay a length of Misty Moonlight & Silver Edged ½” ribbon across the front and back of the pouch. Adhere the last piece of patterned paper to the last Night of Navy square. Place dimensionals at the top and bottom, leaving the middle channel clear, and adhere over the ribbon, with the ribbon still being able to move. Close the Gift Card Pouch and tie the ribbon in a pretty bow on the right side.
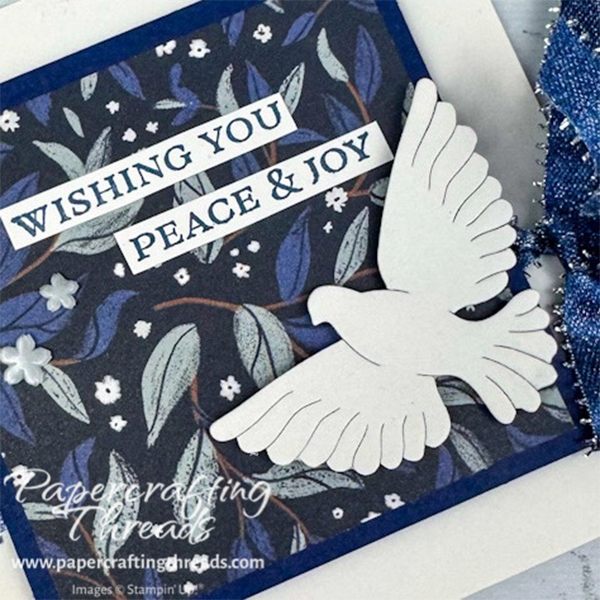
Diecut a dove from the Peace on Earth die set from Basic White cardstock and pop up on the front with a dimensional. Cut apart the sentiment and adhere to the front. Add Hues of Blue Flowers to the front. And your Gift Card Pouch is done!
Slip a gift card inside the left hand pocket behind the square, write a personal message on the liner square and place it in the right pocket. Close the holder and tie the ribbon into a bow.
In case you need a visual, I posted a YouTube video showing the step-by-step to make this Gift Card Pouch. Who would you give this to?

Leave a Reply