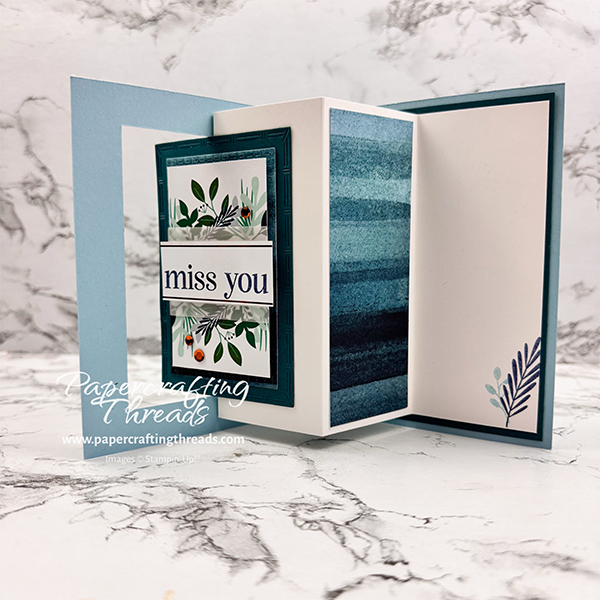
Hey there! Today I’m so excited to show you how to make this gorgeous Swinging Flip Front Card using the December 2025 Watercolor in Bloom Paper Pumpkin Kit. Those rich watercolor hues and elegant botanical flourishes? Chef’s kiss! I know it might look a little intimidating at first glance, but don’t worry—I promise it’s way easier than it looks. I’ll walk you through every single step so you can create one of these beauties yourself. Ready? Let’s get started!
cutting & scoring guide
| Paper Dimensions | Score Short Side | Score Long Side | ||||
| 5½” x 8½” Balmy Blue cardstock base | 4¼” | |||||
| 4″ x 5¼” Pretty Peacock cardstock mat liner | ||||||
| 5″ x 7⅞” Basic White cardstock for mechanism | 2″, 4″ & 6″ | |||||
| 1¾” x 4¾” Watercolor in Bloom card base for inner ‘spine’ | ||||||
| Scrap Watercolor in Bloom card base for front focal mat for die cutting | ||||||
| Scrap of Pretty Peacock cardstock for die cutting rectangle |
step by step instructions
Start by preparing all of the cardstock as noted in my Cutting & Scoring guide above. I used one of the blue-striped watercolor card bases from the kit for the inner spine and front focal mat. Just pretend the card base is regular patterned paper and don’t be afraid to chop it up. I cut the inner spine piece first from the card base, and then used the leftover section of the card base front to diecut the fourth largest rectangle from the Textured Notes die set.
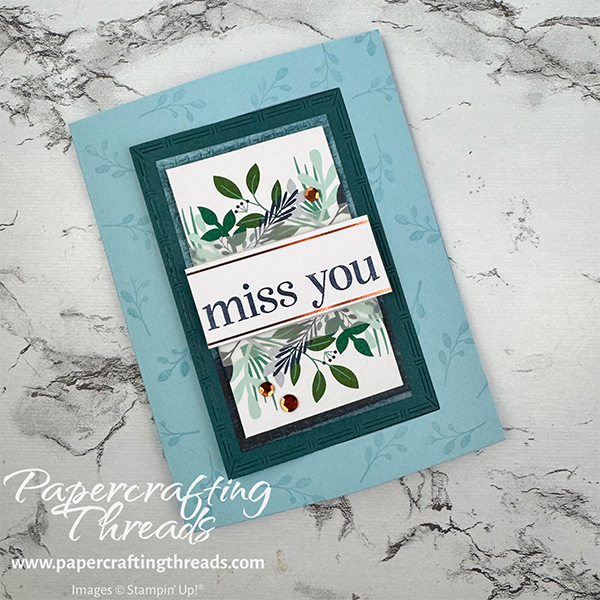
Fold and burnish the Balmy Blue card base on the scoreline. Open the card base and diecut the fifth largest die from the Textured Notes die set out of the center of the card front. We will not be using this piece, so set aside for another project. With the same die, cut out another rectangle from the scrap of Pretty Peacock cardstock.
Then mask off the back of the card along the scoreline using Post-It notes. ink up the small foliage image from the kit with Balmy Blue ink and randomly stamp on the front frame.
creating the mechanism for the swinging flip front
Locate the 2″ section on the large Basic White cardstock and valley fold this scoreline. Mountain fold the remaining two scorelines. From the top, with the 2″ wide section on the right side, the piece will look something like this |_|¯.
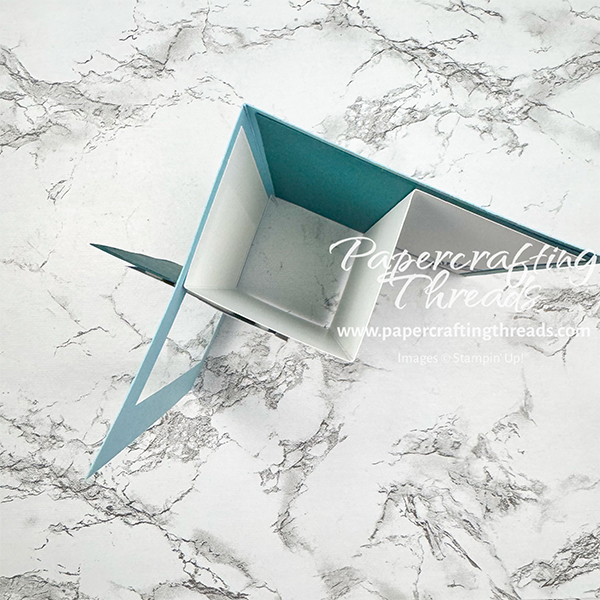
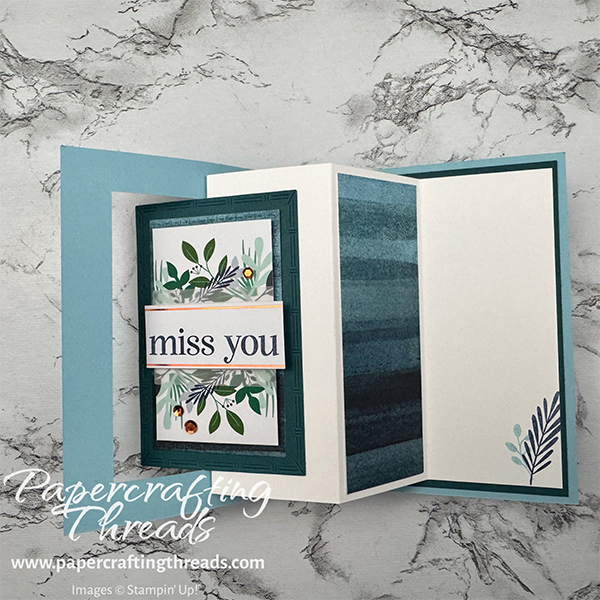
Ink and stamp two of the foliage images, one in Night of Navy ink and the other in Balmy Blue ink in the lower right corner of the white cardstock. Adhere the large Pretty Peacock cardstock inside the card base on the right flap. Apply adhesive to the back of the 2″ Basic White section and adhere inside the card on the right half, leaving an even border from the top, right side and bottom of the card base.
Fold the next scoreline over to the right, and keep the last scoreline flat. Apply Tear & Tape to the left flap only, at the top, left side and bottom as close to the edge as you can get. Then fold the front flap of the card base over, pressing to adhere.
Adhere the long, narrow Watercolor in Bloom striped patterned paper to the first flap to the left of the base. Fold the front of the card flat.
If you are finding this tutorial helpful, consider a contribution to my coffee fund ☕️ Coffee → Creativity → Content → More Coffee (help fuel the cycle!)
decorating the swinging flip front card
Place Tear & Tape along the right half of the Basic White showing through the opening on the front of the card. Adhere the large die cut Pretty Peacock rectangle. Then adhere the smaller Watercolor in Bloom striped patterned paper in the center.
Trim the focal point down to 2″ wide by 3⅜”. Start by trimming ⅝” off each side. Then trim 9/16″ off the top and bottom. Adhere one of the vellum pieces across the open center. Flip over and trim the excess off, using the edge as a guide.
Pop up on dimensionals and adhere to the front of the card.
Take one of the labels and protect the bottom copper foil strip by covering it with a post it note. Ink the word ‘miss’ in Night of Navy ink and stamp. Clean the stamp. Then protect the top copper foil strip with a Post-It note. Ink the word ‘you’ in Night of Navy ink and stamp. Remove the sticky note and trim off the edges of the label. Pop up on dimensionals and adhere to the center front. Finally, scatter copper sequins on the front.
Isn’t this card impressive? And, as I promised, not that hard to make. Curious about a Paper Pumpkin subscription? While this kit is no longer available, you can subscribe to future kits. Satisfaction guaranteed, and cancel any time. And then watch my channels for alternative paper crafting ideas.
Check out the video tutorial I posted over on my YouTube channel below. And let me know what you think in the comments.

Leave a Reply