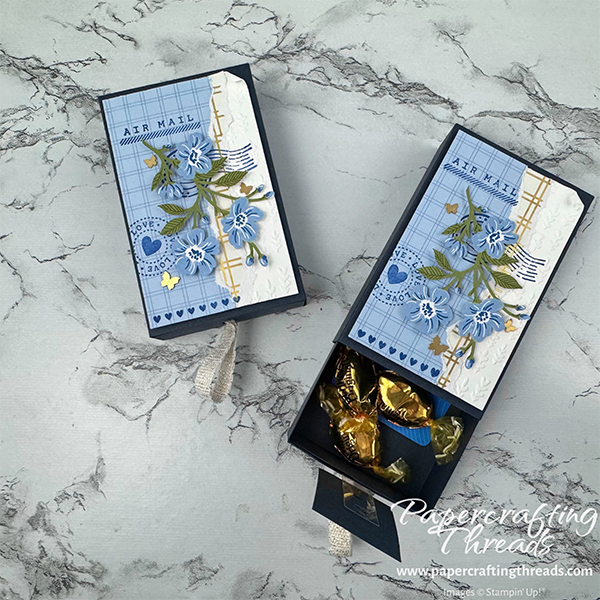
Create a Matchbox Surprise Pop Up with sophisticated blues, whites and pops of gold. Fill it with a gift card and some matching gold-wrapped sweets and you have a fabulous gift. I decorated mine with parts from the Special Delivery January 2026 Paper Pumpkin kit. But feel free to substitute whatever you have in your craft stash. Let’s get started!
cutting & scoring guide
| Paper Dimensions | Score Short Side | Score Long Side | ||||
| 4⅛” x 7¾” Secret Sea cardstock wrap | 29/16“, 3⅝”, 63/16” & 7¼” | |||||
| 4½” x 6″ Secret Sea cardstock tray | 1″ all four sides | |||||
| 2⅜” x ⅞” Secret Sea cardstock coverup | ||||||
| 1¼” x 1¾” Secret Sea cardstock mat | ||||||
| 2⅜” x 3⅞” Basic White cardstock for embossing | ||||||
| Envelope flap from Special Deliver kit for tearing | ||||||
| Gold foil embossed piece from Special Deliver kit for tearing | ||||||
| ½” x 3″ window sheet |
step by step instructions
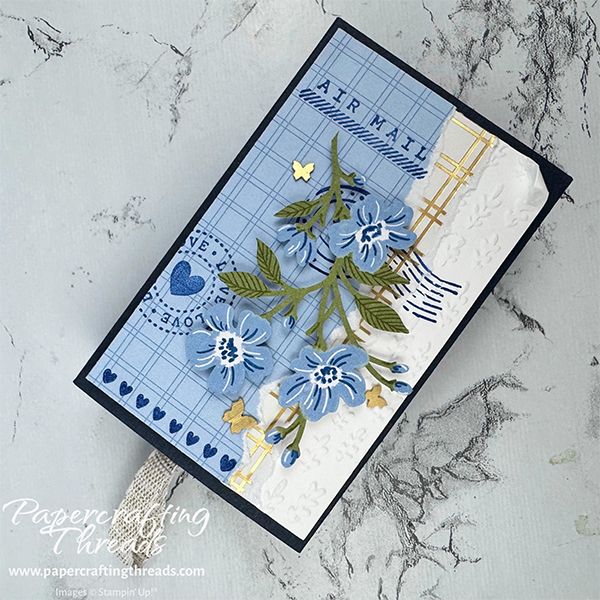
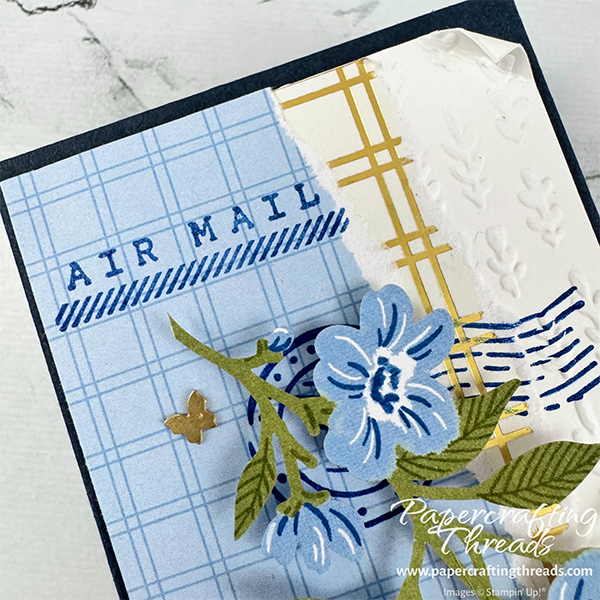
Cut and prep all papers as noted in the guide above. Starting with the front decorative panel, emboss the piece of Basic White cardstock with the Gathering Leaves embossing folder. Tear a strip from the middle of one of the gold foil-embossed die cuts found in the Paper Pumpkin kit. Adhere with liquid glue down the middle of the white embossed piece. Cut a flap from the blue patterned envelope in the kit. Tear the edge and adhere to the left side of the white embossed piece. Trim any excess.
Ink up the stamps shown with Blueberry ink and stamp as shown. Be sure to press a little harder when the image crosses the textures. Remove one stem of flowers from the die cut piece in the kit. Add mini dimensionals to the backs of the flowers and pop up on the piece. Scatter brass butterflies for embellishment. Curl the top right corner. Set aside. Prep the pop up by adhering one of the small blue-flowered postage stamps from the kit on the Secret Sea mat. Set aside.
Assembling the Matchbox Pop Up Surprise
Burnish the fold lines all in the same direction on the matchbox wrap. Slightly wedge the edges of the narrow flap. Fold in half, add glue the length of the narrow flap, and fold the opposite edge over, forming a wrap. While still flattened, add the decorated piece with lots of dimensionals.
Cut flaps from each of the square corners of the matchbox tray. Burnish all fold lines in the same direction. Add glue to each flap and fold in to form the tray. Punch a hole in one of the shorter sides for the ribbon pull. Loop a length of Gold/White ribbon and pull both ends through the hole. Separate the ends inside the tray and adhere with Tear & Tape. Remove the backings. Add an extra piece of Tear & Tape near the top edge of this short end. Place the piece of window sheet extending straight up from the short side. Add glue dots to the top portion of the window sheet and adhere the matted postage stamp. Cover all of the ‘mess’ on the inside end with the narrow ⅞” strip of Secret Sea by adhering it with liquid glue.
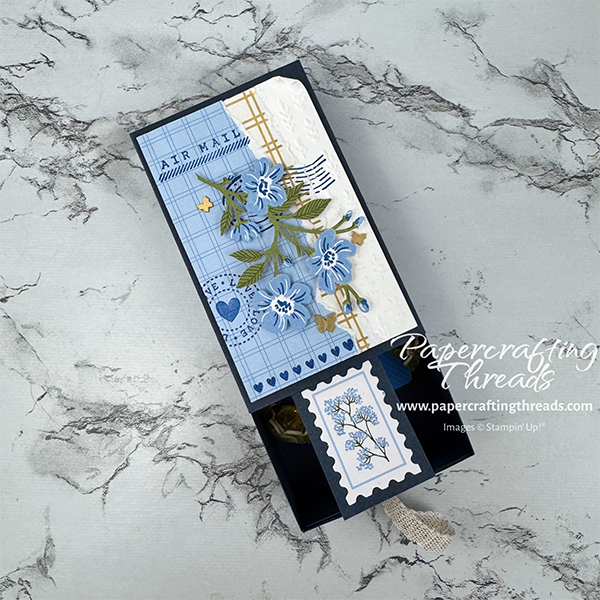
Fill the tray with whatever you like – a gift card, sweets, a personal note. Push the matted postage stamp into the tray and slide the tray into the wrap.
If you found this tutorial helpful, consider a contribution to my coffee fund ☕️ Coffee → Creativity → Content → More Coffee (help fuel the cycle!)
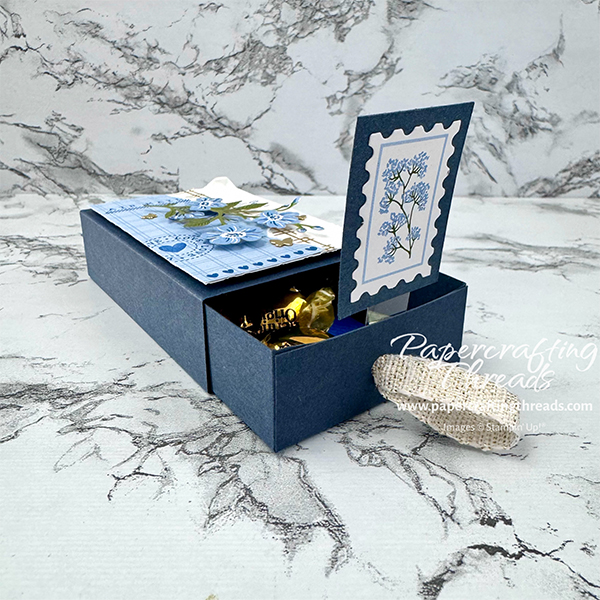
While a matchbox by itself is great, the pop up surprise takes it to another level. Imagine this for Valentine’s Day, a birthday, or any other time you want to let someone know they are special.
And while I used elements from the January 2026 Paper Pumpkin Kit, the matchbox can be created in any color scheme with any type of decorations you’d like. Or, if you’d like to get your own Paper Pumpkin kit in your mailbox, get a subscription through me here. Satisfaction guaranteed and you can cancel anytime.
I posted a video demonstration over on my YouTube channel, check it out below.

Leave a Reply