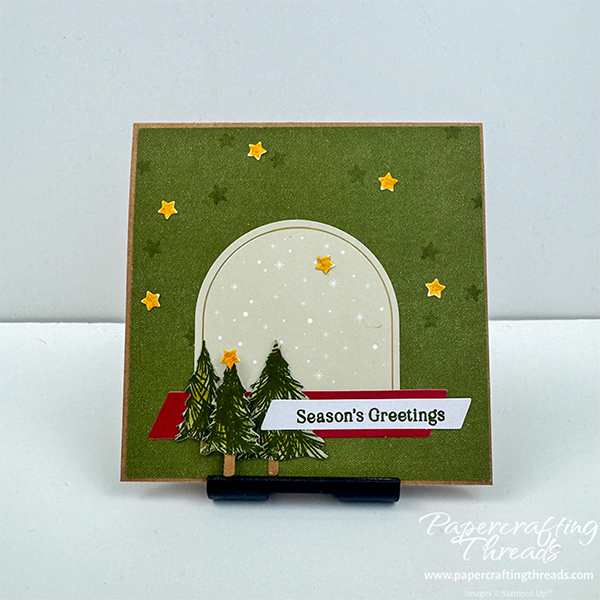
Create a Season’s Greetings holiday card and use my neat little trick for filling in a die cut shape. A starry sky shines above a cluster of trees, setting the scene. A pop of red draws attention to the greeting. I used the Noel Greetings October 2026 Paper Pumpkin kit for the majority of my supplies – just added a piece of Kraft paper for the card base. Let’s get started!
cutting & scoring guide
| Paper Dimensions | Score Short Side | Score Long Side | ||||
| 4¼” x 8½” Kraft paper base | 4¼” | |||||
| 4⅛” x 4⅛” green patterned paper for front of card (cut down from card base in kit) | ||||||
| 4⅛” x 4⅛” Basic White cardstock for liner | ||||||
| Scrap of Kraft for trunks and Basic White for stars |
step by step instructions
Cut Kraft paper base and fold in half on the scoreline.
Diecut two of the small trees and one of the large trees using the Layered Tags Add-On Dies from the inner portion of the pale green scalloped edge piece from the kit. Save that piece with the trees cut out of the center for another project. Also diecut three trunks from Kraft paper and seven stars from Basic White scraps.
Ink up the bough stamp with Mossy Meadow ink and stamp repeatedly on the tree diecuts, leaving some of the plain paper showing through. Then ink up the bough stamp again with Mossy Meadow and stamp a spray of greenery in the top right corner of the Basic White card liner. And finally, ink up the star image with Mossy Meadow, stamp off, and stamp randomly on the patterned green paper for the front of the card.
Use a Stamp Image to Fill in a Die Cut
Use a Golden Glow Shimmer Brush and ‘paint’ the stars gold. Stamp the sentiment in Mossy Meadow ink on one of the white banners from the kit.
Position the card base with the fold at the top. Adhere the liner inside the card base. Add adhesive to the back of the green star-stamped paper and adhere to the card front. Cut one of the oval shapes from the kit in half and adhere to the card front. Adhere the red banner from the kit at the bottom of the cut oval.
Glue the trunks to the tree shapes, varying the height for some variety. Adhere a small tree towards the left side of the red strip. Glue the largest tree to the left of the small tree. Add one of the stars to the remaining treetop, place dimensionals on the back and center over the other two trees. Use flat adhesive to place the sentiment strip slightly overlapping the large tree and centered over the red strip.
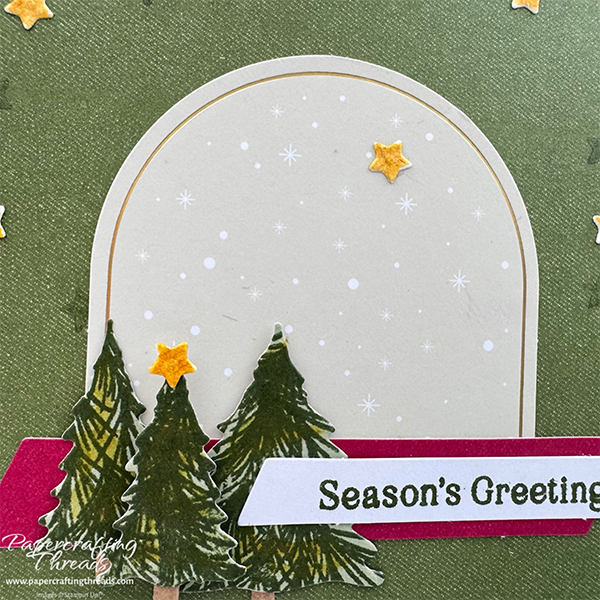
Add dots of liquid glue above the arch, then place stars on the glue. Swipe the Golden Glow Glitter Brush over the trees for some more sparkle.
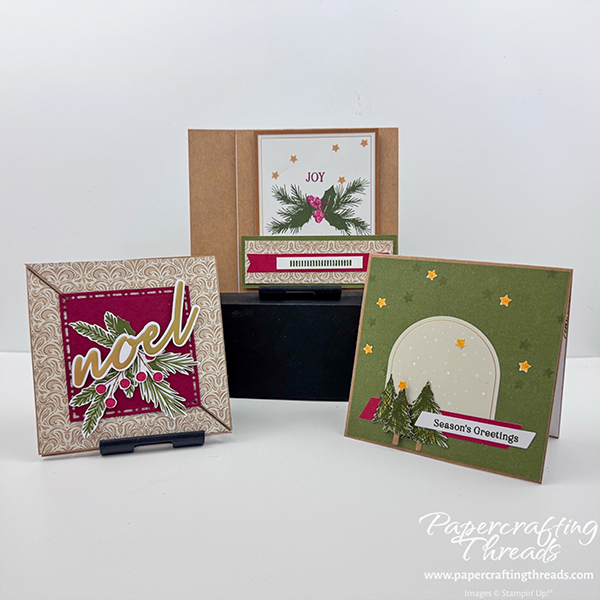
Check back in over the next few days for the rest of my alternatives!
If you found this tutorial helpful, consider a contribution to my coffee fund ☕️ Coffee → Creativity → Content → More Coffee (help fuel the cycle!)

Leave a Reply