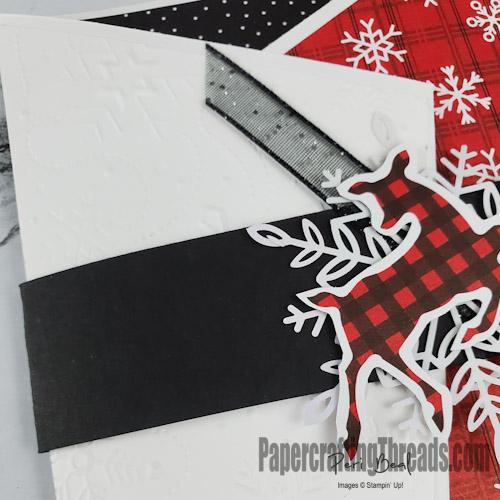
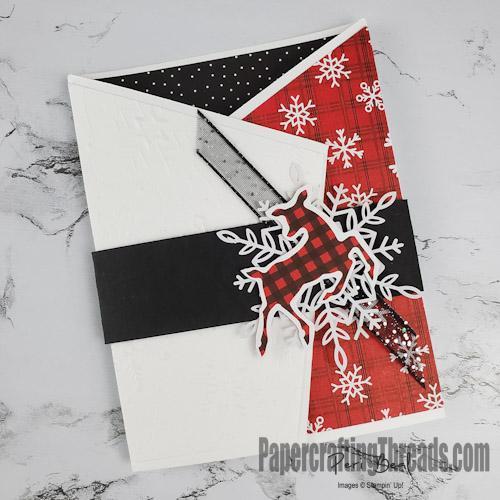
Looking for something different for a Christmas Card? Check out this Angled Gatefold beauty in Real Red, Basic Black and Basic White! The angles play up the different patterns and textures beautifully.
Cut Basic White cardstock base to 5-1/2″ x 11″, and score on the landscape side at 3-3/8″ and 7-5/8″. Open card base with the score lines as valley folds.
NOTE: See video demo below for how to cut the angles for an Angled Gatefold card.
Line up the right scoreline in the cutting channel. At the same time, line up the top right corner of the card at the 1-1/2″ mark (to the left of the cutting channel) and cut. Place new point in the cutting channel, pivot the bottom right corner to the 1″ mark and cut. Repeat on the left side, using the left side measurements on the paper trimmer.
For the patterned or embossed paper covering the front panels, cut two pieces of designer paper or cardstock to 3-1/4″ x 5-1/4″. I used a patterned Designer Series Paper for one front flap and embossed cardstock for the other. Hold the paper over the designated front flap to determine direction to cut. Then follow the same procedure as for the initial flaps. NOTE: If embossing the flap, cut angles first, then emboss.
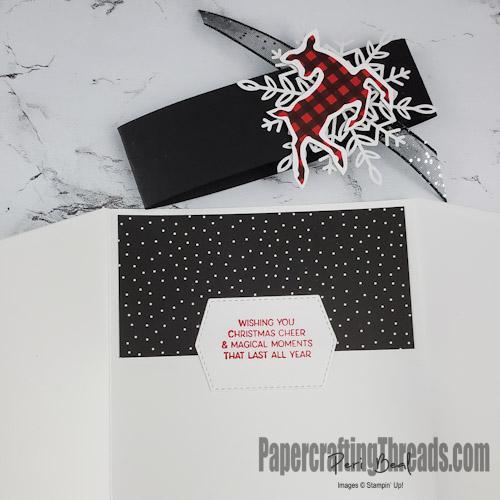
To decorate the inside of the card, cut a ‘modesty’ panel from coordinating patterned paper to 2″ x 4″ and adhere to the inside center front. Then addd a sentiment, positioning so it won’t show when card front is closed.
Cut coordinating cardstock to 1-1/4″ x 11 to create a belly band. And for the finishing touch, layer embellishments over the seam on the front of the belly band.
Check out my Instagram feed and my Facebook page for two other versions of this Angled Gatefold card. Can’t wait to see what you come up with!


Leave a Reply