The Blended Pencil Technique is not just for open-style stamps. I modified the basic technique to accommodate this gorgeous gingko design with intricate veining. Read on for my step-by-step supply list and instructions.
Supplies for the Blended Pencil Technique:
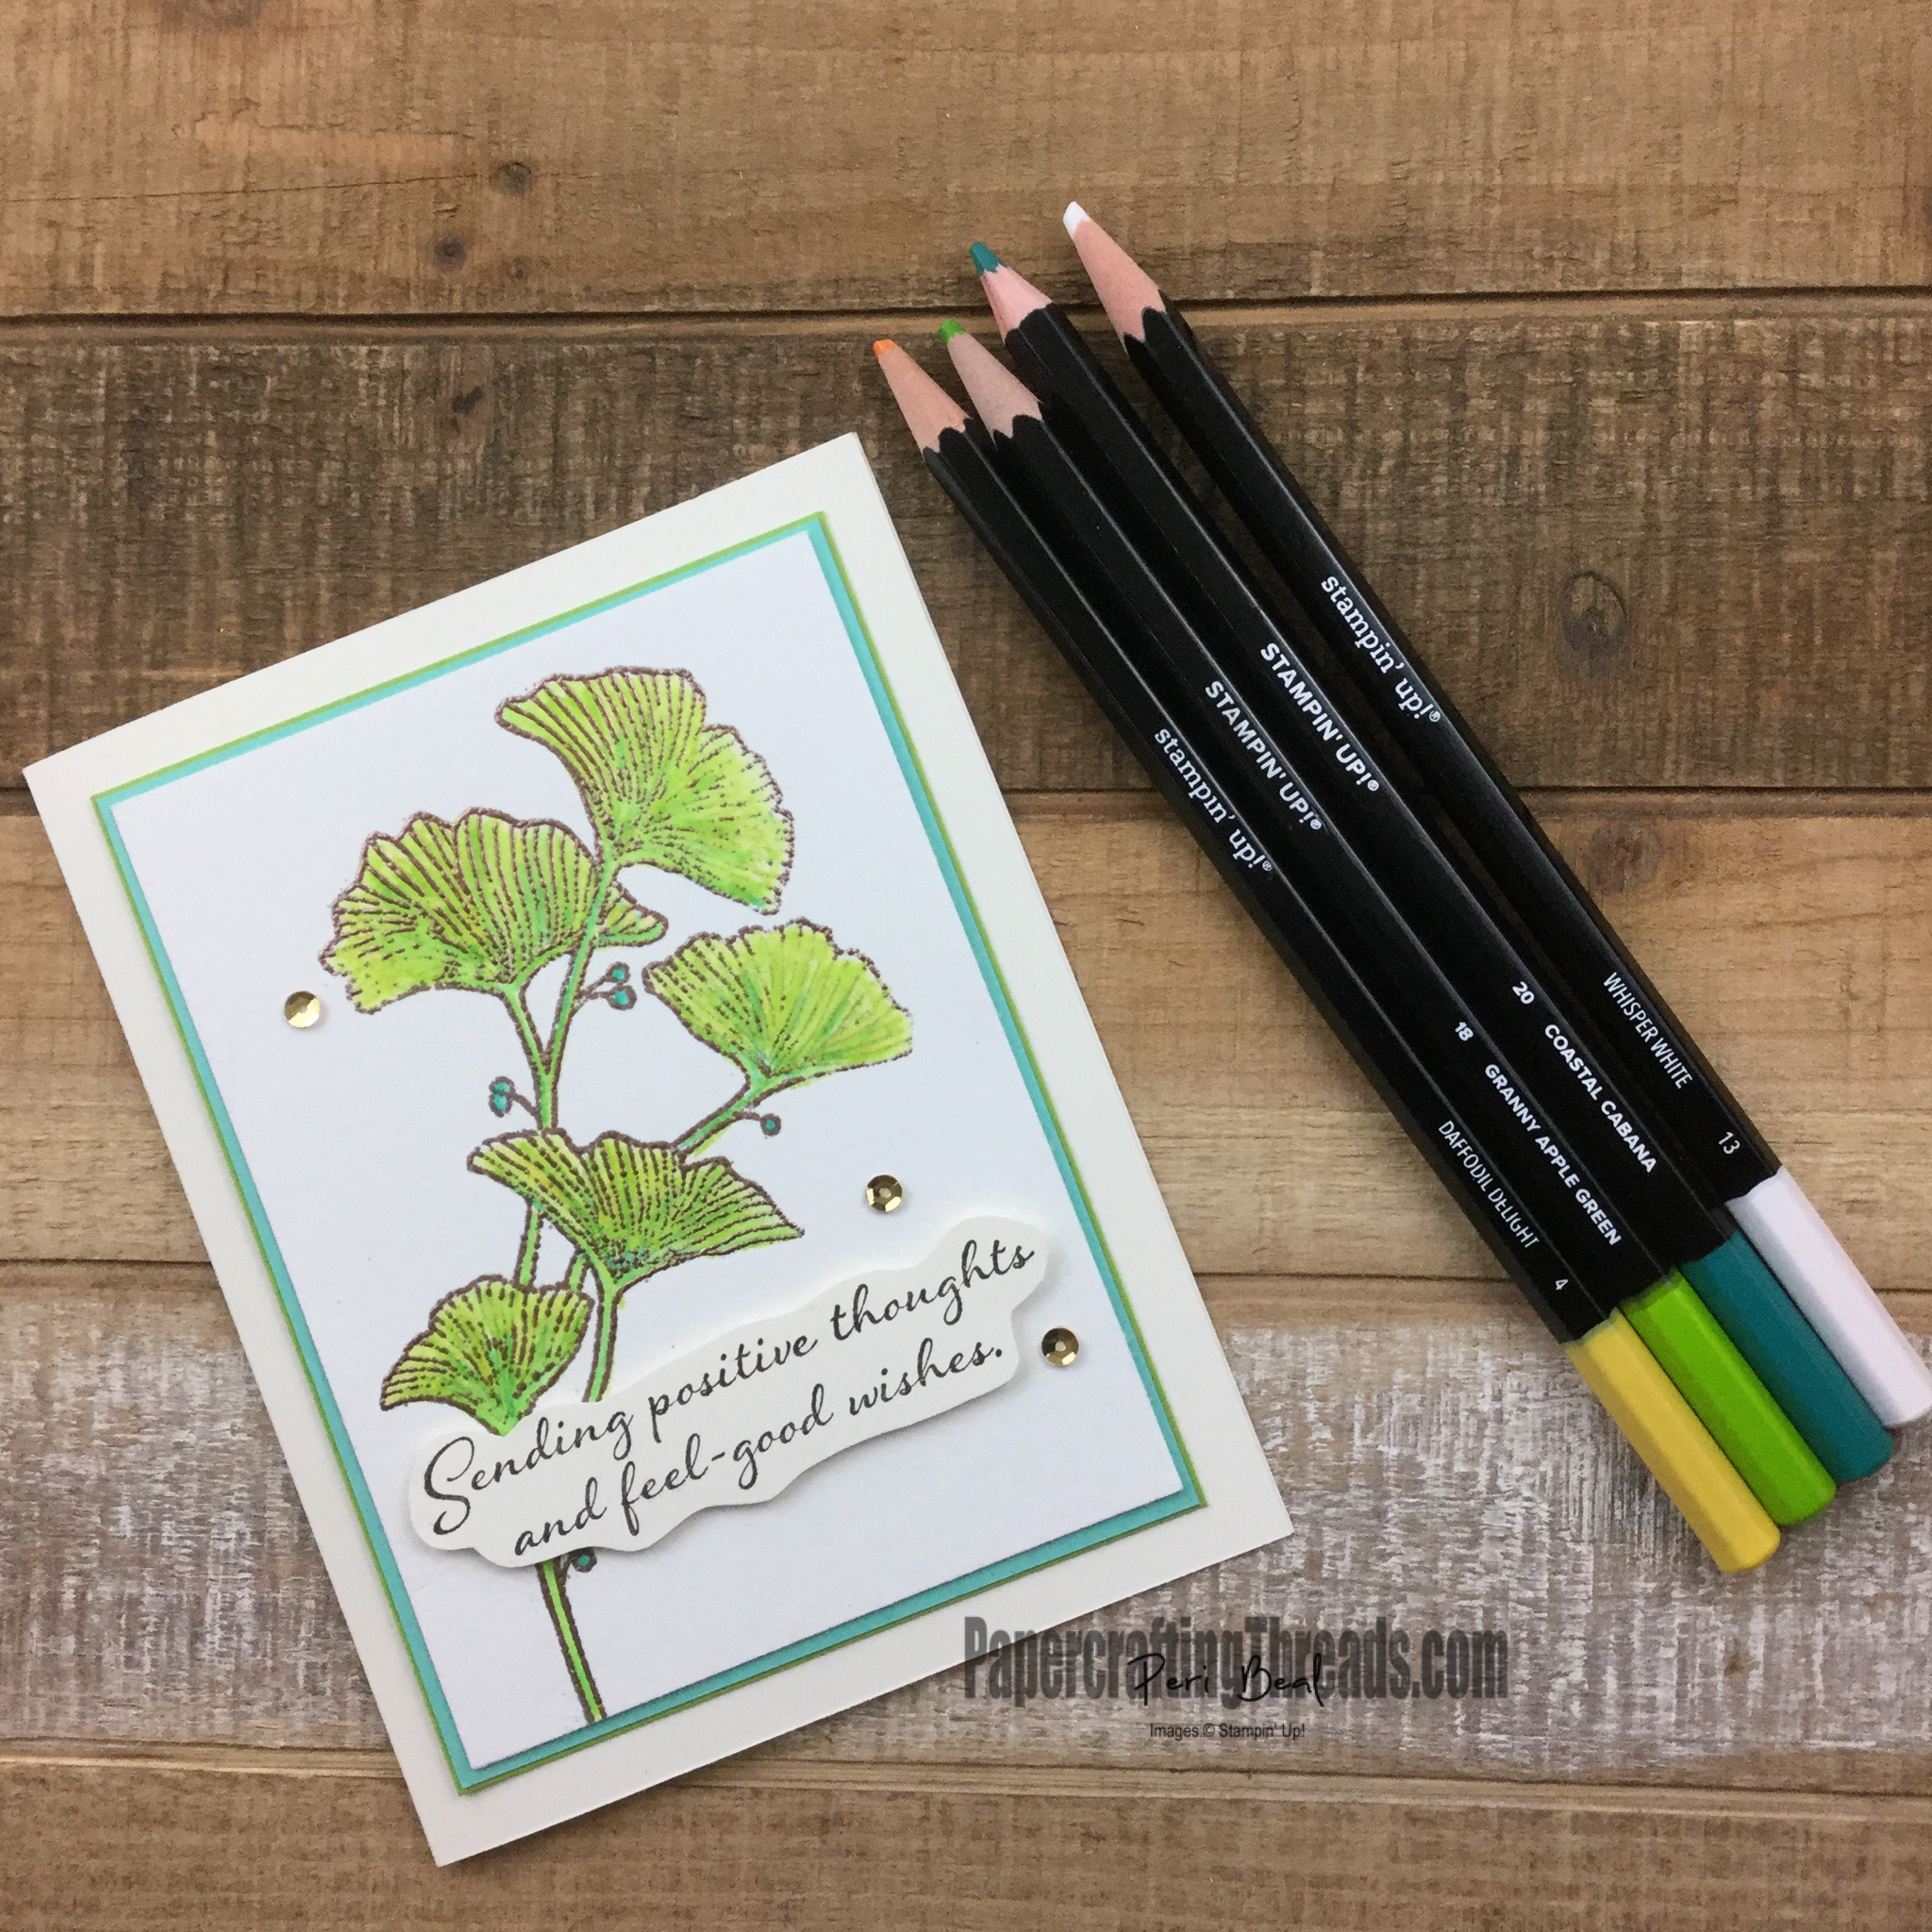
Watercolor Pencils and Watercolor Pencils Assortment 2 (I used Whisper White, Coastal Cabana, Granny Apple Green
and Daffodil Delight)
Blender Pen
Fluid 100 Watercolor Paper, cut to 4 ¾” x 3 ½”
Versamark Ink
Embossing Powder (I used Copper)
Embossing Buddy
Heat Tool
Additional Supplies for this particular card project:
Very Vanilla cardstock, cut to 8 ½” x 5 ½” and scored at 4 ¼”
Granny Apple Green cardstock, cut to 5” x 3 ¾”
Coastal Cabana cardstock, cut to 4 7/8 “ x 3 5/8”
Gray Granite Classic Ink
Early Espresso Ink
Stamparatus
Beautifully Braided stamp set
Positive Thoughts stamp set
Adhesive backed Gold Sequins left over from a Paper Pumpkin kit
Dimensionals
Tombow Multipurpose Glue
Instructions:
- Using Stamparatus, stamp gingko image on watercolor paper in Gray Granite ink. Leave the watercolor paper in the Stamparatus.
- Color leaves and stems with a white layer of colored pencil. This layer does not need to be heavy or exact. TIP: It’s better if the tip of the colored pencil is more blunt than pointy.
- Layer Daffodil Delight pencil over the white, concentrating more on the tips of the leaves.
- Use the Granny Apple Green pencil next, coloring the entire leaf shapes and the stems, pressing harder at the base of each leaf.
- Add Coastal Cabana at the base of each leaf with strokes towards the tips of the leaves. Add a layer to the stems as well.
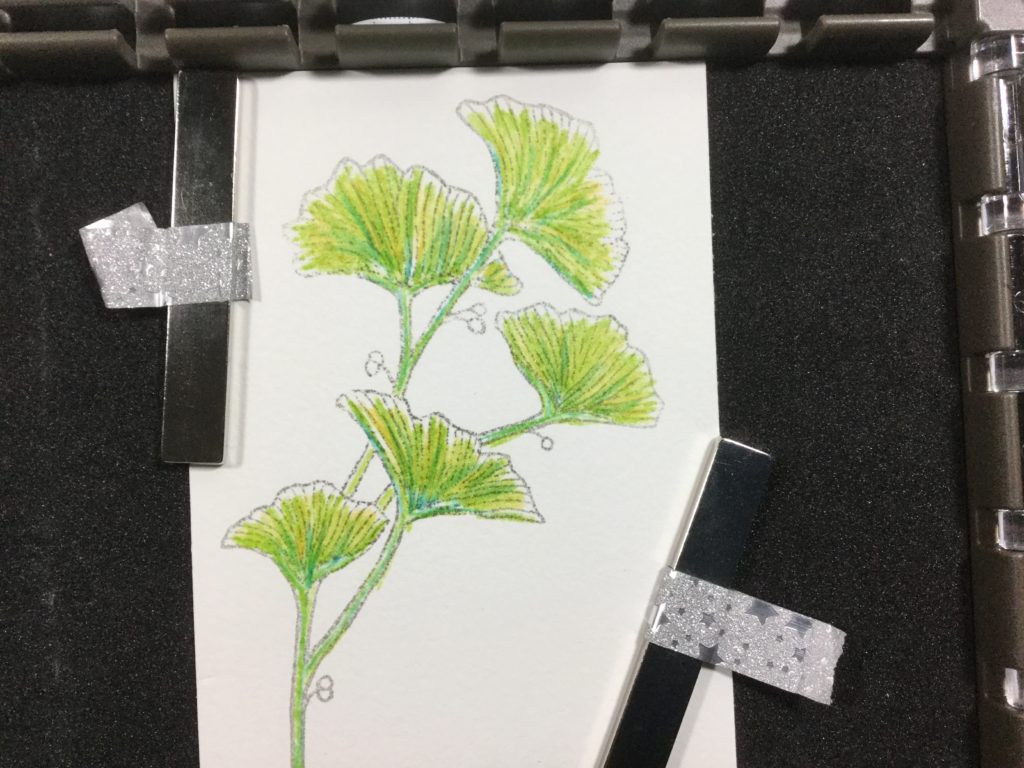
- Your project will look like this before blending (as you can see, I did my coloring while the piece was still in the Stamparatus — this works because there’s no need to press hard with the watercolor pencils):
- Blend the colors by swiping the blender pen over all layers, working from the tips of each leaf downward through the stems. Wipe the tip of the blender pen on a scrap piece of paper before going to the next leaf.
- Pat entire colored image with the Embossing Buddy.
- Ink up the gingko stamp with Versamark ink and stamp over the top of the colored image.
- Remove piece from the Stamparatus, sprinkle with Copper Embossing Powder and set with the Heat Tool.
- Color in the berries with the Coastal Cabana watercolor pencil and blend with the Blender Pen.
- Layer pieces of cardstock as shown and adhere with the multipurpose glue.
- Stamp the sentiment with Early Espresso ink on a scrap of Very Vanilla cardstock, fussy cut around the words and pop up on Dimensionals.
- Scatter adhesive-backed sequins as desired.
NOTE: Normally, I would emboss a stamped image first, then color it in for the Blended Pencil Technique. The colored pencil tips did not fit very well into the narrow raised embossing grooves of the gingko leaves if the coloring was done after embossing. Stamping with a pale neutral color first let me see where to apply the colored pencil before embossing and it did not affect the blending of my design colors. If the stamped image you are using is more open, you can begin with embossing your image, do your coloring and blending and eliminate step 1.
Leave a Reply