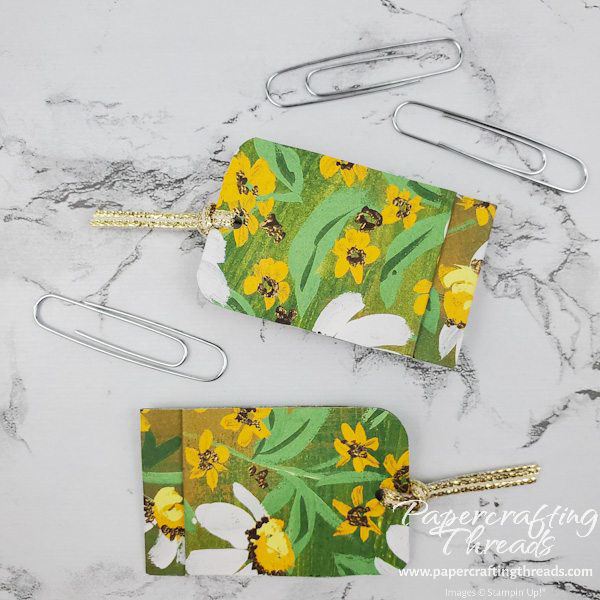
Covered Paper Clips as bookmarks? ✓ Regular household item for heat embossing? ✓ Add a touch of gold (or any color!) embossing to patterned paper, just where you want it? ✓ Let’s get started!!!
To make covered paper clips, you’ll need a strip of patterned paper, 10-1/4″ long. The width can be any width. As I’m going to cover two paper clips, I’m cutting my paper to 3″ wide, so each will be 1-1/2″ wide when finished. You’ll also need jumbo paper clips, the ones that are approximately 2″ long. And liquid glue — that’s it, for the covered paper clips.
step by step instructions for covered paper clips
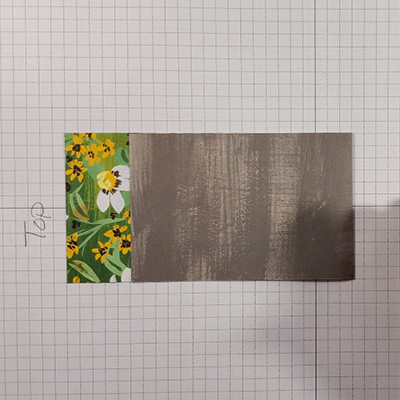
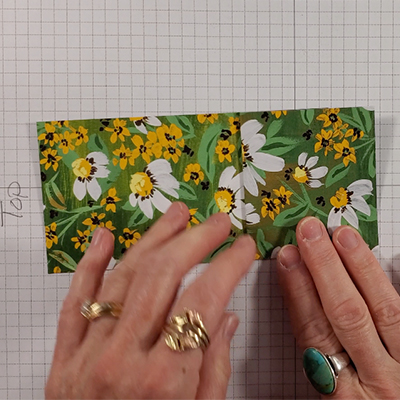
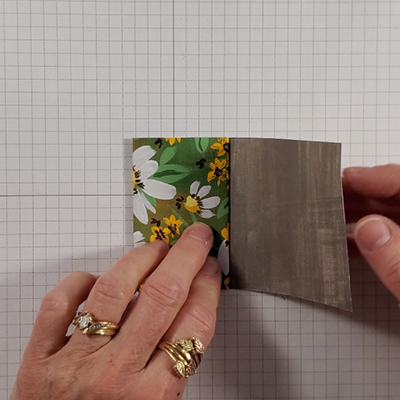
Begin with the strip of patterned paper in landscape position, with the pattern you want to show face up. If your patterned paper is directional, have the top on your left side. I used the Fresh as a Daisy designer series paper.
Fold the long end from the right over towards the left side, leaving 1-1/4″ open on the left.
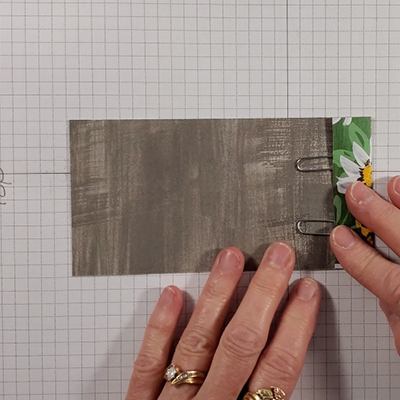
Place paper clips on fold with the long side on top and spaced evenly.
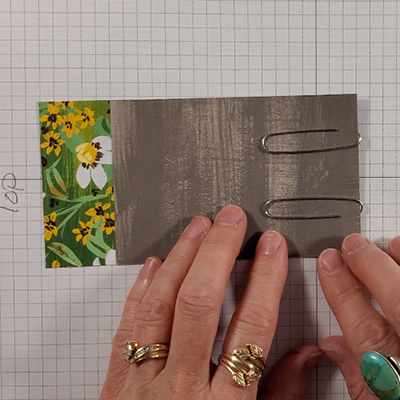
Then fold the top layer back over the long side of the paper clips, butting the fold up to the left edge of the paper clips.
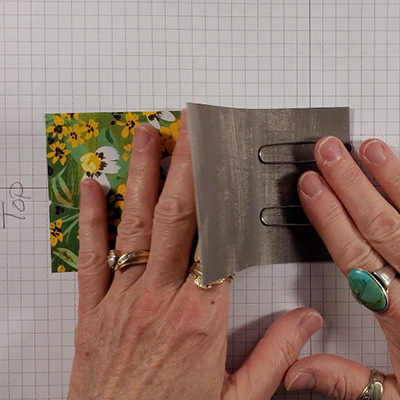
Flip over. The paper will hang over the edge about 1/2′.

Next, fold the 1/2″ flap back over the top of the short side of the paper clips.
Fold the long side flap over to the right, butting the fold up to the left edge of the paper clips.
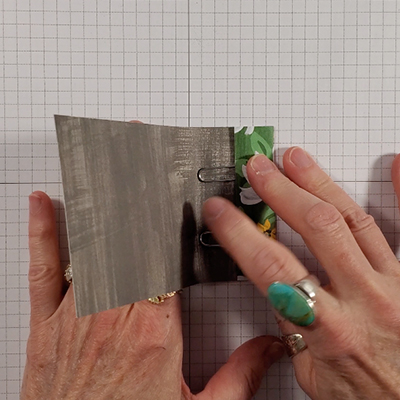
And lastly, flip the entire piece over and fold the rest of the paper, encasing the paper clips with the last edge meeting the folded edge on the left.
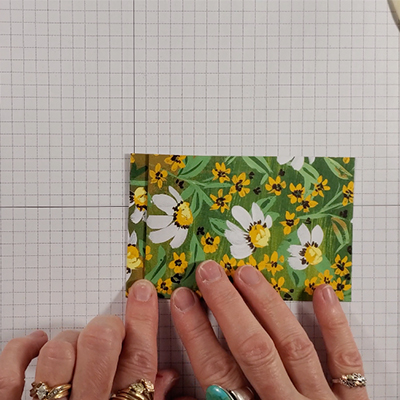
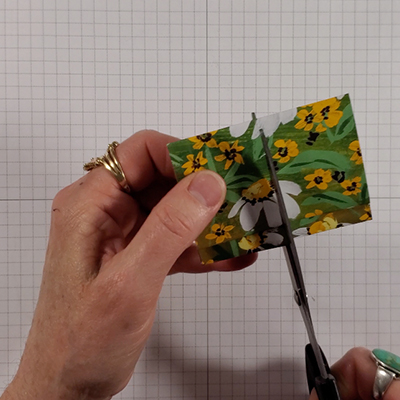
Cut the encased clips in half. I used a trimmer to measure exactly in half, then cut with scissors, but you can certainly eyeball it.
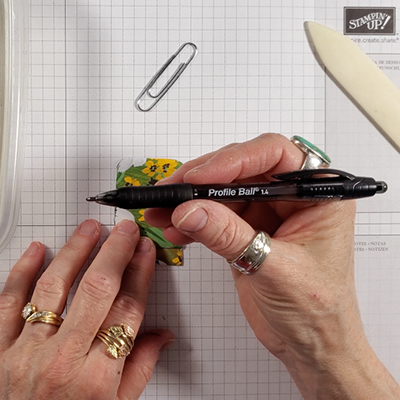
Open each of the folded enclosed paper clips, mark inside with a pen which is the large side and which is the small. Remove the paper clips and fold back up.
embossing super power
Grap a ballpoint pen— I’m using a Papermate Profile Ball 1.4 ballpoint pen, and ink wherever you want a spot of embossing. I’m adding little marks of black ink on the flower centers of my patterned paper. Sprinkle with gold embossing powder and heat set as usual. And voila! Gold embossing exactly where you want it, no Versamark ink needed!
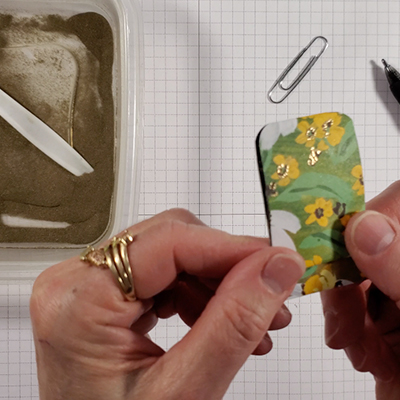
The brand of pen isn’t important…what’s important is that whatever pen you choose, the ink has to stay wet so the embossing powder will stick to it. So use those pens you don’t like that smear when you’re writing. What will you emboss next? Your signature? The entire message inside a card? The possibilities are endless!
Once you’ve embossed both sides, open the folded paper back up and add the paper clips back in. Then add liquid glue to each layer as you fold it back up.
Use the covered paper clips on catalogs, books, to hold papers together, even as a money clip!!
Leave a Reply