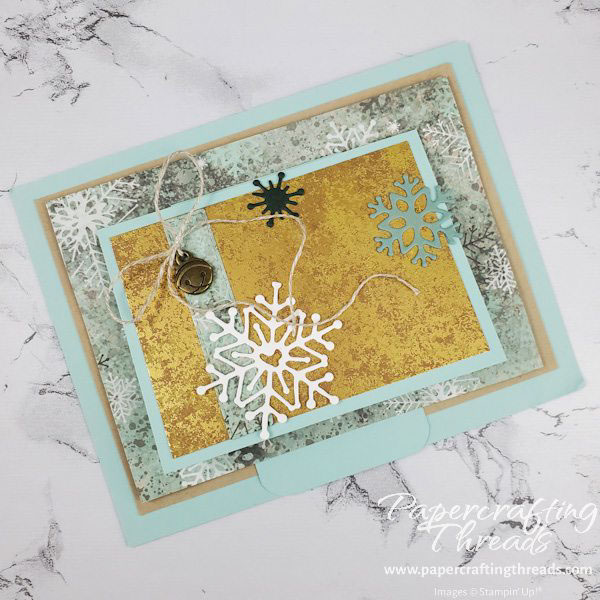
Thing giving a gift card is boring? Not when you make a Pull Tab Gift Card Holder like this one! While it looks complicated, it’s just a folded piece of paper. Read on for complete instructions.
Scoring & cutting guide
| Paper Dimensions | Score Long Side | |||
| 2″ x 6″ Pool Party cardstock | Score at 2″ and 2-1/2″ | |||
| 4-1/4″ x 5-1/2″ Pool Party cardstock base | ||||
| 3-1/2″” x 4-3/4″ Texture Chic cardstock | ||||
| 3-3/4″ x 5″ Crumb Cake cardstock (2 pieces) | ||||
| 2-1/2″ x 3-1/2″ Distressed Gold Specialty Paper | ||||
| 2-3/4″ x 3-3/4″” Pool Party cardstock | ||||
| Scraps of Basic White, Soft Succulent & Evening Evergreen cardstock |
make the pull tab mechanism
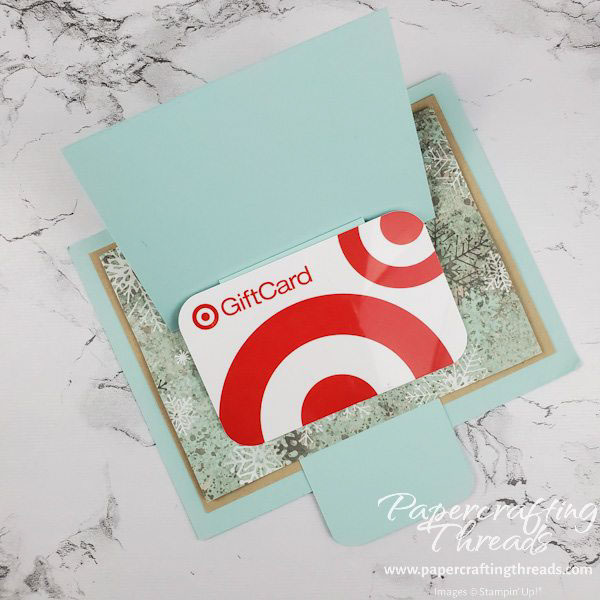
Start with the strip of Pool Party cardstock. Fold and burnish on the score lines, forming a “U” shape. Place the strip vertically in front of you with the scored lines in mountain fold. Adhere the gift card with a glue dot to the smallest flap just below the bottom score line.
Create the focal front by layering the piece of Distressed Gold specialty paper 2-1/2” x 3-1/2” to the piece of Pool Party cardstock 2-3/4” x 3-3/4”.
Add adhesive to the ½” strip above the gift card and center the just-assembled focal front over the gift card.
Cut a ½” x 2-1/2” rectangle out of a 3-1/2” x 4-3/4” piece of Texture Chic patterned paper. I used the smallest rectangle die from the Stitched Rectangle die set. You could also use a punch or an exacto knife.
Flip the pull mechanism over to the backside with the focal front with gift card face down and at the top. Insert the tab into the slot cut in the Textured Chic piece. Close the pull mechanism and center it over the Textured Chic piece. Flip the mechanism open and apply adhesive along the edge of the strip at the top. Carefully close, centering the focal front and press to adhere. The ‘hardest’ part is done!
finishing the pull tab gift card holder
Apply dimensionals to the four corners on the back as well as above the flap mechanism. Dimensionals need to be well clear of the mechanism so the mechanism isn’t hindered in any way. Adhere the layered mechanism to the 3-3/4” x 5” piece of Crumb Cake Cardstock. If desired, round the corner edges of the pull tab.
Apply adhesive to the back of the Crumb Cake cardstock and adhere it to the 4-1/4” x 5-1/2” Pool Party cardstock base. Stamp a snowflake from Season of Chic stamp set in lower right corner of the 3-3/4” x 5” Crumb Cake Cardstock and apply it to the back of the pull flap gift card holder.
Decorate the front with the leftover strip cut from the middle of the patterned paper and add diecut snowflakes, linen thread and a flat jingle bell. Check out the video tutorial with all the key steps!
I love the unexpectedness when you pull the tab to see the gift card revealed! And the nontraditional colors with the Textured Chic Suite are definitely a favorite of mine.
Leave a Reply