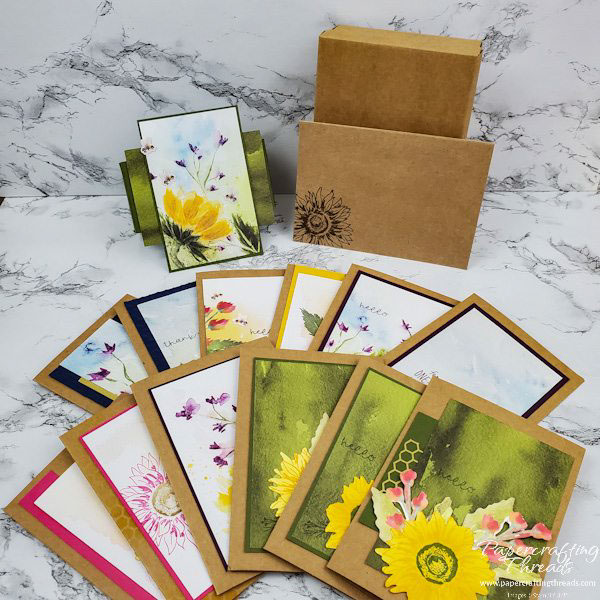
Need a gift for someone special? Create an Easy Note Card Set with a fabulous box full of blooming sunflowers! I used Sweet Sunflowers from the August 2022 Paper Pumpkin Kit for my set, along with the Kraft Note Cards and Envelopes that come with a extraordinary box. Each of the folded cards measure 3 ½” x 5”. Since this is a gift set for a friend, I designed the cards without dimensionals or jewels so there’d be no extra postage or protective layers needed. Don’t have any cardbases left, or don’t have the kit in the first place? Use patterned paper or make your own pattern by stamping randomly in different ink colors on plain cardstock.
From the kit, I cut up one of the envelopes by slicing a sliver off of each side and cutting off the flap. Then I cut on each side of the score lines. I also cut one of each card base design in half. Again, cut on both sides of the scoreline. And last, I cut the card halves in half again and cut the envelope pieces smaller as well.
the cards
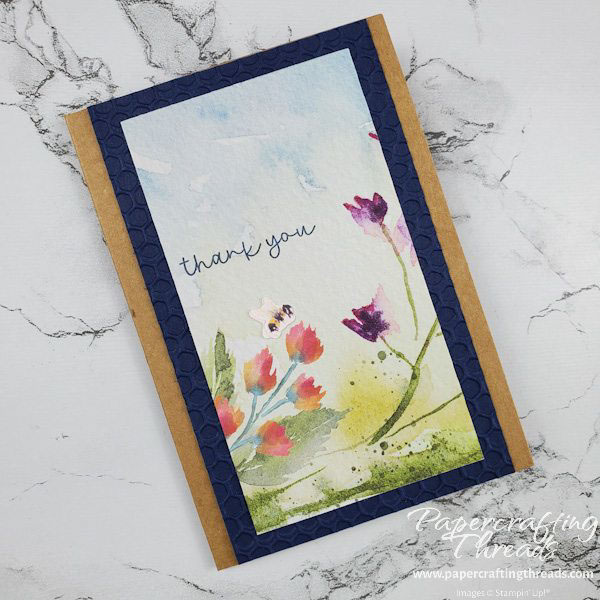
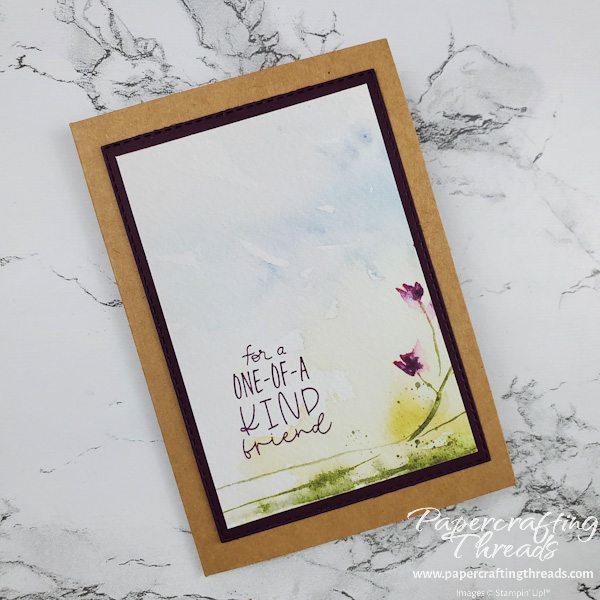
For card #1, I cut a piece of Night of Navy cardstock 3” x 4 ½” and ran it through my Cut & Emboss machine with the Hive 3D embossing folder. I trimmed the solid edge from the free gold hive diecut in the kit and used liquid glue to apply the pieces. Then I stamped the foliage image in the lower right corner on the inside of the card and the sentiment on the label in matching Night of Navy ink.

Card #2 starts the same way as the first card with the Night of Navy embossed panel. I added a bee to the front and a sentiment.
For Card #3, I cut off a strip of the gold diecut hive and adhered it to the back of the patterned paper. A few bees and this card is done.

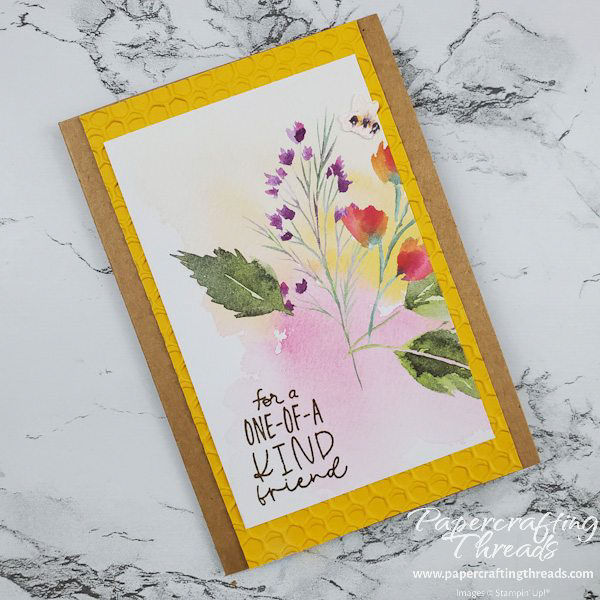
Card #4 features another greeting stamped directly on the patterned paper but this time in Soft Suede ink with an embossed Crushed Curry mat. The mat is 5” long and stretches from top to bottom. I added a bee and another card is done.
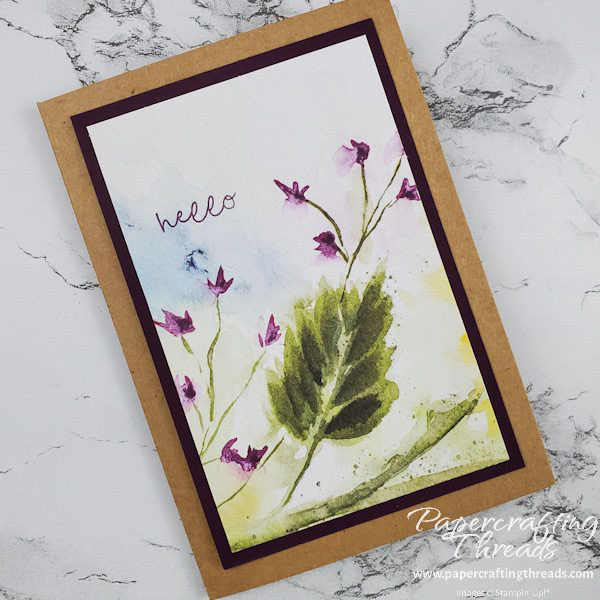
Card #5 couldn’t be simpler. I stamped the greeting directly on the pattern and added a Blackberry Bliss mat. The paper does all of the work.
Card #6 is quite similar to Card 5, but I ran the mat through the Rectangle Shapes die for a subtle stitched edge.
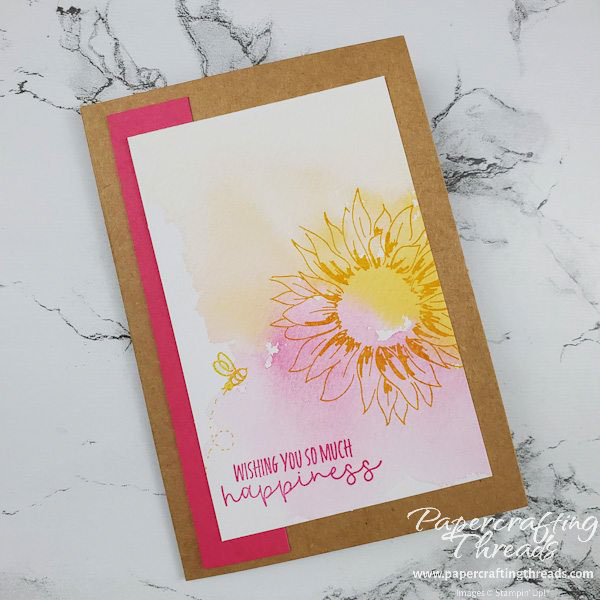
For Card #7, I stamped the sunflower image in Crushed Curry directly on the patterned paper and added the greeting in Melon Mambo. I cut a Melon Mambo cardstock strip ¾” x 4 ¾”. And I added a bit of sparkle with a stamped bee with Wink of Stella on the wings.
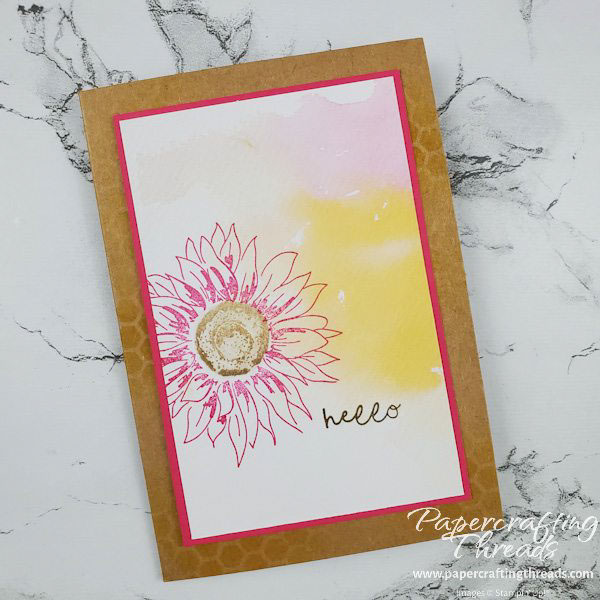
Card #8 has a Melon Mambo sunflower with a 2nd generation Soft Suede center and a greeting with full strength Soft Suede. I took the back side of the diecut gold hive leftover and used a Blending Brush to stencil hive marks onto the card base. A bit of Wink of Stella on the center finished this card.
I used a Blackberry Bliss cardstock mat on Card #9 with a matching greeting. I brushed plenty of Wink of Stella directly on the sunflower petals.
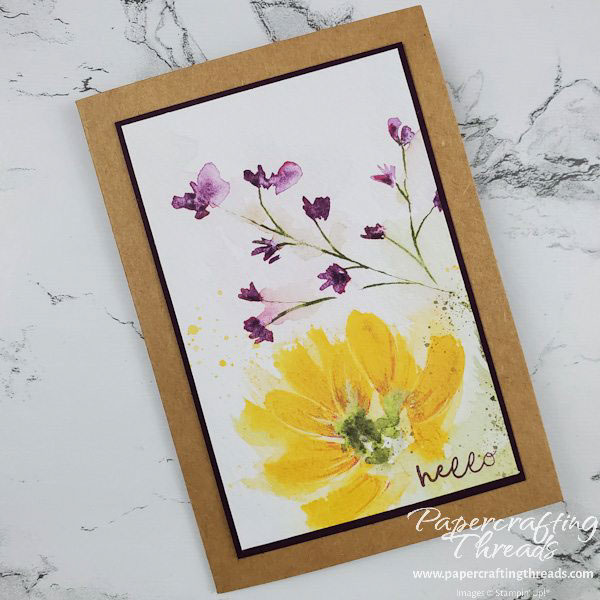
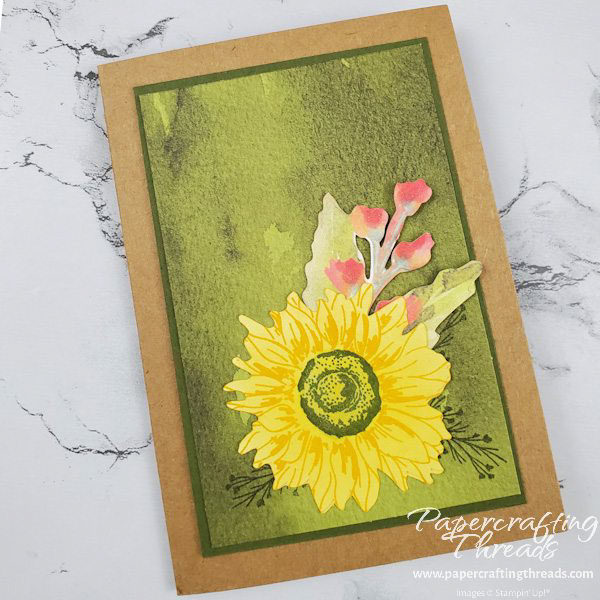
For Card #10 I used one of the sunflower base pieces with Crushed Curry blended over the top. I used the Twist technique: Stamp the sunflower image once. Then rotated the block 1/4 turn, inked it and stamped again for a fuller blossom. I also stamped the foliage in Mossy Meadow 3 times on the patterned paper before layering on the pinkish diecut flower and the sunflower. And another round of Wink of Stella!
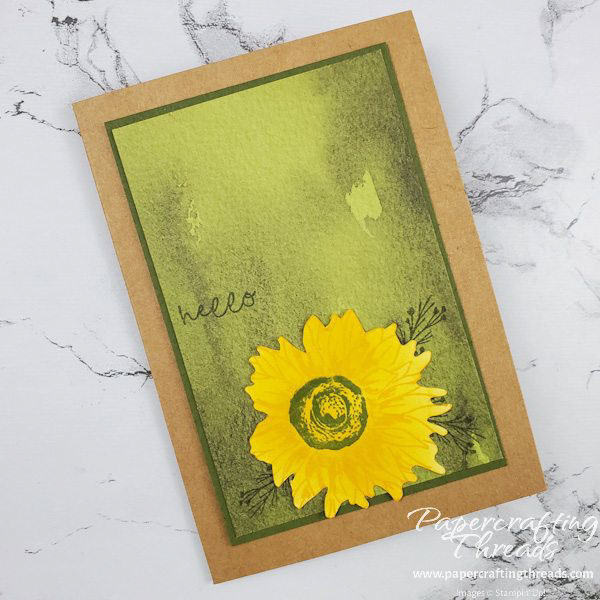
Card #11 is similar to Card #10, but this time I added a greeting in Mossy Meadow and I only stamped the sunflower image once. I also stamped the flower center in Mossy Meadow and twisted the stamp lightly to soften it a little bit.
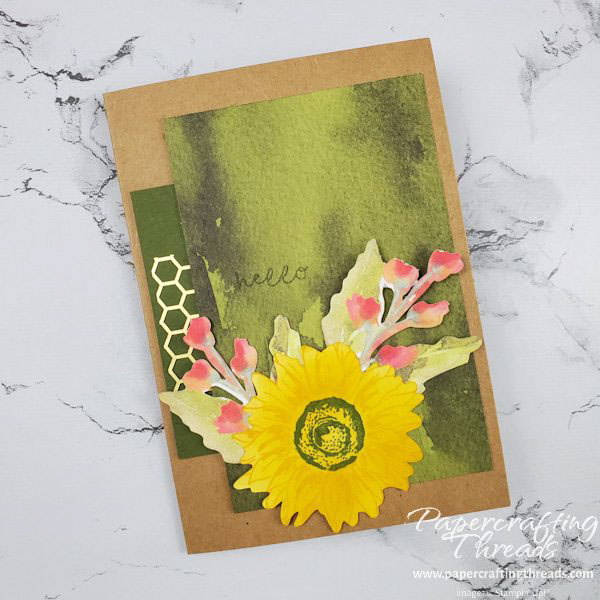
For my final card, #12, I used a piece of Mossy Meadow cardstock, some gold diecut hive, two diecut flower bundles and an offset sunflower. This card will be the first one seen once the finished box is opened. What do you think? Which card of the Easy Note Card Set is your favorite?
Box for Easy Note Card Set
The two-piece box comes with the Kraft Note Cards & Envelopes. To put the box together, for all sides, working from the center out, fold the first two folds in towards the center (or mountain fold). Fold the last fold back towards you (or valley fold). I added a strip of Tear N Tape to the inner first panel on all four sides. The box is extremely durable with the tape. (But if you don’t have the tape, you can still make the box.) Remove the liner from the tape and fold in the ends first. Fold the front next, making sure to square up the box first. Then fold the back flap last, and tuck in the notches on the opposite side. Repeat these steps for the lid. Watching the video might help – box assembly is at 05:32!
To decorate the box. I cut a strip of Mossy Meadow cardstock 2” x 11” and wrapped it around the box with the ends towards the front. Then I adhered one of the pieces of leftover cardfront that measures 2 ¾” x 4” to span the gap. I mounted the last sunflower print on a piece of Mossy Meadow cardstock and adhered it perpendicular to the belly band. Three bees scattered across the front and some Wink of Stella on the petals and the box is complete.
Leave a Reply