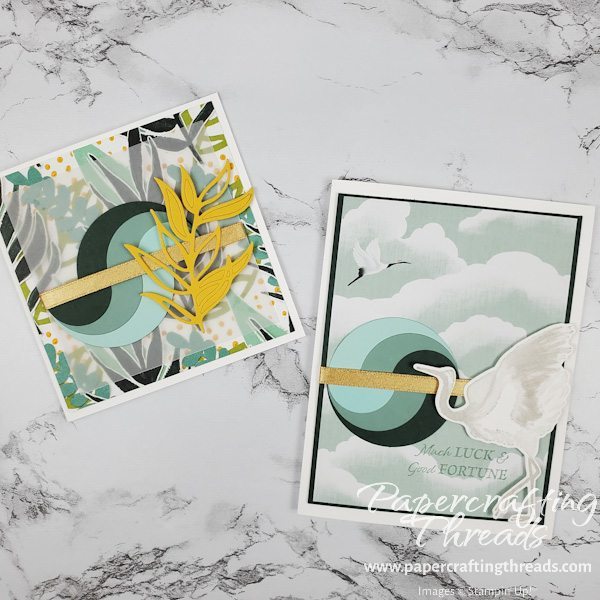
Create Layered Circle Cards and get two completely different cards just by moving the half circles and swapping out the patterned paper! It’s easy and I’ll walk you through it.
Start with three concentric circles and three shades of coordinating cardstock. I used Evening Evergreen, Soft Succulent and Pool Party. Cut out a large and small circle from the darkest color (Evening Evergreen) and the lightest color (Pool Party). Cut out two circles from the medium shade (Soft Succulent). Then cut all of the circles in half. TIP: I butted the edge of each circle at the bottom of my trimmer, checked to see the measurements were even on both sides, and cut.
Arrange the half circles in two stacks, 1) small darkest circle, medium circle & largest light circle 2) small lightest circle, medium circle & largest dark circle. Glue layers together.
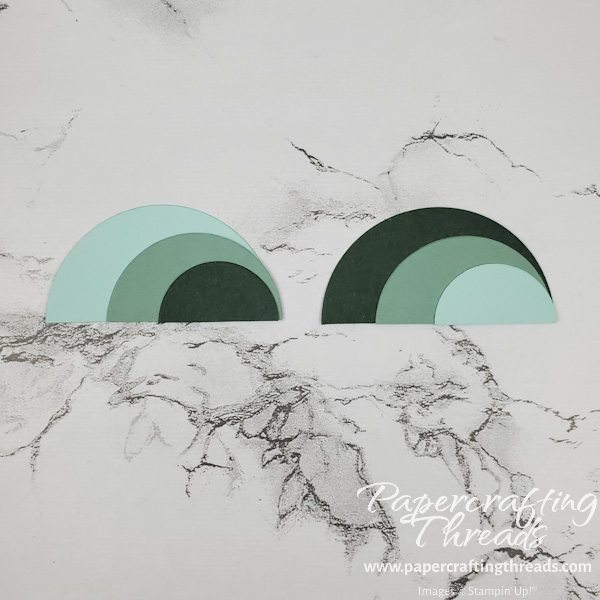
Now here comes the magic. Just by moving the stacks as shown below, get two completely different looks.
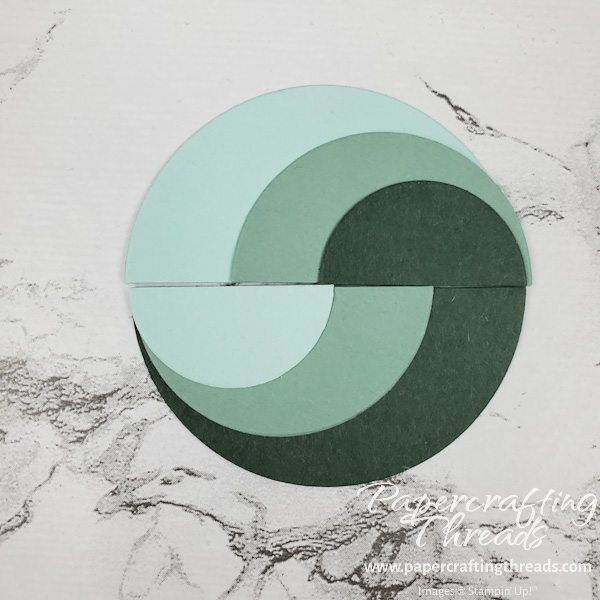
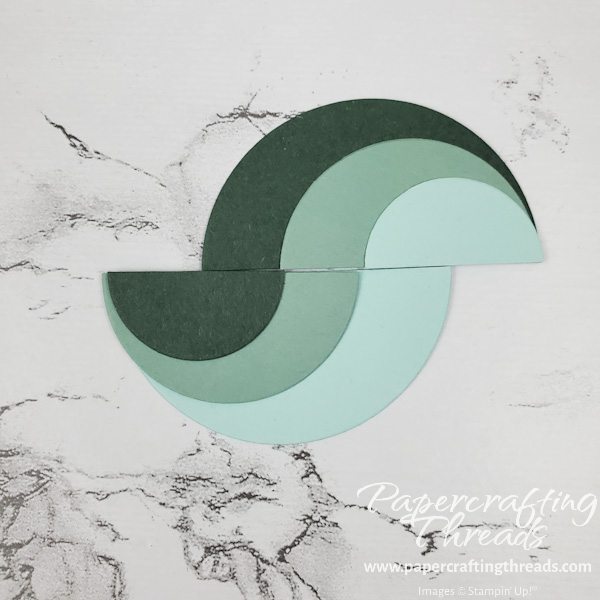
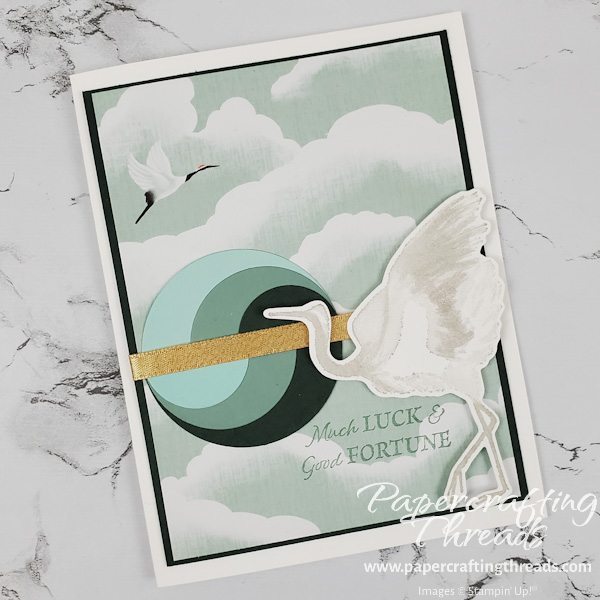
Card 1
For my Eastern-influenced card, I used the Symbols of Fortune patterned paper. The design I chose had flying cranes against a cloudy sky. I strategically placed my stamped and diecut crane over one of the flyers. A piece of gold ribbon covered the seam on my layered circles for a yin/yang effect.
Card 2
My second Layered Circle card is made from a card base that is 4-1/4″ x 8-1/2″, scored at 4-1/4″ to create a square card. I layered a piece of vellum cardstock over Artfully Composed designer series paper. Again, the same shade of ribbon covers the seam on the offset half circles. A partial diecut in Bumblee is popped up on the right.
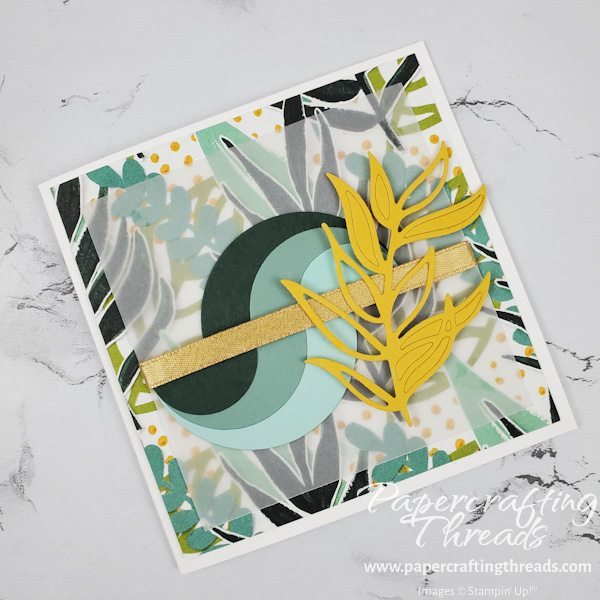
Isn’t it amazing how the the same two layered half circles look completely different? If you’d like a visual for how to create layered circle cards, hop on over to my Instagram account and watch my reel.
Leave a Reply