Let’s be real – anyone can buy a card from the store, but where’s the fun in that? Handmade cards are a chance to show someone you’ve put real heart and thought into your message. This tutorial full of tips and tricks for creative card design has got you covered. I’ll walk you through how to turn plain cardstock into a mini masterpiece that’ll make people go “Wow, you made this?!” Let’s dive in!
Creative card design — add texture
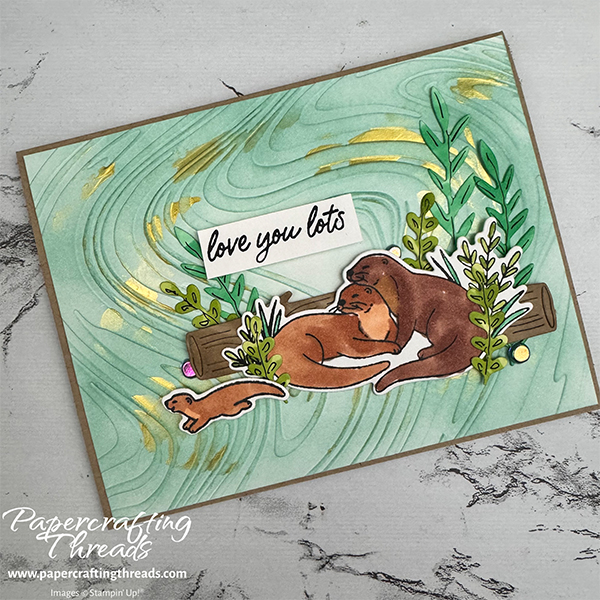
Start with a piece of Basic White cardstock 4⅛” x 5⅜” and run it through an embossing machine with the So Swirly embossing folder. Use a Blending Brush to add swirls of Pool Party ink over the embossing, paying particular attention to the edges. Coverage should be more in some places than others – this should not be even coverage.
— add shimmer
Squirt some of the gold Metallic Enamel Effects onto a palette knife and smear it on the embossed panel randomly, repeating until happy with the effect. Set aside to dry.
creative card design — create a focal point
Stamp the pair of otters and two of the baby otters from the Otterly Amazing stamp set on a scrap of Basic White cardstock in Tuxedo Black Memento ink. Color the otters with Stampin’ Blends — I used SU700, SU600, SU500 and SU400. I used Light and Dark Granny Apple Green for the leafy plants. And Light and Dark Shy Shamrock for the spiky foliage. Die cut or fussy cut the otters.
On a large scrap of Basic White cardstock, scribble with the Light and Dark Granny Apple Green Blends. Scribble a larger area with a combination of Light and Dark Shy Shamrock. On a scrap of Crumb Cake cardstock, scribble an area with a Dark Crumb Cake Blend.
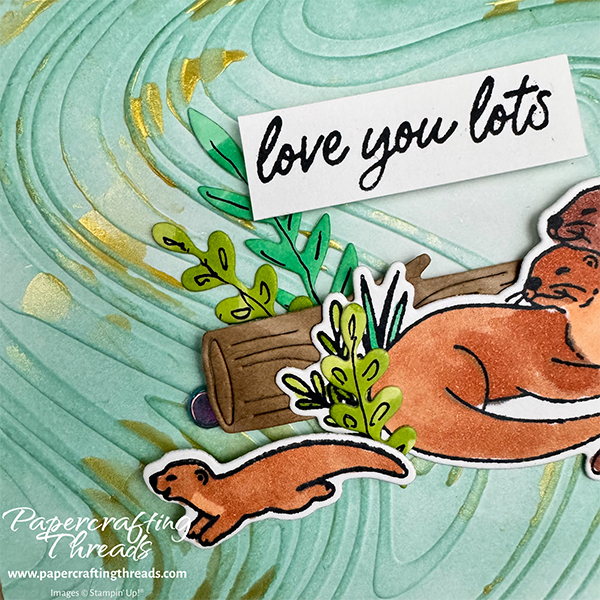
Die cut two of the small double foliage dies from the Granny Apple Green section, two of the shorter plants and one of the large from the Shy Shamrock section. Use a Comic Multiliner 0.5 pen to add details to the greenery. And die cut three logs from the Crumb Cake.
creative card design — add depth
Adhere the embossed panel to the front of a standard Crumb Cake card base with liquid glue. Layer two of the logs with glue dots behind the otter pair. Place a dimensional behind the head of the upright otter, and place glue dots on the base before adhering to the front of the card. Tuck in greenery behind the logs and in front of the otters.
Pop the baby otter up on mini dimensionals and place in front of the foliage on the left side. Stamp the sentiment on a strip of Basic White cardstock and pop up just over the edge of the greenery on the left.
— add embellishments
Sprinkle some of the Riverside Irregular Pearls around the front. Tuck them under the edge of different elements for added interest.
— decorate the inside
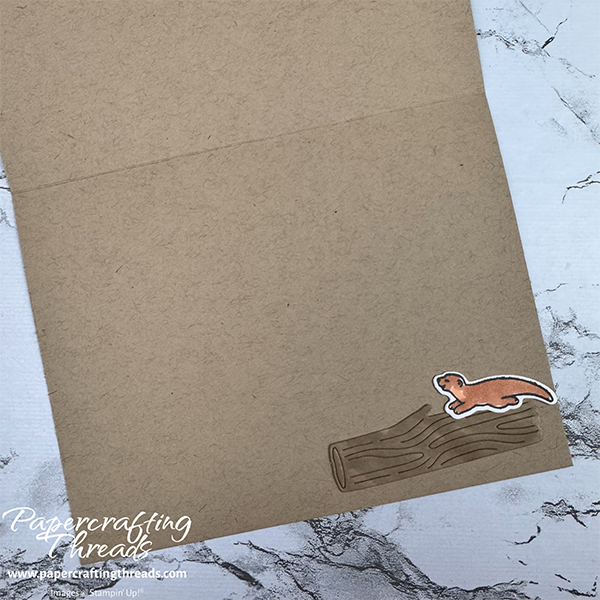
Glue the remaining log and baby otter on the inner lower right corner. Click here for a full supply list.
Whether you’re a craft pro or someone who can barely handle scissors without causing chaos, I hope I gave you some creative card design ideas. And I posted a short over on YouTube for a visual. If you found this tutorial helpful, consider a contribution to my coffee fund ☕️ Coffee → Creativity → Content → More Coffee (help fuel the cycle!)
Leave a Reply