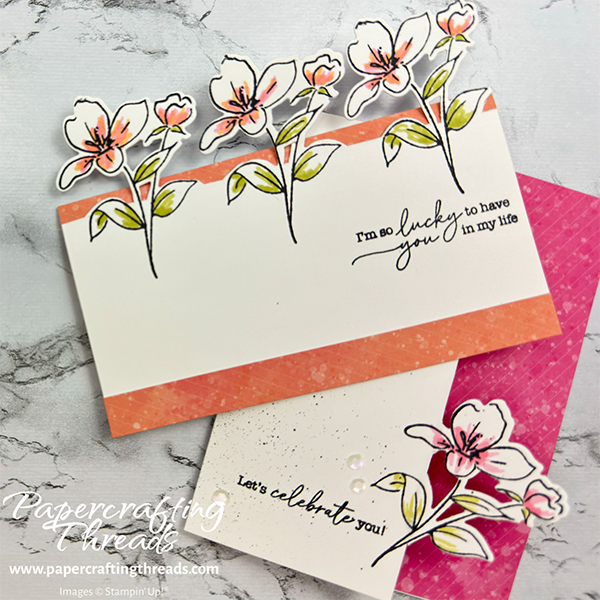
Die Cut Edge Cards look fantastic no matter which edge features the image(s). This technique makes the most of your die stash. I show how to make the two different die cut edges in this tutorial with elements of the July 2024 Painted Petals Paper Pumpkin Kit. Feel free to use any dies with these techniques. Let’s get started!
Side Edge card #1
Start with a piece of Basic White cardstock cut 4-1/4″ x 5-1/2″. With the cardstock in portrait position, pencil a line 2-1/2″ from the left edge. Position the die, in this case the floral image from the Every Celebration Dies Add-On set, towards the bottom right corner, with three points of contact over the penciled line. Use Removable Labeling Tape to hold the die in position. Place on bottom cutting plate in landscape position. Add top plate with edge aligned with the penciled line and the floral image free below. Run through die cut machine and remove tape and die carefully.
Ink image with Tuxedo Black Memento ink and stamp. Use trimmer and snips to cut along pencil line and around floral image, leaving the majority of the flower free of the edge. Color with Stampin’ Blends – Light Pretty in Pink and Light Old Olive. Stamp sentiment with Memento ink. Splatter with Stampin’ Write marker.
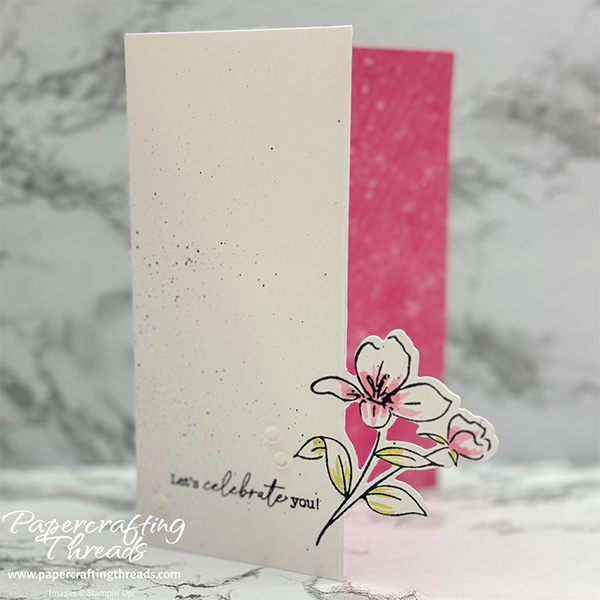
Cut a piece of Basic White cardstock 5-1/2″ x 6-3/4″ and score long side at 4-1/4″. Trim the pink half of a card base from the Paper Pumpkin Kit and adhere to inside of card. Stamp floral image in inner left corner. Adhere prepared die cut edge piece to front flap of card. Add iridescent sequins from kit.
die cut edge card #2
Start with a piece of Basic White cardstock cut 4-1/4″ x 5-1/2″. With the cardstock in landscape position, pencil a line 2-3/4″ from the bottom edge. Position the die towards the top left corner, with the leaves straddling the penciled line. Use Removable Labeling Tape to hold the die in position. Place on bottom cutting plate in landscape position. Add top plate with edge aligned with the penciled line and the floral image free below. Run through die cut machine and remove tape and die carefully.
Position the die to the right of the first diecut image and repeat. Position the die again to the right of the middle image and repeat. Trim some of the excess cardstock away with snips. Stamp all three images with Tuxedo Black Memento ink. Finish trimming around the images.
Stamp the sentiment. Cut a 1/4″ wide strip and a 1/2″ wide strip from one of the orange card bases in the kit. Glue the narrower strip to the top edge of a landscape card base. Adhere the die cut edge just below the orange strip. Cut the bottom of the card to match the bottom of the die cut edge piece. Glue the remaining orange strip along the bottom.
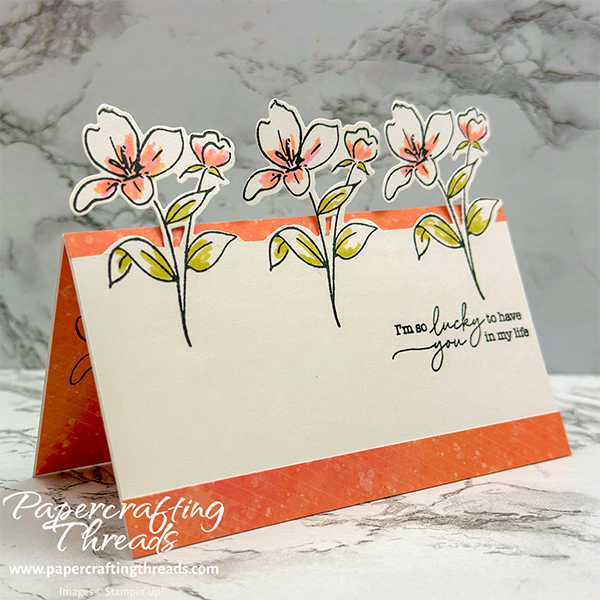
Cut another piece of the orange pattern measuring 2″ x 3″ from the leftover card base. Stamp the floral image in Tuxedo Black and adhere into inside left of card base.
Check out the video I posted over on my YouTube channel for a visual of both Die Cut Edge Cards.
I love these!
Thank you! Works with most dies 🙂