Whip up an Easy Note Card Holder when you need a quick gift! The holder uses one piece of cardstock. The matching note cards and envelopes are precut, which saves time. Just stamp and it’s ready to go.
| Paper Dimensions | Score Long Side | Long Side Tic Marks | Short Side | |
| 7-1/2″ x 8-1/2″ base cardstock holder | 4″ and 4-1/2″ | 5-1/4″ and 5-1/2″ | ||
| 1-1/4″ x 2″ matching cardstock (x2) holder | 1/2″ and 3/4″ | |||
| 3-3/4″ x 5″ front panel of holder | ||||
| 2″ x 3-1/2″ DSP holder front | ||||
| 3-1/8″ x 4-3/8″ cardstock notecard front | ||||
| 3″ x 4-1/4″ DSP notecard front |
scoring
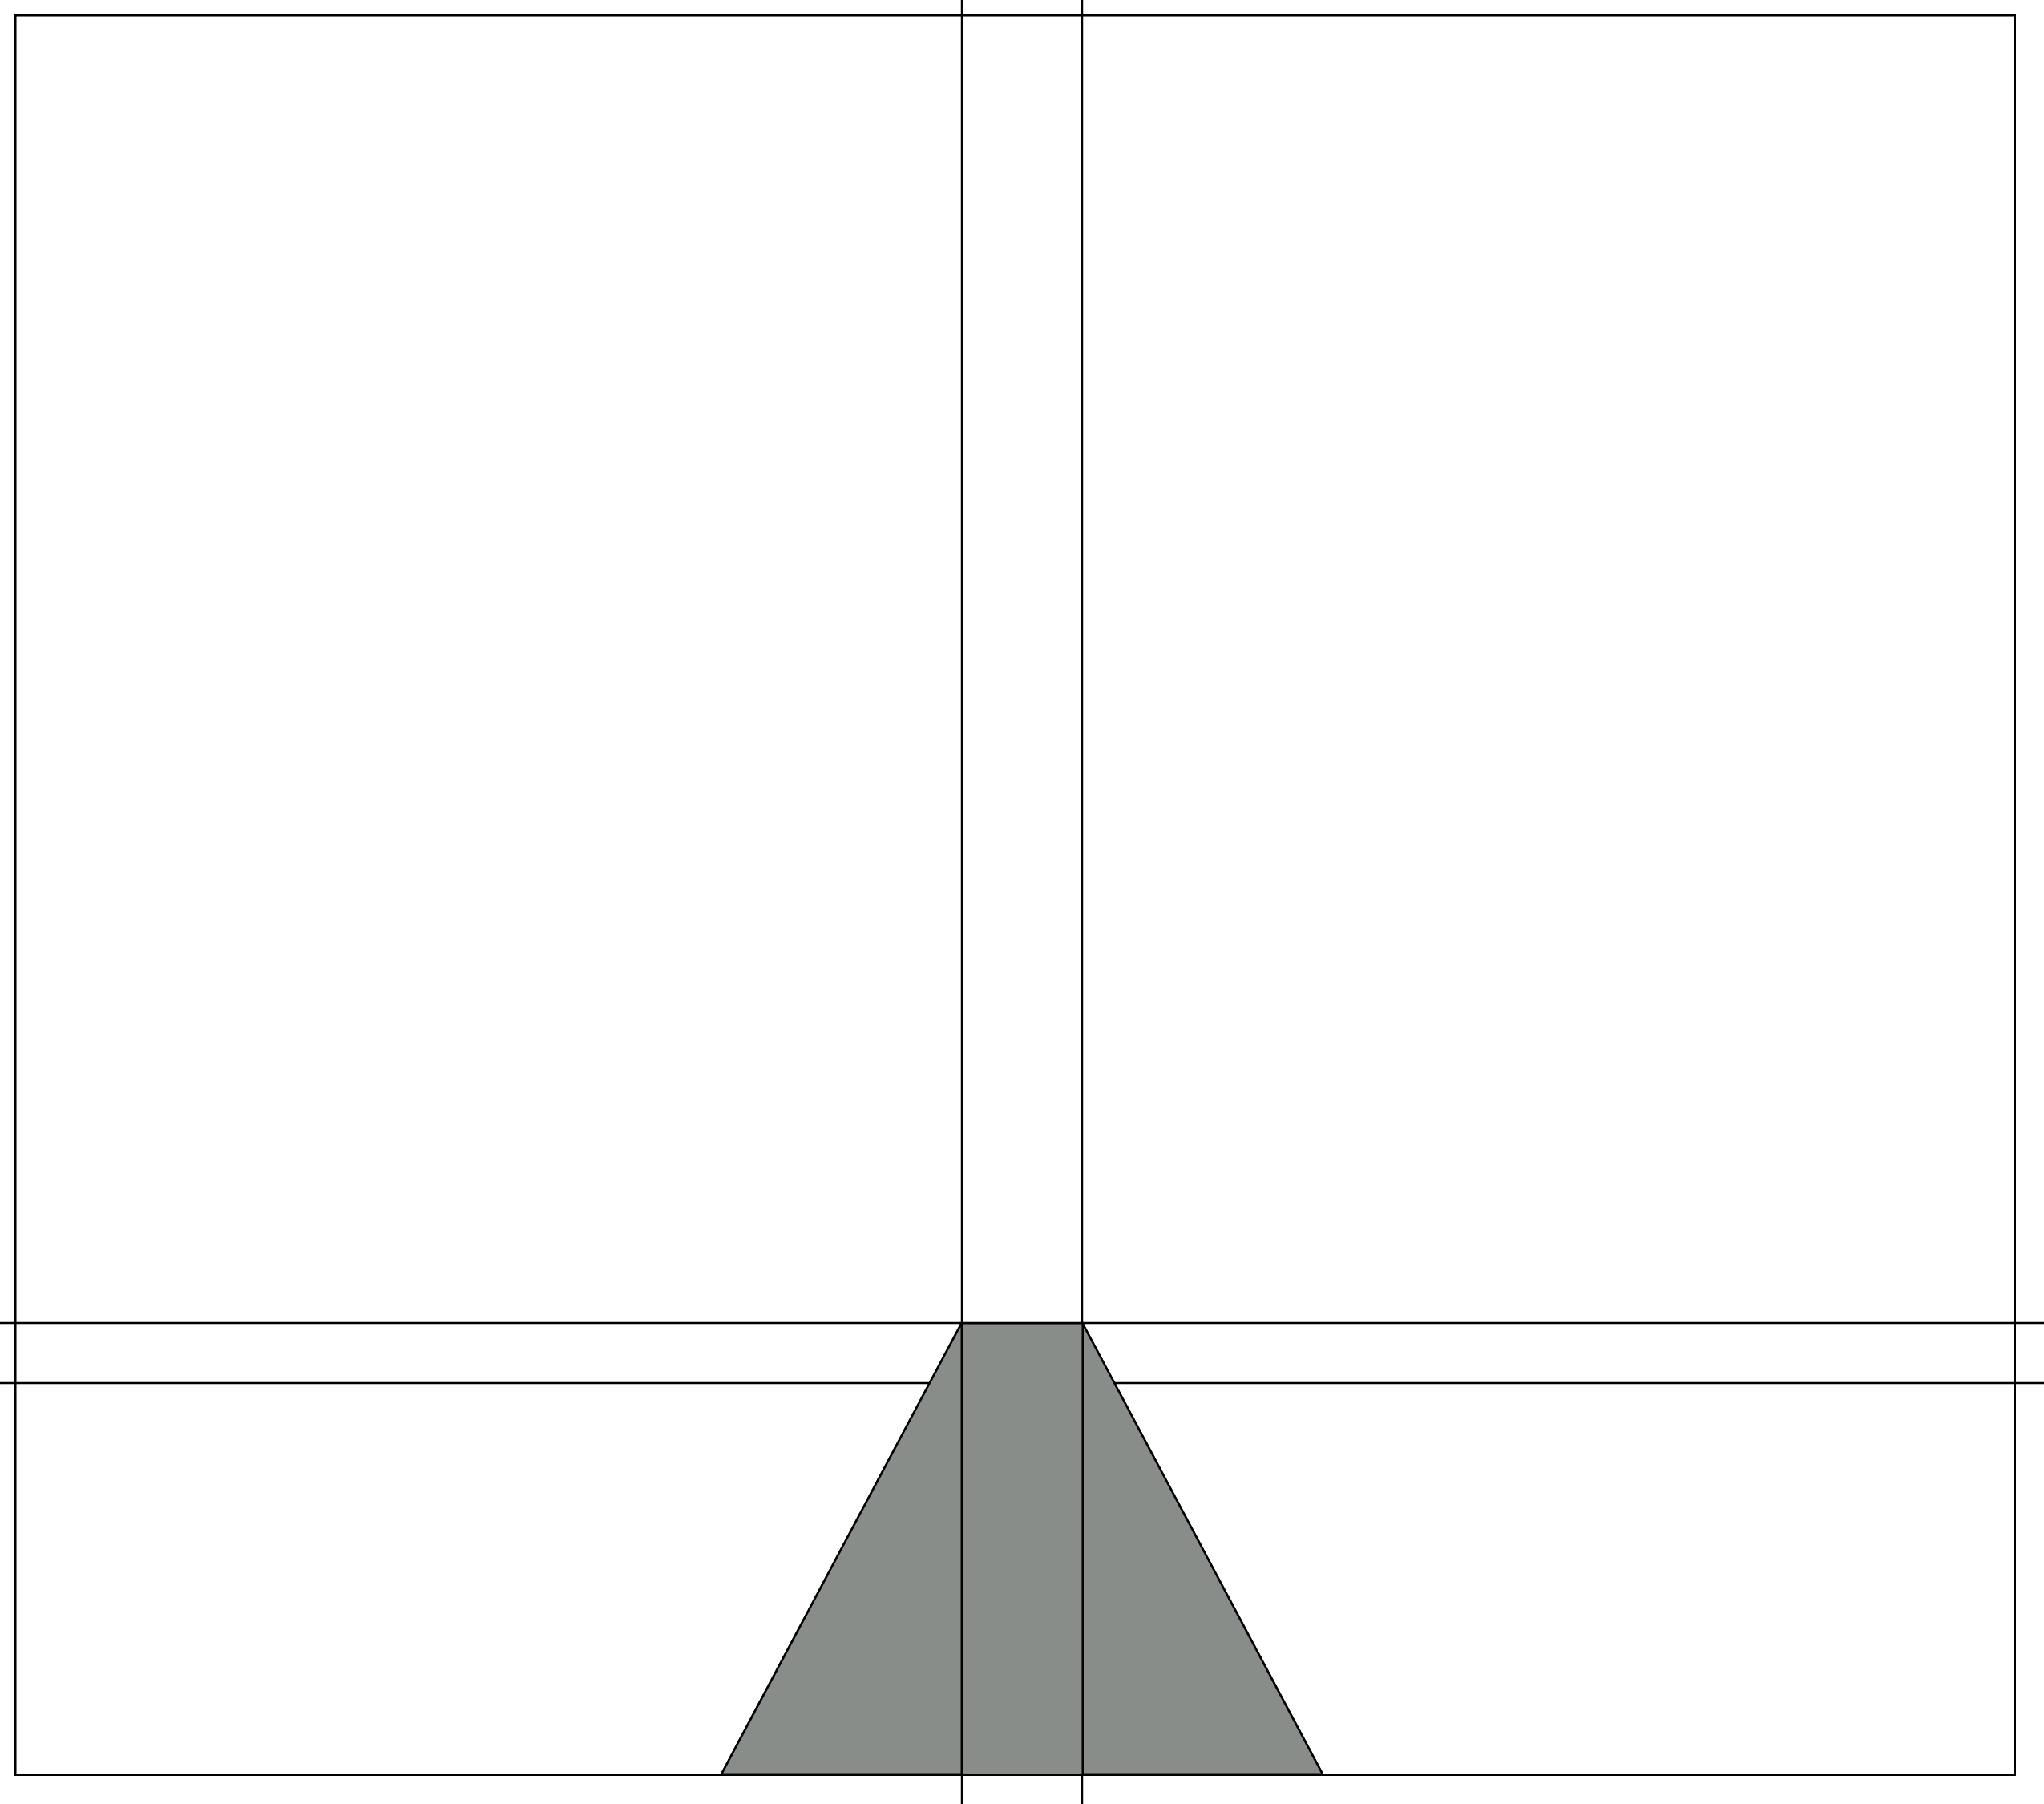
Start with a piece of cardstock measuring 7-1/2″ x 8-1/2″ and score as noted above in the chart. Using a ruler, mark a point at the bottom 1″ to the left of the left most vertical score line. Mark another point 1″ to the right of the right most vertical score line. Connect each point to the top scoreline intersection, forming a pyramid. Cut out this pyramid.
assembling the note card holder
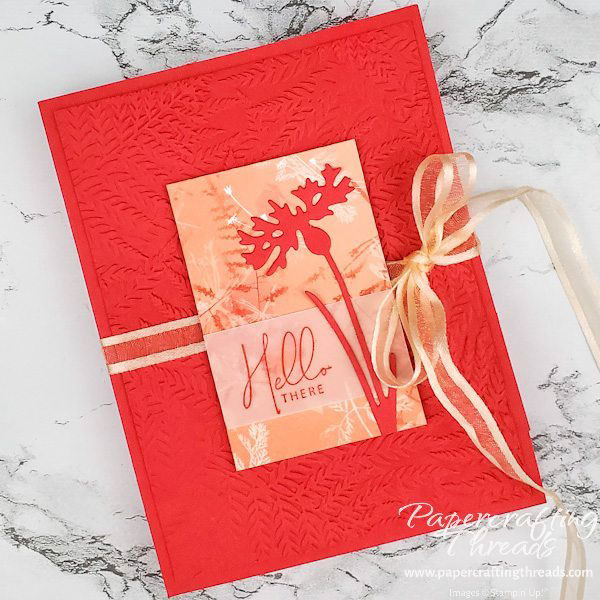
Fold and burnish all score lines. Flip the piece over to the front. The right side panel will become the front. Add a decorative panel—I embossed a piece of cardstock 3-3/4″ x 5″ with the Fern 3D Embossing Folder. It’s much easier to do this now while the holder is flat.
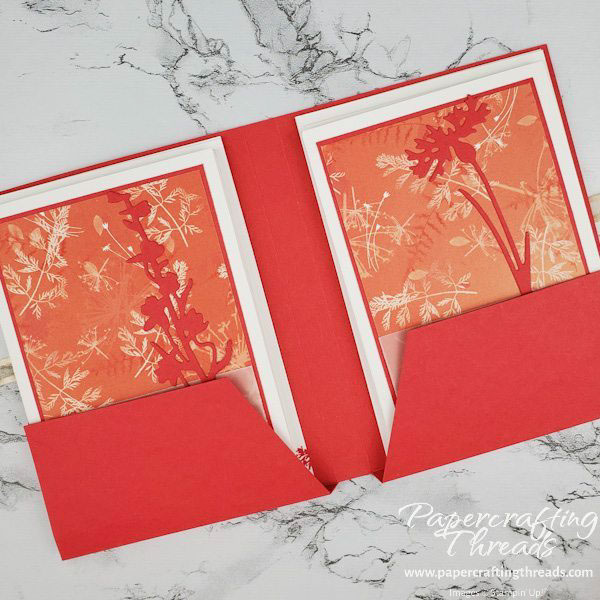
Next, flip the holder back to the inside. Cut two matching cardstock pieces measuring 1-1/4″ x 2″, scoring the long side at 1/2″ and 3/4″. Fold on all score lines. Add Tear N’ Tape to each section. Remove the liner on one of the small sections and align the edges with the bottom left side of the base. Repeat on the right side.Remove the remaining two liner pieces, fold up the bottom, and adjusting the bottom edge until it’s squared up, press to adhere. Repeat on the other side.
Note Cards
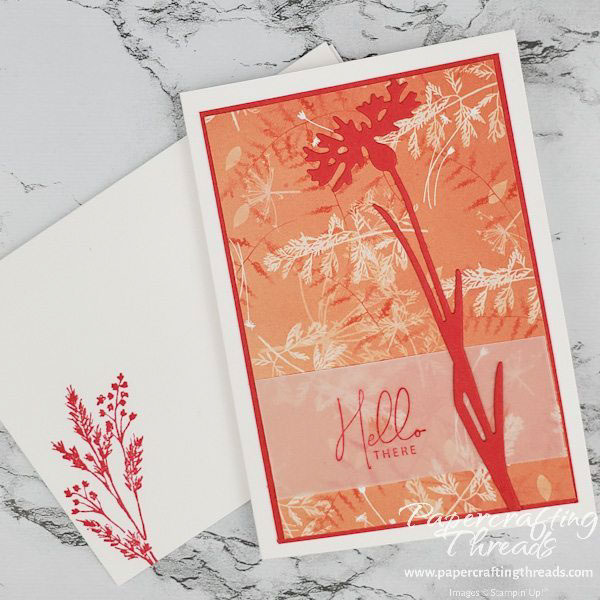
Precut note cards and envelopes form the bases for the cards. I added a layer of Sweet Sorbet cardstock as a mat behind the Pretty Prints patterned paper. I stamped the sentiment on a strip of Vellum cardstock and heat set it. A tiny swipe with SEAL adhesive right behind the lettering temporarily held it in place. Then I added another tiny swipe of SEAL behind the stem of the diecut flower to hold the vellum permanently. Liquid Glue holds the flower in place. I stamped other floral images on the inside of the card as well as on the front of the envelope. The holder contains four matching note card with envelopes easily. I made two of each design.
finishing the note card holder
Once the pockets are filled, it’s time to finish the outside of the holder. Close the holder and wrap a length of 30″ ribbon around the middle. Tie in a pretty bow. I created a smaller version of the note card fronts and popped it up on dimensionals on the front of the holder. I also added a plain piece of cardstock to the back of the holder. Both of these hold the ribbon in place.
Leave a Reply