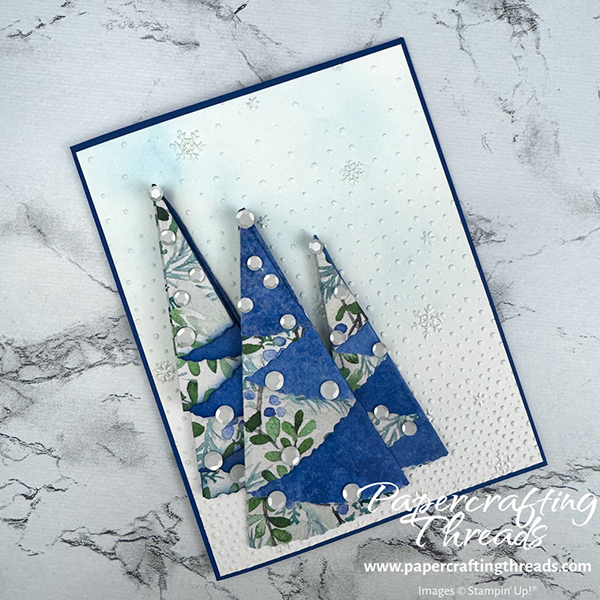
Make easy Origami Christmas Trees from Circles! Decorate a card front as I did here, use as a package topper, make a garland — the possibilities are endless. Each tree is just a little bit different, so let’s get started folding.
I used the Deckled Circles Dies for my trees as I wanted the pretty deckled edge to show on the layers. But you can use any circle, whether it’s cut from a die or traced around a saucer and hand cut. All three trees shown above showcase the lovely Winter Meadow DSP.
method 1 with two variations
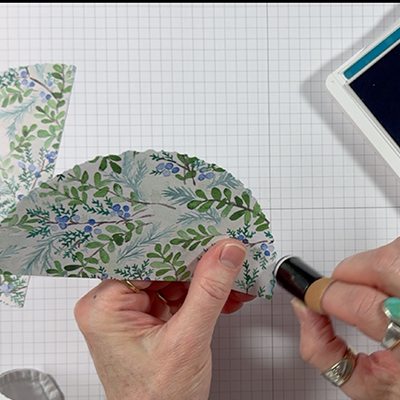
Tree #1 (on the left of the card) used the largest circle from the Deckled Circle Dies, which measures almost 6 inches across. I diecut the circle from a 6-inch square of the Winter Meadow Paper. Then I cut the circle in half on my paper trimmer at 2-7/8″. Don’t want to measure? Fold the circle in half and cut on the crease. Sponge the edges with Blueberry Bushel ink on both sides to add more dimension.
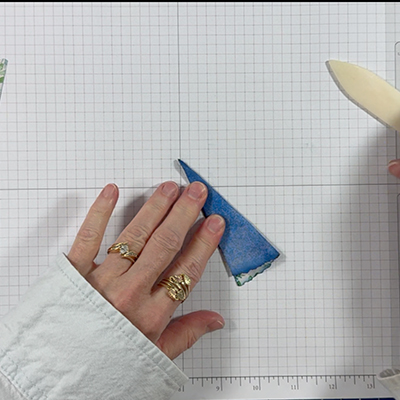
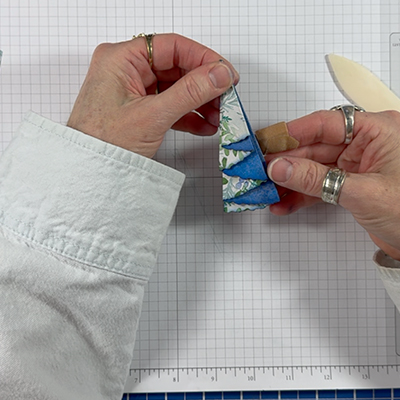
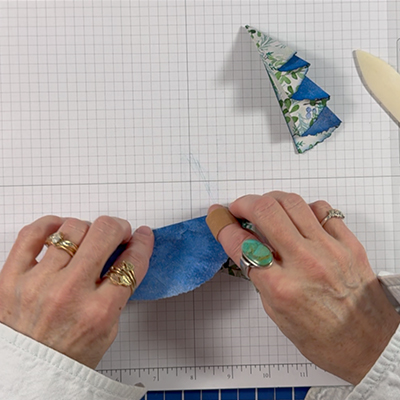
I like to work on the tree with the cut edge on the left, but you can certainly work the opposite way. Fold down a portion from the top, lining up the cut edges. How far down the fold is determines the height of the tree!
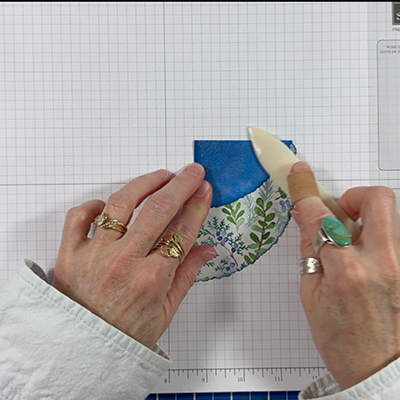
Pull the folded edge down and over to line up with the cut edge on the left. Burnish.
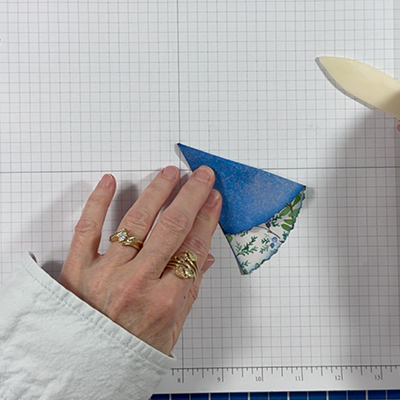
Repeat, pulling the folded edge down Andover to meet the cut edge and burnish,
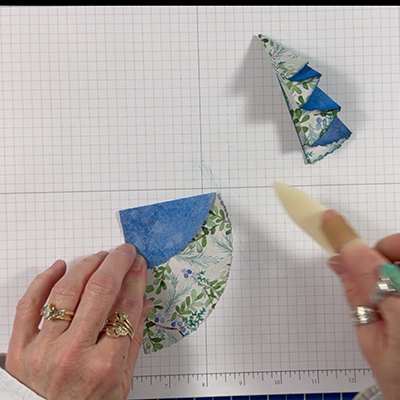
Now unfold and open up the entire piece.
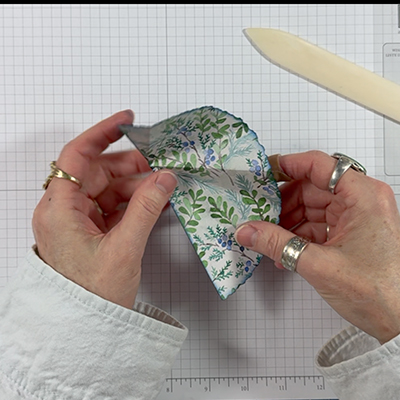
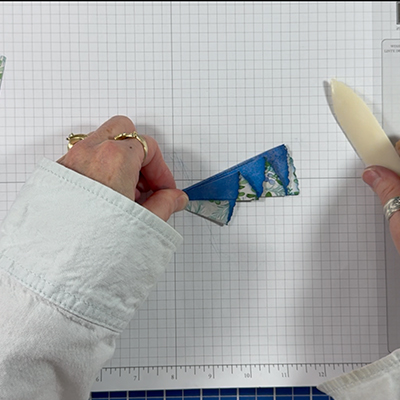
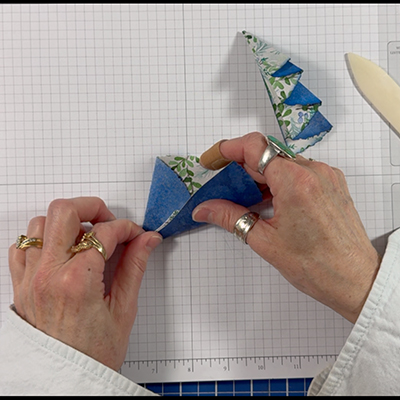
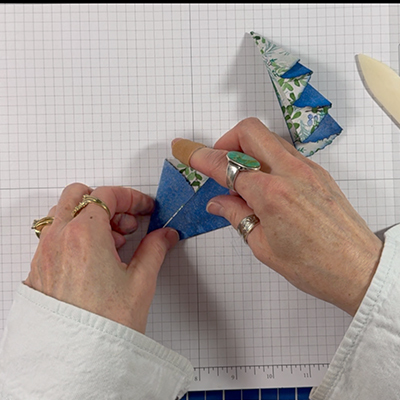
Starting at the bottom, accordion fold each crease to form a tree shape.
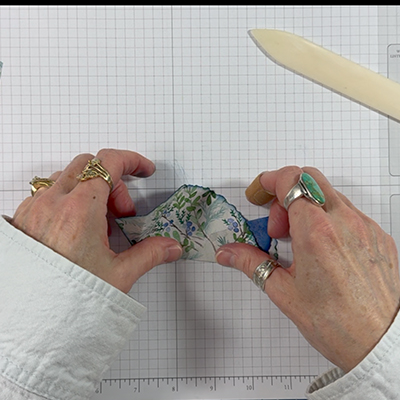
Fold the last top panel behind itself, to form a ‘snow capped’ tree. Then use SEAL adhesive between the layers to hold everything in place.
I made the small tree on the right of card exactly the same way with two differences. I used the 5th smallest deckled circle die. And I didn’t sponge the edges. I chose the smaller die rather than making the first fold longer to reduce bulk.
easy origami christmas tree circle Method 2
The third and final tree shown in the center of the card front uses Method 2, with a fuller tree as the result. The first step is the same as Method 1, fold the top down to create the height.
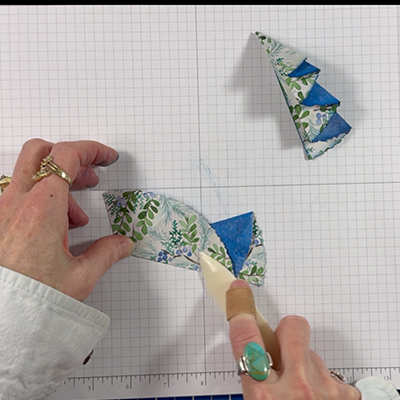
Turn the piece horizontally with the cut edge at the bottom. Fold the cut edge halfway up and finger crease.
Fold the top half down and align with the bottom crease. Then unfold and open the entire piece.
Begin accordion folding pleats starting from the base.
And repeat until all creases are folded into pleats. This time I repeated the accordion pleating all the way to the top, so the blue background was at the top. I used dimensionals in between the layers to hold the paper in place.
Then I added the trees to a snowflake embossed card layer and a Blueberry Bushel card base. A liberal application of adhesive backed sequins decorated the trees. And Wink of Stella applied to the large snowflakes added some sparkle.
Check out the YouTube video showing the entire process in under five minutes!
Leave a Reply