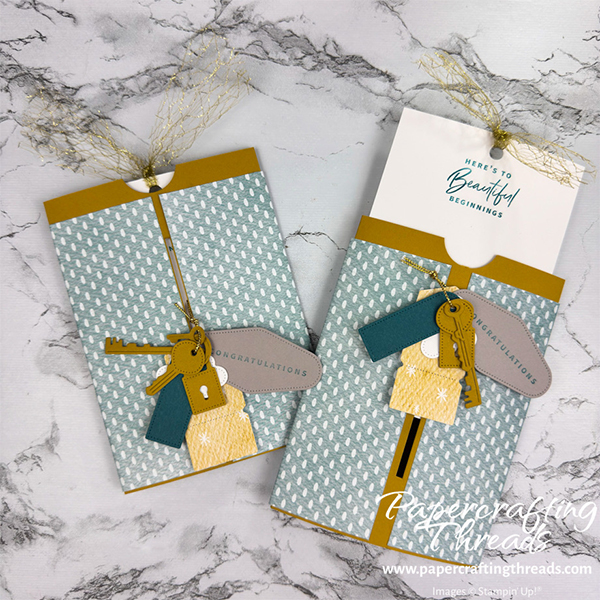
Make an Easy Pull Tab Slider Card following my tutorial. The reveal is an eye-opener. As the tags and keys move up, the secret message is displayed. And there’s even an option for a gift card. Let’s get started!
cutting & scoring guide
| Paper Dimensions | Score Short Side | Score Long Side | ||||
| 5½” x 8½” Wild Wheat cardstock base | 2″, 6″ & 8″ plus *4″ | |||||
| Scrap of Wild Wheat for circle punching | ||||||
| 5″ x 8″ Everyday Happiness patterned paper | ||||||
| 3½” x 5¼” Basic White cardstock liner | ||||||
| Scraps of Basic White, Gray Granite, Wild Wheat & Pretty Peacock cardstock for die cutting |
step by step instructions
Score Wild Wheat card base as noted in table above. The * means to score a partial line in the middle at the 4″ mark. This is a reference mark for where to cut the track for the mechanism. The Stampin’ Trimmer is the best cutter/scorer tool out there and makes it a breeze to create fun folds like this Pull Tab Slider Card. Line up the left edge the card base just shy of the 4″ mark but not all the way to the 3-15/16″ mark. Place the cutting blade at 1¼” on the vertical ruler of the trimmer and cut down to the 4½”. Move the left edge of the base just over the 4″ mark but just less than 4-1/16″. Use the vertical ruler and cut again from 1¼” to 4½”.
Now there should be a narrow strip attached only at the ends in the middle of the base. Pull up on the strip from the middle and snip the ends free as cleanly as possibly.
mechanism for pull tab slider card
Punch four 1″ circles from the scrap of Wild Wheat. If you don’t have a circle punch, cut 1″ squares! Fold two of the circles in half. Add glue to the third. Glue the two folded circles back to back on top of the one with glue. Pinch the two flaps together and fee through the track from the back. Push the flaps flat and glue the remaining circle on top.
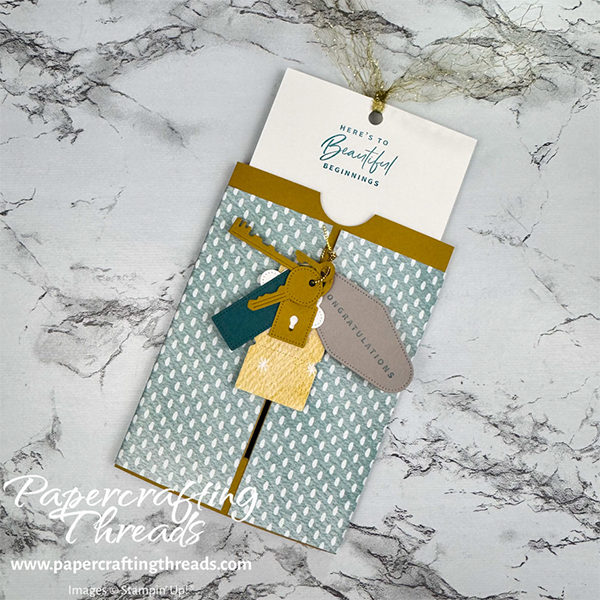
Place the slider at the bottom of the card base. Stamp the sentiment from Something Fancy stamp set on the Basic White liner near the top, but leaving room for a standard hole. Add glue to the circle mechanism on the inside of the card, place the liner face down in the center of the card and adhere to the circle. Fold the back card base flaps over and adhere along the ½” tab in the center. Go easy on the liquid glue as you don’t want to glue the card shut. Pull the liner up and punch a standard hole at the top. Push the liner back into the card so the mechanism is again at the bottom.
decorate the pull tab slider card
Wrap the piece of Everyday Happiness patterned paper around the card, positioning the ends under the mechanism on each side. Unfold, add glue to the front card base flaps and adhere the patterned paper.
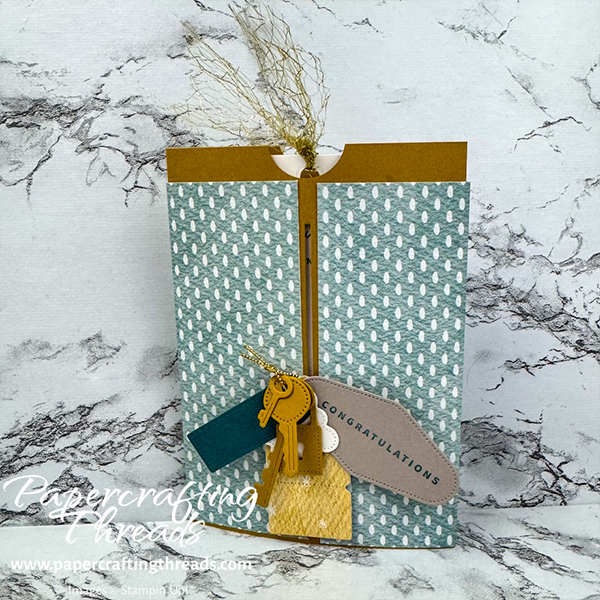
Die cut the tags and stamp the greeting from the Something Fancy stamp set. Thread the tags, lock and keys onto a length of gold cord. Use glue dots to keep the tags in position for visibility. Tie an overhand knot and trim. Add glue to the circle mechanism and adhere the tag bunch on top.

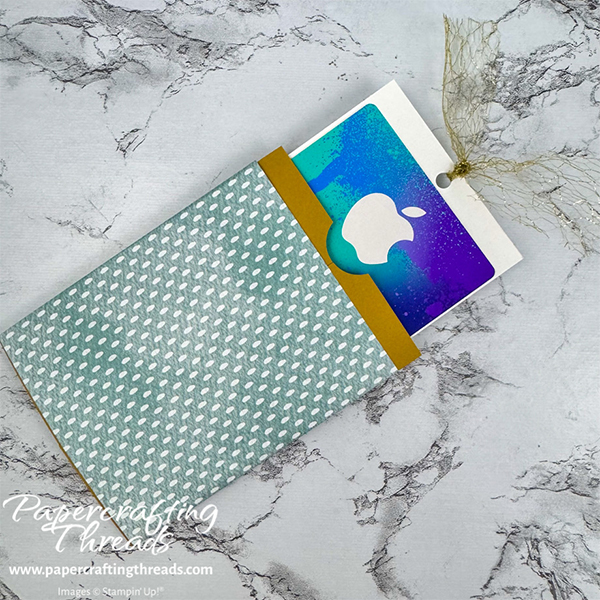
Want to add a gift card? Adhere the gift card to the back of the inner liner with glue dots. It fits perfectly!
If you found this tutorial helpful, consider a contribution to my coffee fund ☕️ Coffee → Creativity → Content → More Coffee (help fuel the cycle!)
Need a visual? I made a ten-minute video and posted it over on my YouTube channel. Check it out below.
Leave a Reply