I love a Fancy Fold card! And a Fancy Fold that is easy, for all occasions, and can be done vertically or horizontally is even better. Full supply list, cutting measurements and instructions are below.
Supplies
Basic White Thick cardstock, cut to 4 ¼” x 11” score at 5 1/2” cut off 2 ¾” on the front flap, 2 ¾” x 4 ¼” for focal flap, and 3” x 4 ½” for inside the card
Petal Pink cardstock, cut to 2 5/8” x 4 1/8” (outside flap) and 3” x 4 ½” (focal flap)
Old Olive cardstock, scrap for leaves
Rococo Rose cardstock, small scrap piece for Peony top
Peony Garden DSP (use two different colors of DSP), cut to 2 ½” x 4” and 4” x 5 ¼”
Prize Peony Bundle
Stampin Cut & Emboss Machine
Memento Ink
Classic Inks: Petal Pink, Old Olive, Basic Gray
Stampin Blends: Rococo Rose, Petal Pink, Old Olive
Petal Pink Organdy Striped Ribbon
Sponge Daubers
Wink of Stella
Basic Rhinestone Jewels
Adhesives: Multipurpose Liquid Glue, Stampin Seal, Dimensionals, Glue Dots
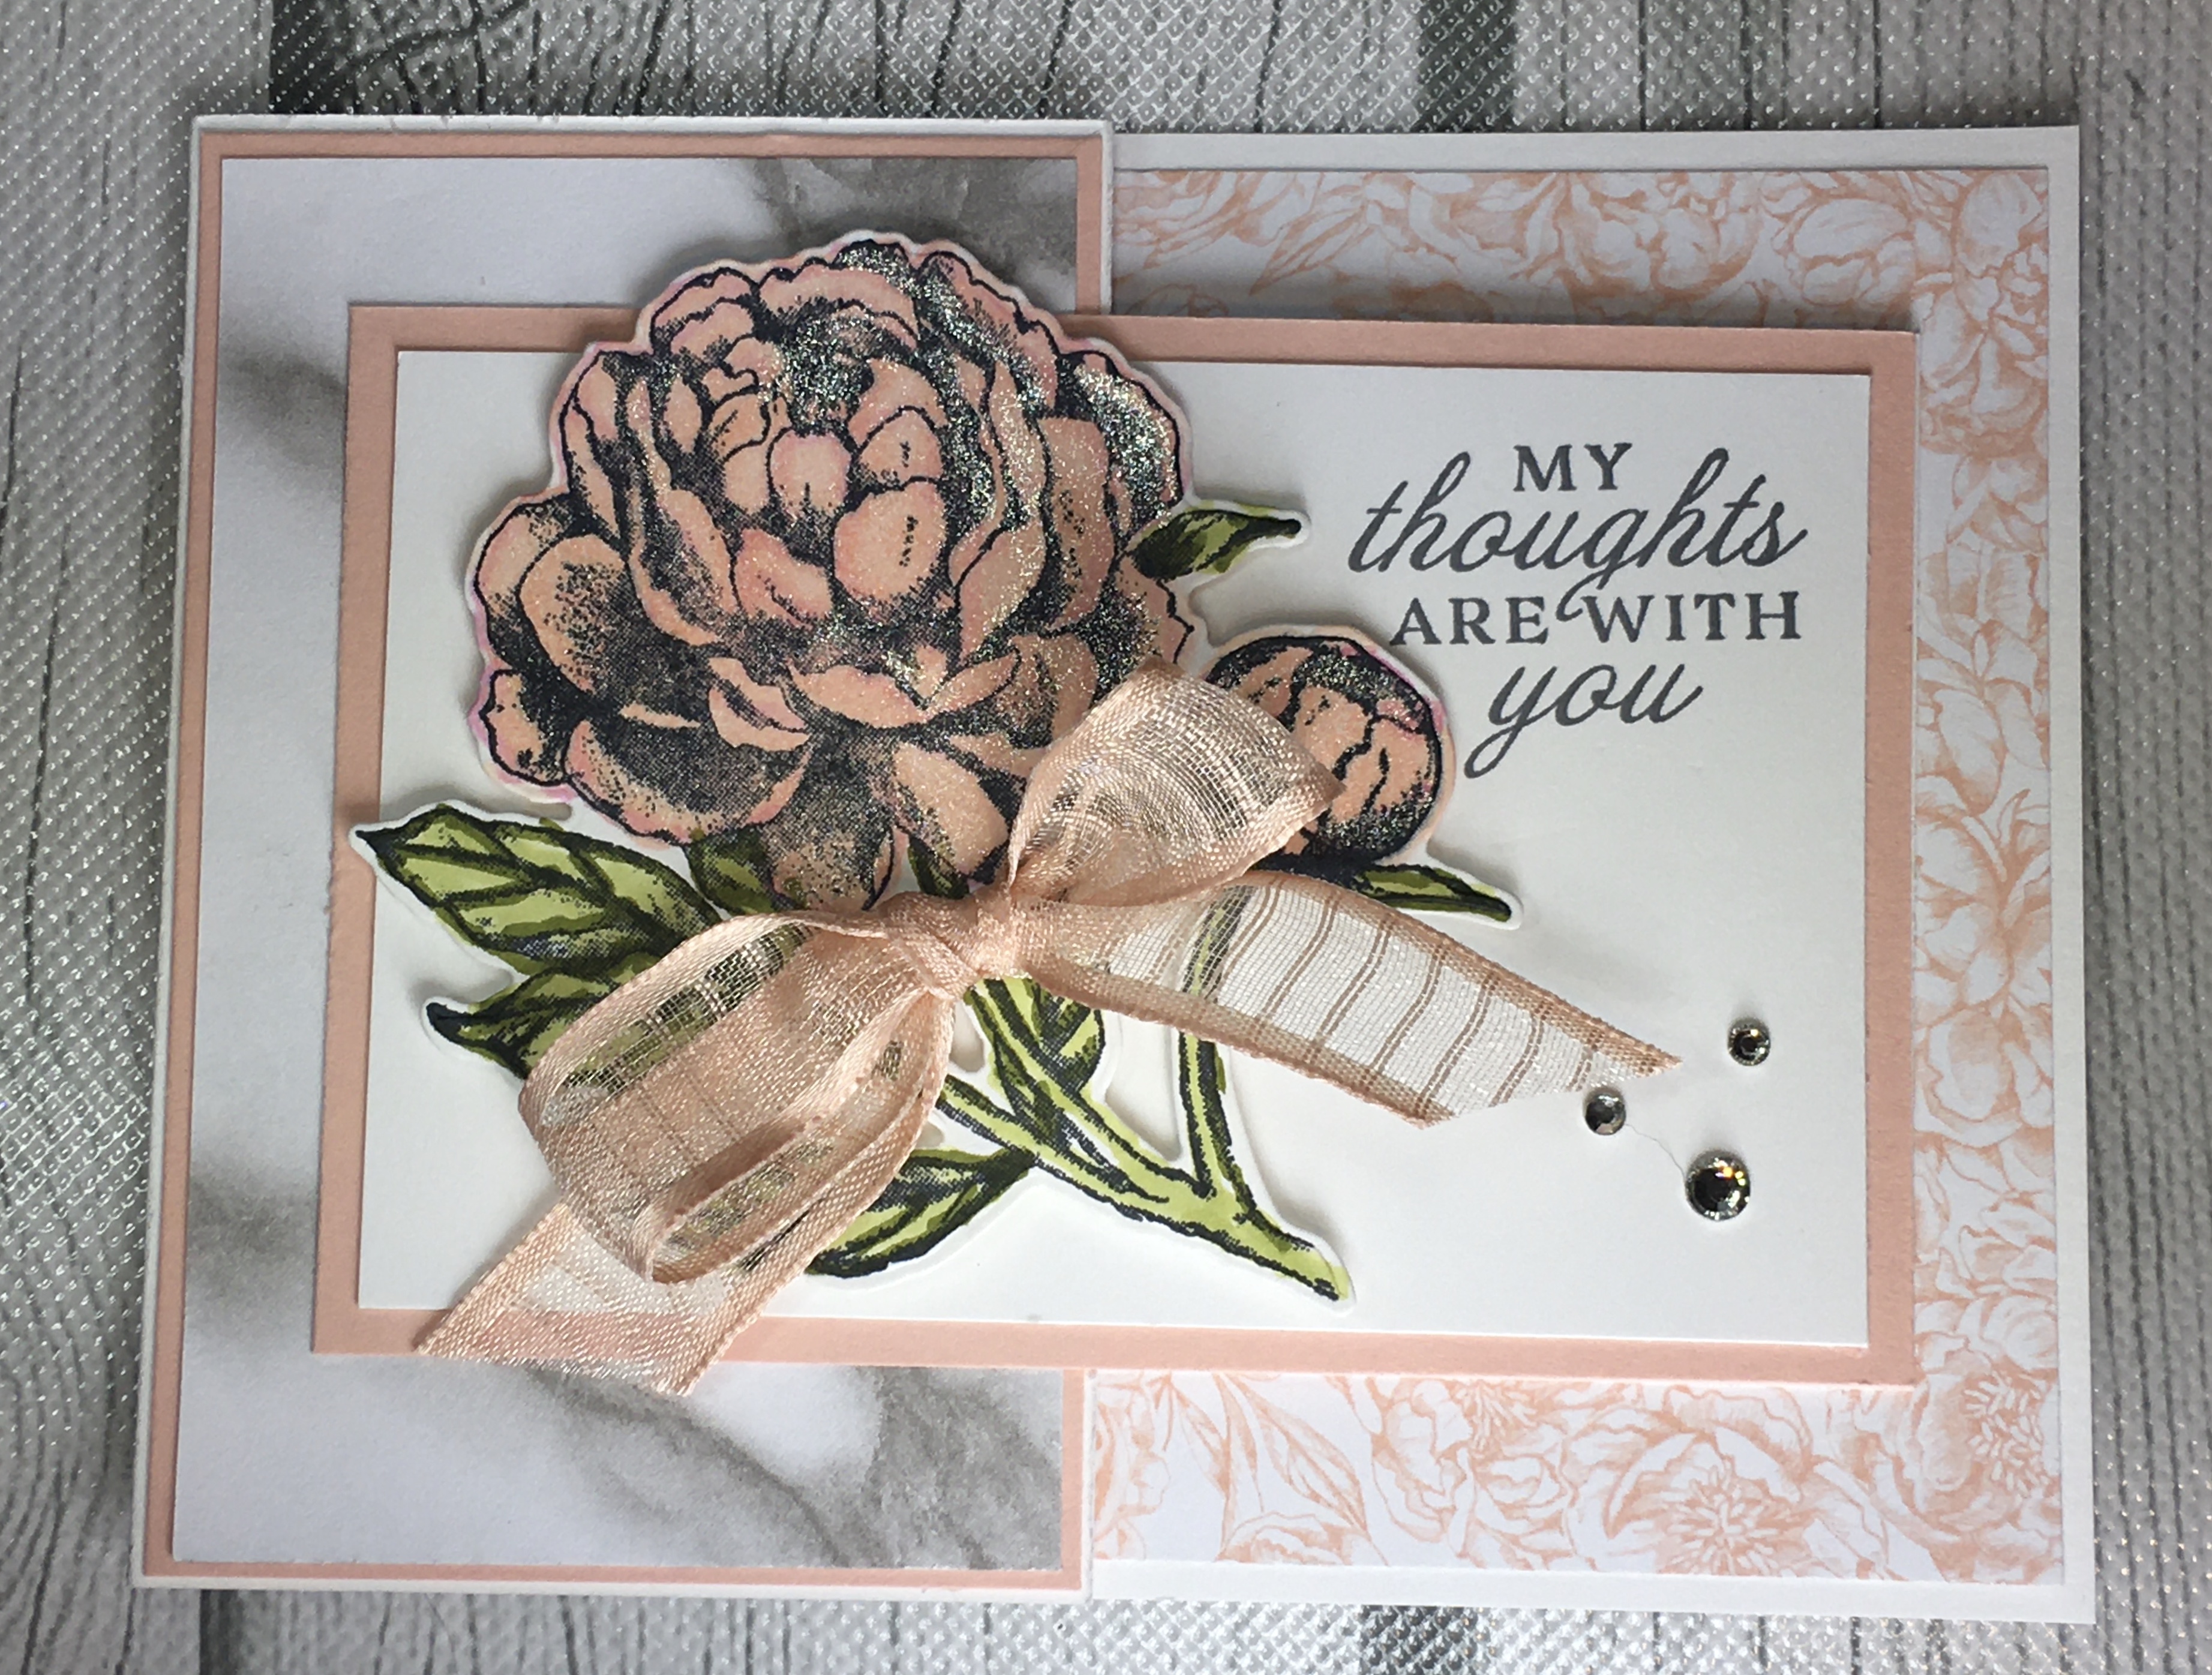
Horizontal Fancy Fold Card Instructions
- Stamp the big Peony on Basic White cardstock in Memento ink and color in with Stampin Blends. Cut out the Big Peony with the matching diecut.
- Stamp three leaves on Old Olive cardstock in Old Olive Ink and diecut.
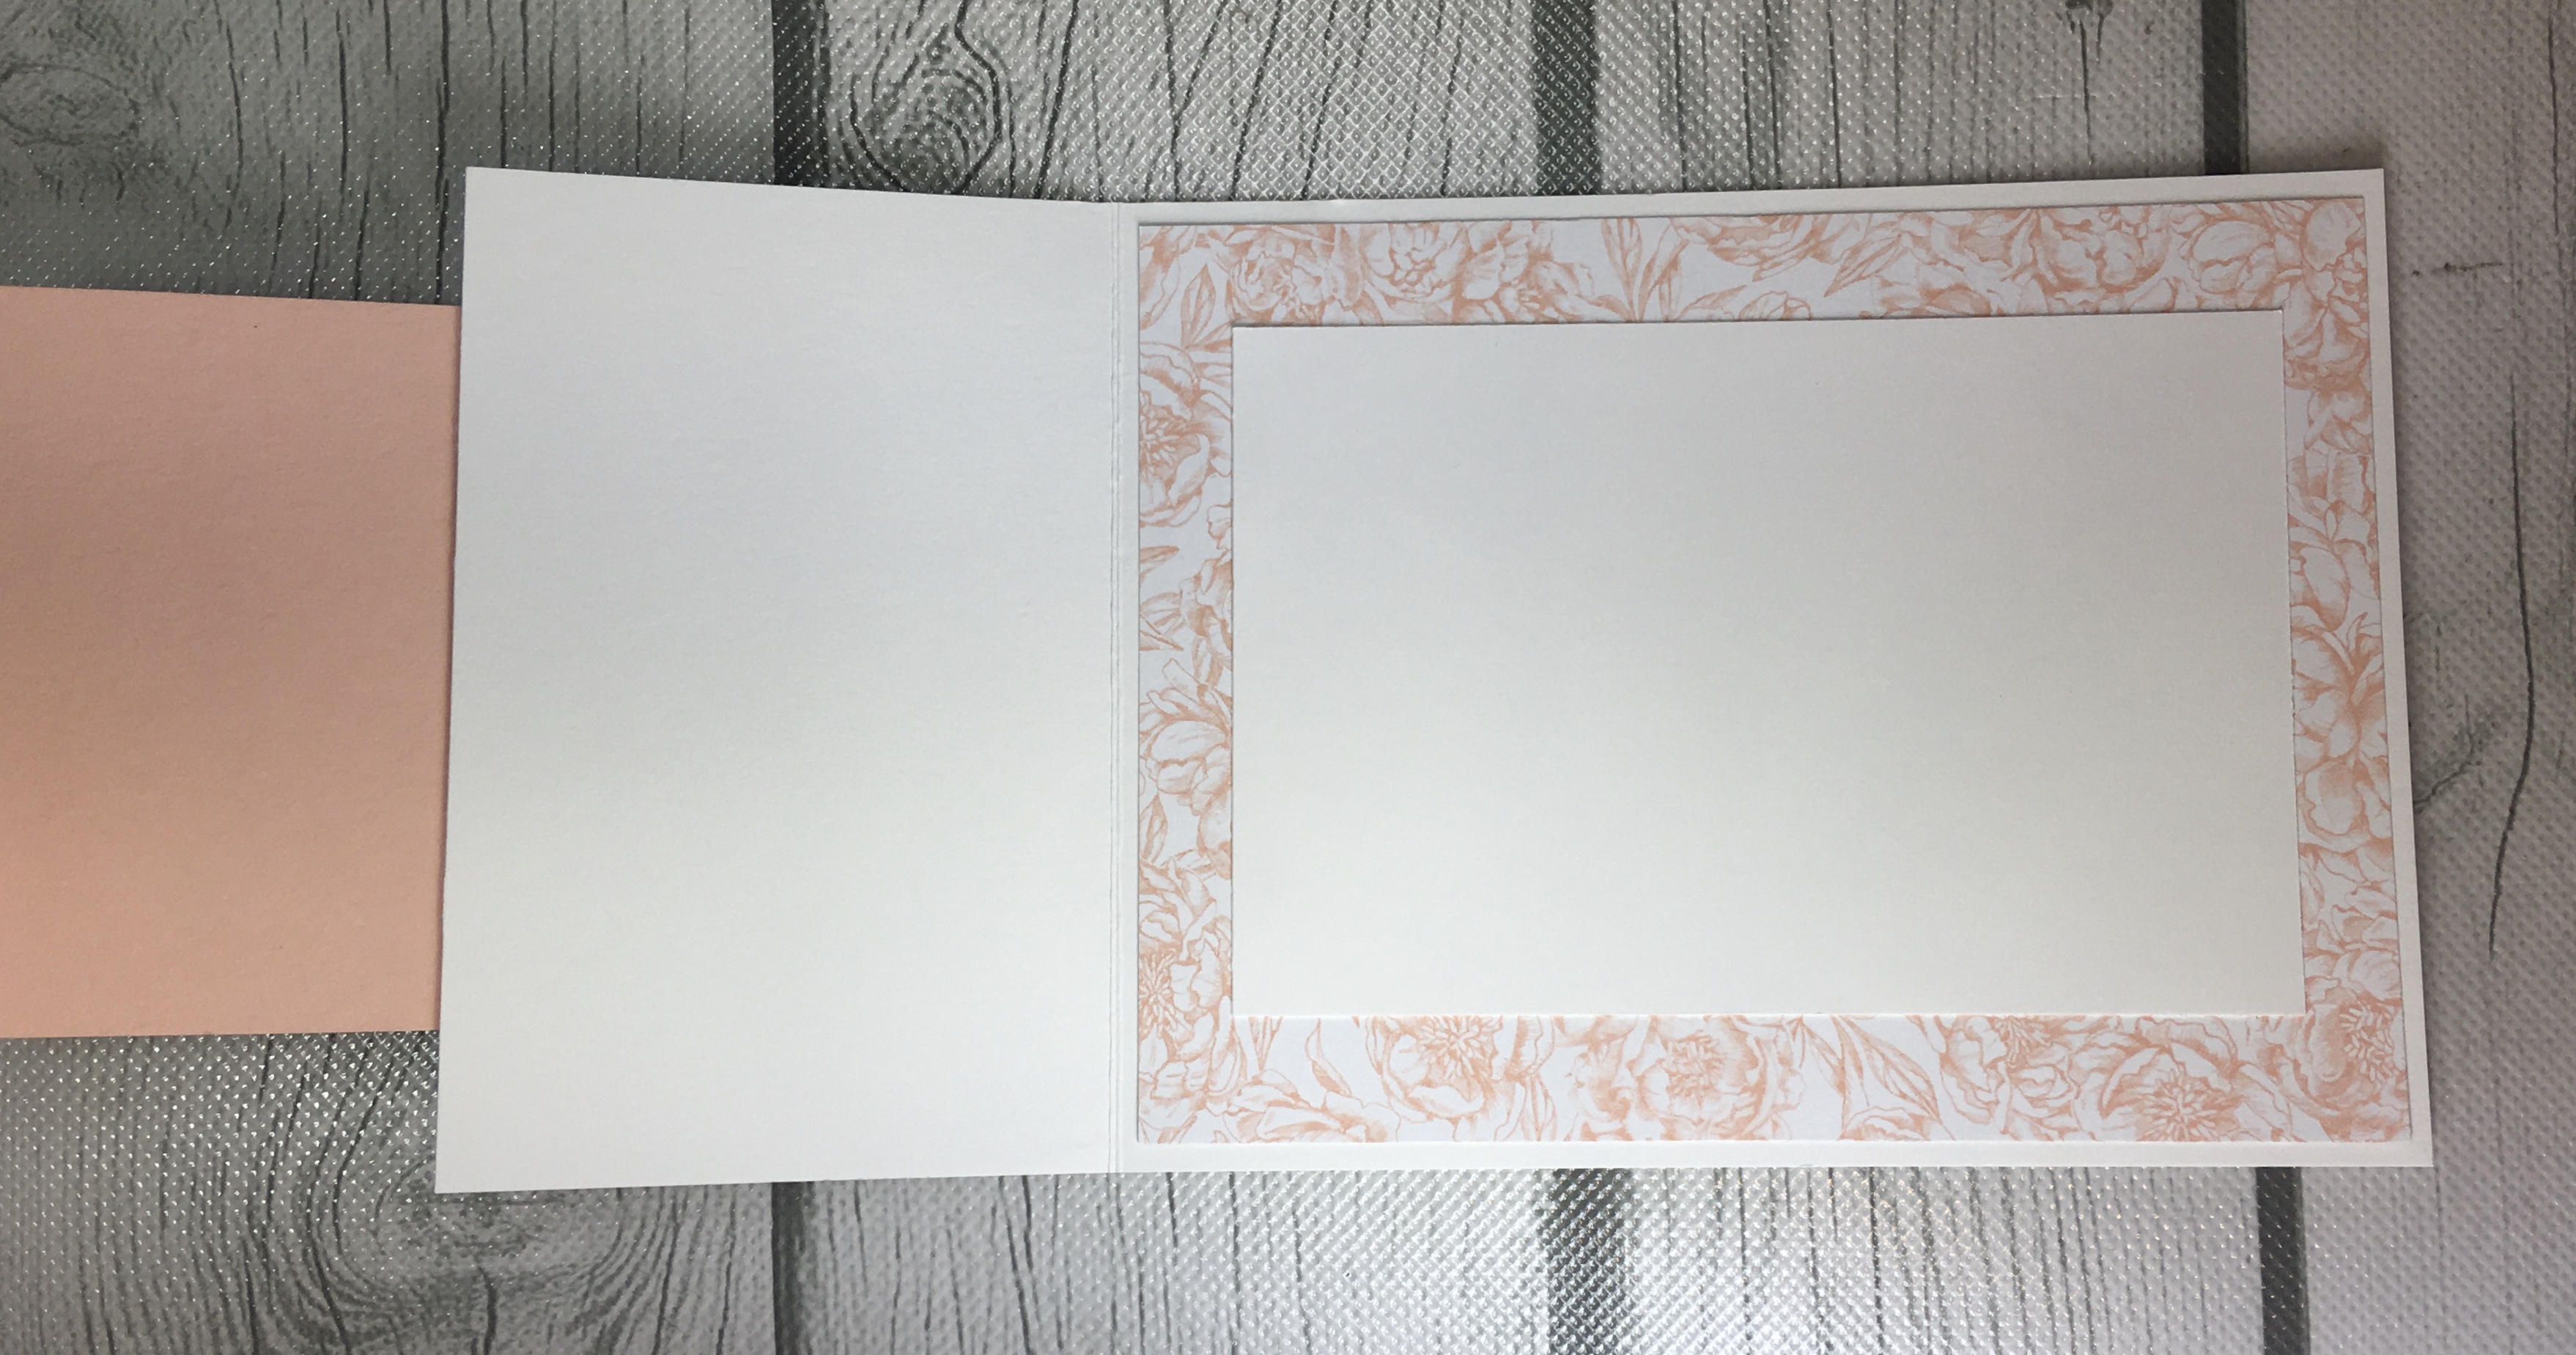
- Place the big piece of DSP inside the card.
- On the flap – layer the small Petal Pink cardstock and small DSP.
- Center the flower on the small Basic White cardstock. Stamp your sentiments in Basic Gray ink. Add Dimensionals to your Peony and layer that on the Petal Pink cardstock.
- Center and adhere the top part of the cardstock to the flap, leaving a ½” at both ends.
- Apply adhesive to the back of the Basic White cardstock (that goes inside the card). Line up the unglued side to the flap with the peony and sentiment. Close the flap, so the Basic White cardstock will now be lined up with the front horizontal flap.
- Add Wink of Stella to your Peony, tie a bow with your ribbon and adhere it to flower stem with a glue dot and add three rhinestones in the corner.
Vertical Fancy Fold Card Instructions
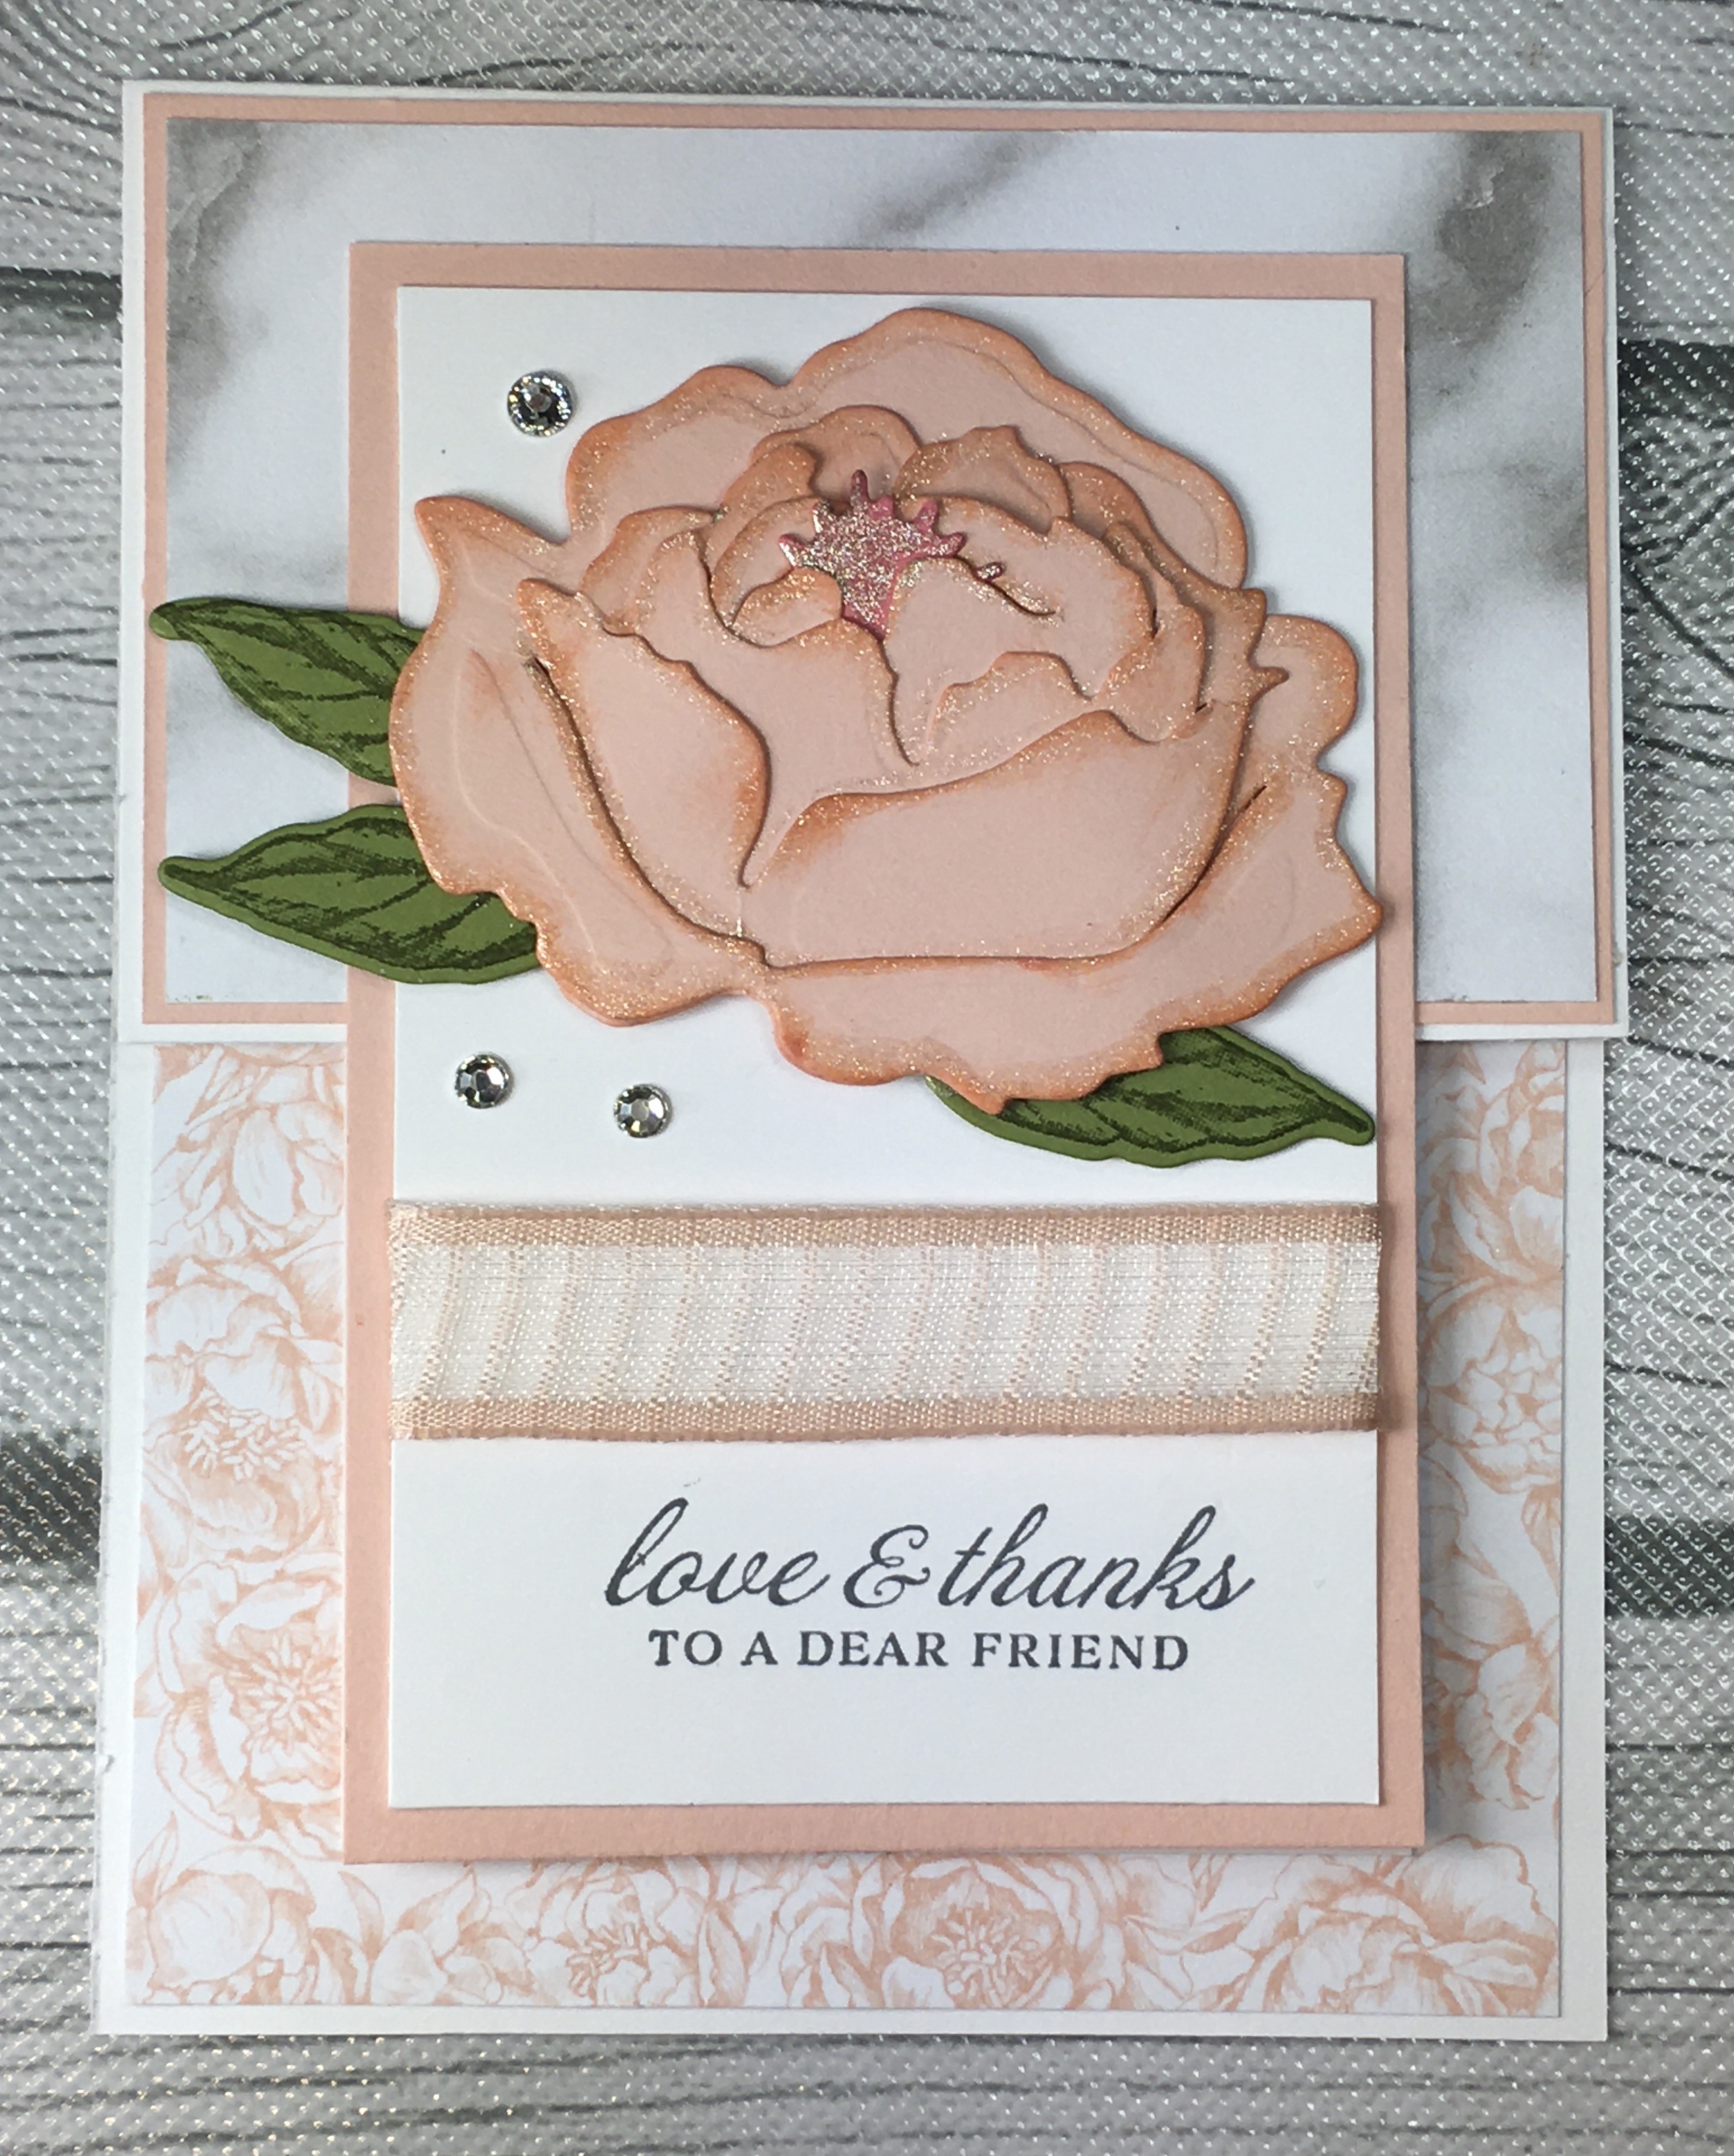
- Using scrap Petal Pink cardstock, cut the four pieces to the Peony.
- Stamp three leaves on Old Olive cardstock in Old Olive ink and diecut.
- Adhere the big piece of DSP inside the card.
- On the flap – layer the small Petal Pink cardstock and small piece of DSP.
- Using a sponge dauber, apply Petal Pink ink to the edges of all four flower pieces.
- Put the four Peony pieces together starting with the small flower. Do this by putting the smaller flower into the next bigger template. Remember to line the curves up at the bottom. Add some Tombow glue…just a small amount! Continue to build the Peony. Adhere the leaves to the flower with glue dots. (TIP – Put glue dots on the front of the leaves to stick to the back of the Peony.)
- Stamp your sentiments in Basic Gray ink towards the bottom of the Basic White cardstock.
- Add Dimensionals to your Peony, centering the flower towards the top of the cardstock. Add Ribbon below the flower.
- Layer this cardstock on Petal Pink cardstock.
- Center and adhere the top part of the cardstock to the flap, leaving a ½” at both ends.
- Apply adhesive to the back of the Basic White cardstock (that goes inside the card). Line up the unglued side to the flap with the peony and sentiment. Close the flap, so the Basic White cardstock will now be lined up with the front vertical flap.
- Add Wink of Stella around the outside of the flower and add three rhinestones.
Leave a Reply