Papercrafting Threads

  • Tutorials
    • PDF Tutorials
    • 3D Projects
    • Cardmaking
    • Fun Fold
    • Product Tips & Tricks
    • Projects
    • Techniques
  • Catalogs
  • Shop & Specials
    • Shop My Stampin’ Up! Online Store
    • Special Offers
    • Buy Me A Coffee
    • My Favorite Things on Amazon
    • Gift Certificates
  • Contact Me
  • Join the Fun
    • Join the Fun
    • Special Join Offers
  • Calendar of Events
  • Paper Pumpkin
    • Paper Pumpkin Kits
    • Paper Pumpkin Stamp Case Inserts
  • Nav Social Menu

    • Email
    • Facebook
    • Instagram
    • Pinterest
    • YouTube

Faux Shutter or Fractured Card

December 2, 2023 4 Comments

2 Dec
Faux Shutter or Fractured Card in Copper Clay, Night of Navy and Very Vanilla

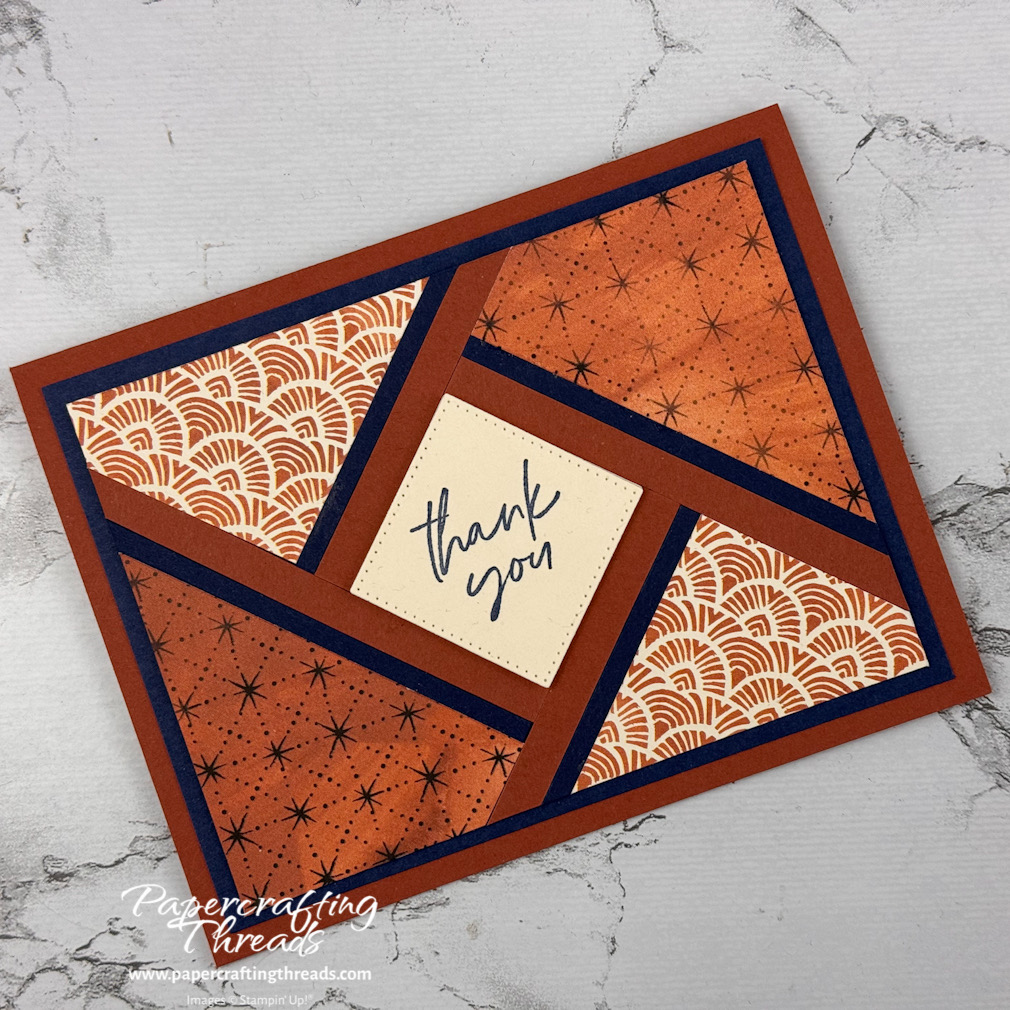
Faux Shutter. Fractured. Whether you call it Faux Shutter or Fractured Card, this is a fun optical illusion. And it’s way easier than it looks. Let’s get started!

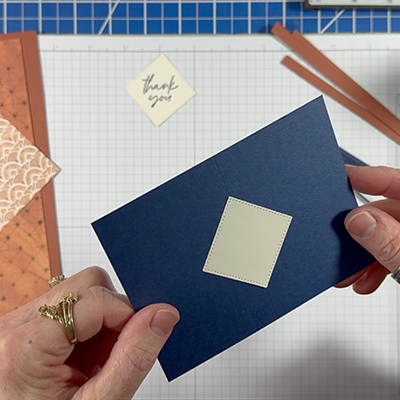
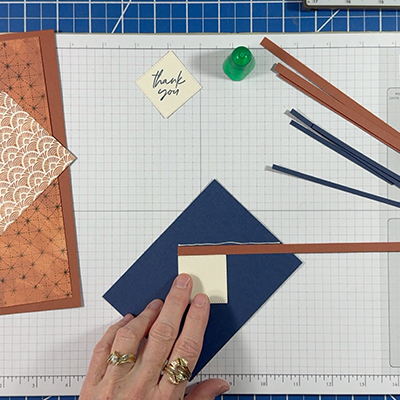
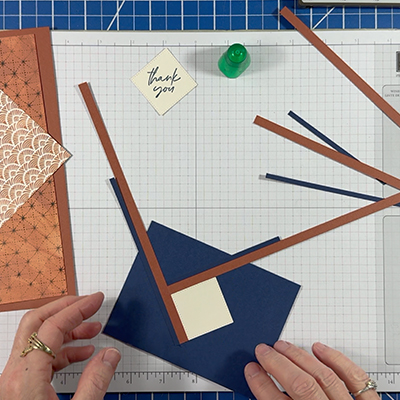
I used a piece of Night of Navy cardstock 3-3/4″ x 5″ as my platform to build the faux shutter/fracture. Score the long side at 2-1/2″ to use as a guide in placing the diamond. My diamond comes from the Stylish Shapes dies and was cut from Very Vanilla. I used the second largest square die. Adhere the diamond to the center of the platform, lining up the points with the center scoreline.

Platform to build card front in Night of Navy with a diamond of Very Vanilla

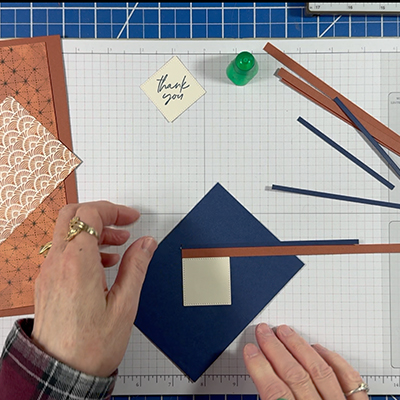
Cut strips of Copper Clay cardstock to 1/4″ wide. Run a line of liquid glue along one edge of the diamond, and keep going until you meet the edge of the card platform.

First glue line along edge of center diamond and following the angle to the edge of the platform

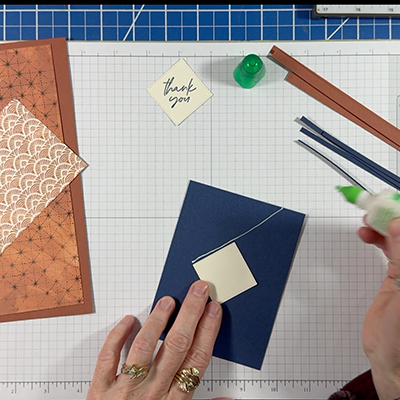
Adding strips for faux shutter or fractured card

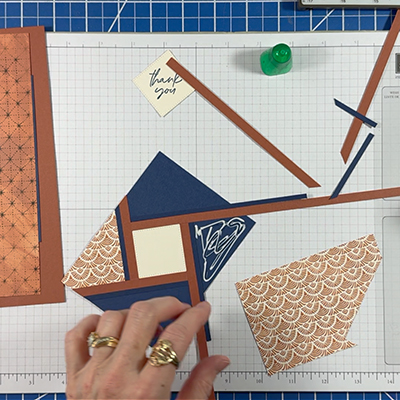
Place the first strip of Copper clay cardstock along the edge of the diamond, angling off the platform, and adhere.

Copper Clay strip aligned next to one edge of diamond center

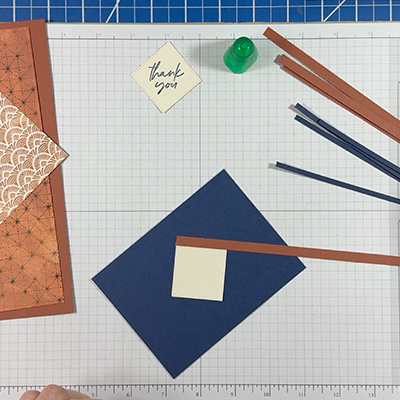
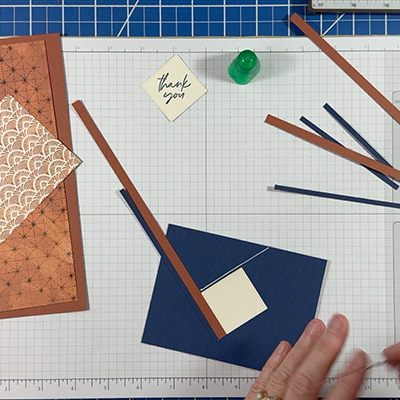
Run a line of liquid glue along the top edge of the Copper Clay strip.

Line of glue

Adhere the 1/8″ strip of Night of Navy cardstock along the outer edge of the Copper Clay strip.

Narrow Night of Navy strip aligned with top edge of Copper Clay strip

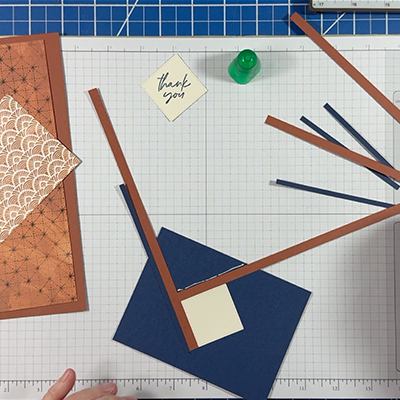
Repeat the pattern around all three remaining sides of the square, making too sure to butt the edges up against the previous strips. The liquid glue allows time to reposition as needed.
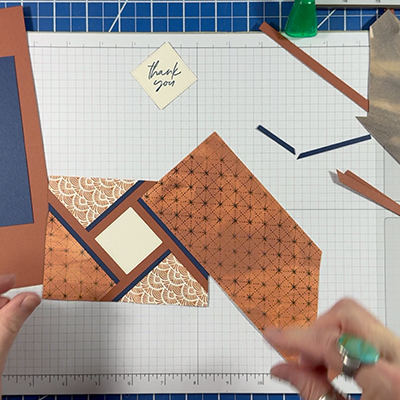
Glue line leading out from second side of center square
Second Copper Clay strip jutting past edge of platform
Second side of diamond pattern of strips completed to keep the Faux Shutter or Fractured Card going

Adding DSP

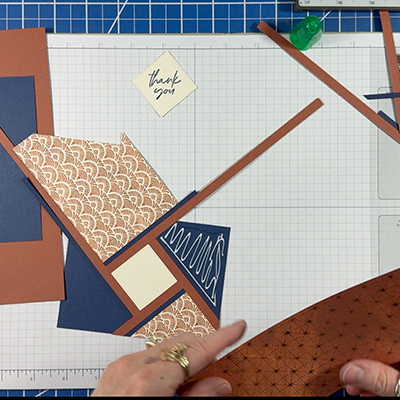
Once all four sides are done, add Designer Series Paper. I used two patterns from the Oh Holy Night DSP pack. A strip measuring three to four inches in diameter works wonderfully. No need to be exact. Squeeze liquid glue onto the blue platform and butt the DSP snugly into the corner.

Adding patterned paper to each corner of card platform

Adhere the same pattern to the opposite corner.

Adding second piece of patterned paper diagonally from first piece

Then adhere a new pattern to the two remaining corners.

Adding adhesive to the Faux Shutter or Fractured Card
Glueing first piece of starred pattern paper
Adding last pattern paper to Faux Shutter or Fractured card platform

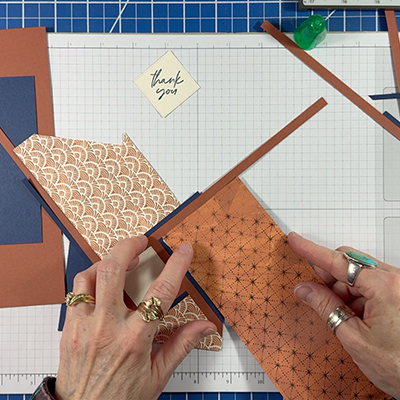
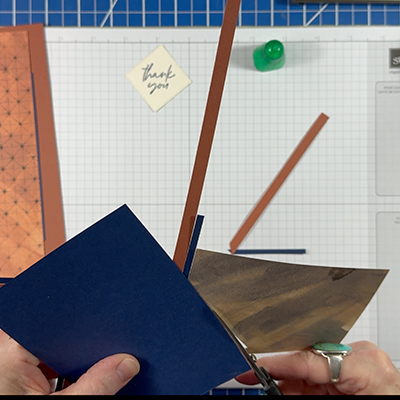
Turn platform over and trim off excess strips and DSP with snips. Don’t you love seeing the Faux Shutter or Fractured Card pattern appearing?

Using a snips to trim overhanging strips and DSP off back side of card platform

Use a trimmer to get the edges crisp.

Trimming the edges straight

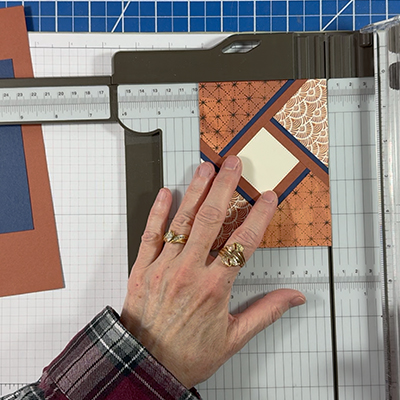
My final piece measures 3-5/8″ x 4-7/8″.

Faux Shutter or Fractured Card focal point with Copper Clay patterned paper, and rotating strips of Copper Clay and Night of Navy

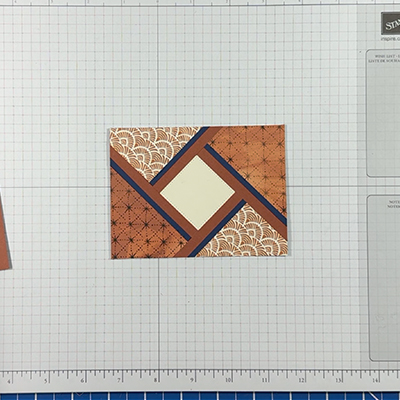
Then I stamped my sentiment in Night of Navy ink on a scrap of Very Vanilla cardstock and diamond cut with the same die I used at the center of the platform. Adhere the platform to a Night of Navy mat 3-7/8″ x 5-1/8″. While this is not the usual sized mat, it creates the same wide of Night of Navy strips around the pattern. And I finished the card off with a Copper Clay card base.

Watch the process here on my YouTube channel! Click on the the picture below. While the Oh Holy Night DSP is sold out, there are many other patterned papers available over on my store.

Share:

4 Comments
see more related posts: Cardmaking· Techniques

Previous Post: « Easy Origami Christmas Trees from Circles
Next Post: Easy Gift Tags »

Reader Interactions

Comments

  1. Kathleen says

    April 23, 2024 at 3:37 am

    Lovely, I shall try it later. Thankyou.

    Reply
    • Peri says

      April 25, 2024 at 11:30 am

      Glad you like the tutorial and thank you for commenting!

      Reply
  2. CrazyButtonLady says

    October 15, 2024 at 3:48 pm

    What a pretty card! Thank you for the tutorial.

    Reply
    • Peri says

      October 15, 2024 at 5:12 pm

      I appreciate the feedback – thank you!!

      Reply

Leave a Reply Cancel reply

Your email address will not be published. Required fields are marked *

Primary Sidebar

Peri Beal

Cheesehead. Avid reader. Antique hunter.

Shop Online

Shop with me and get a FREE PDF tutorial bundle delivered to your inbox AND a handmade card via snail mail

Search

Papercrafting Threads

Gift Certificates
  • Email
  • Facebook
  • Instagram
  • Pinterest
  • YouTube

Sign up for my Newsletter

Sign up for my newsletter and get a free PDF tutorial as my welcome thank you!

Almost there...

Please check your email to confirm your subscription

Retired Product
Privacy Policy

The Fine Print

Just so you know... This is a personal website and I am responsible for its content. Stampin' Up!® does not endorse the use of or contents of the classes, services, or non-Stampin' Up! products I offer.

Sign up for my Newsletter

Sign up for my newsletter and get a free PDF tutorial as my welcome thank you!

Almost there...

Please check your email to confirm your subscription

Footer

  • Calendar of Events
  • 3D Projects
  • Cardmaking
  • Fun Fold
  • Product Tips & Tricks
  • Projects
  • Techniques
  • Of Interest
  • Catalogs
  • Join the Fun
  • Contact Me
  • Email
  • Facebook
  • Instagram
  • Pinterest
  • YouTube

PAPERCRAFTING THREADS

Copyright © 2025 · Refined theme customized by Catherine Carroll

Privacy Policy · Affiliate Disclosure