Papercrafting Threads

  • Tutorials
    • PDF Tutorials
    • 3D Projects
    • Cardmaking
    • Fun Fold
    • Product Tips & Tricks
    • Projects
    • Techniques
  • Catalogs
  • Shop & Specials
    • Shop My Stampin’ Up! Online Store
    • Special Offers
    • Buy Me A Coffee
    • My Favorite Things on Amazon
    • Gift Certificates
  • Contact Me
  • Join the Fun
    • Join the Fun
    • Special Join Offers
  • Calendar of Events
  • Paper Pumpkin
    • Paper Pumpkin Kits
    • Paper Pumpkin Stamp Case Inserts
  • Nav Social Menu

    • Email
    • Facebook
    • Instagram
    • Pinterest
    • YouTube

How to Fix Stamping Wrecks

May 1, 2019 Leave a Comment

1 May

Ever have a stamping wreck? No need to panic, as many times your project is fixable. Read on for some tips on how to fix stamping wrecks!

Accident: Crooked stamping, dropped the stamp, not enough ink

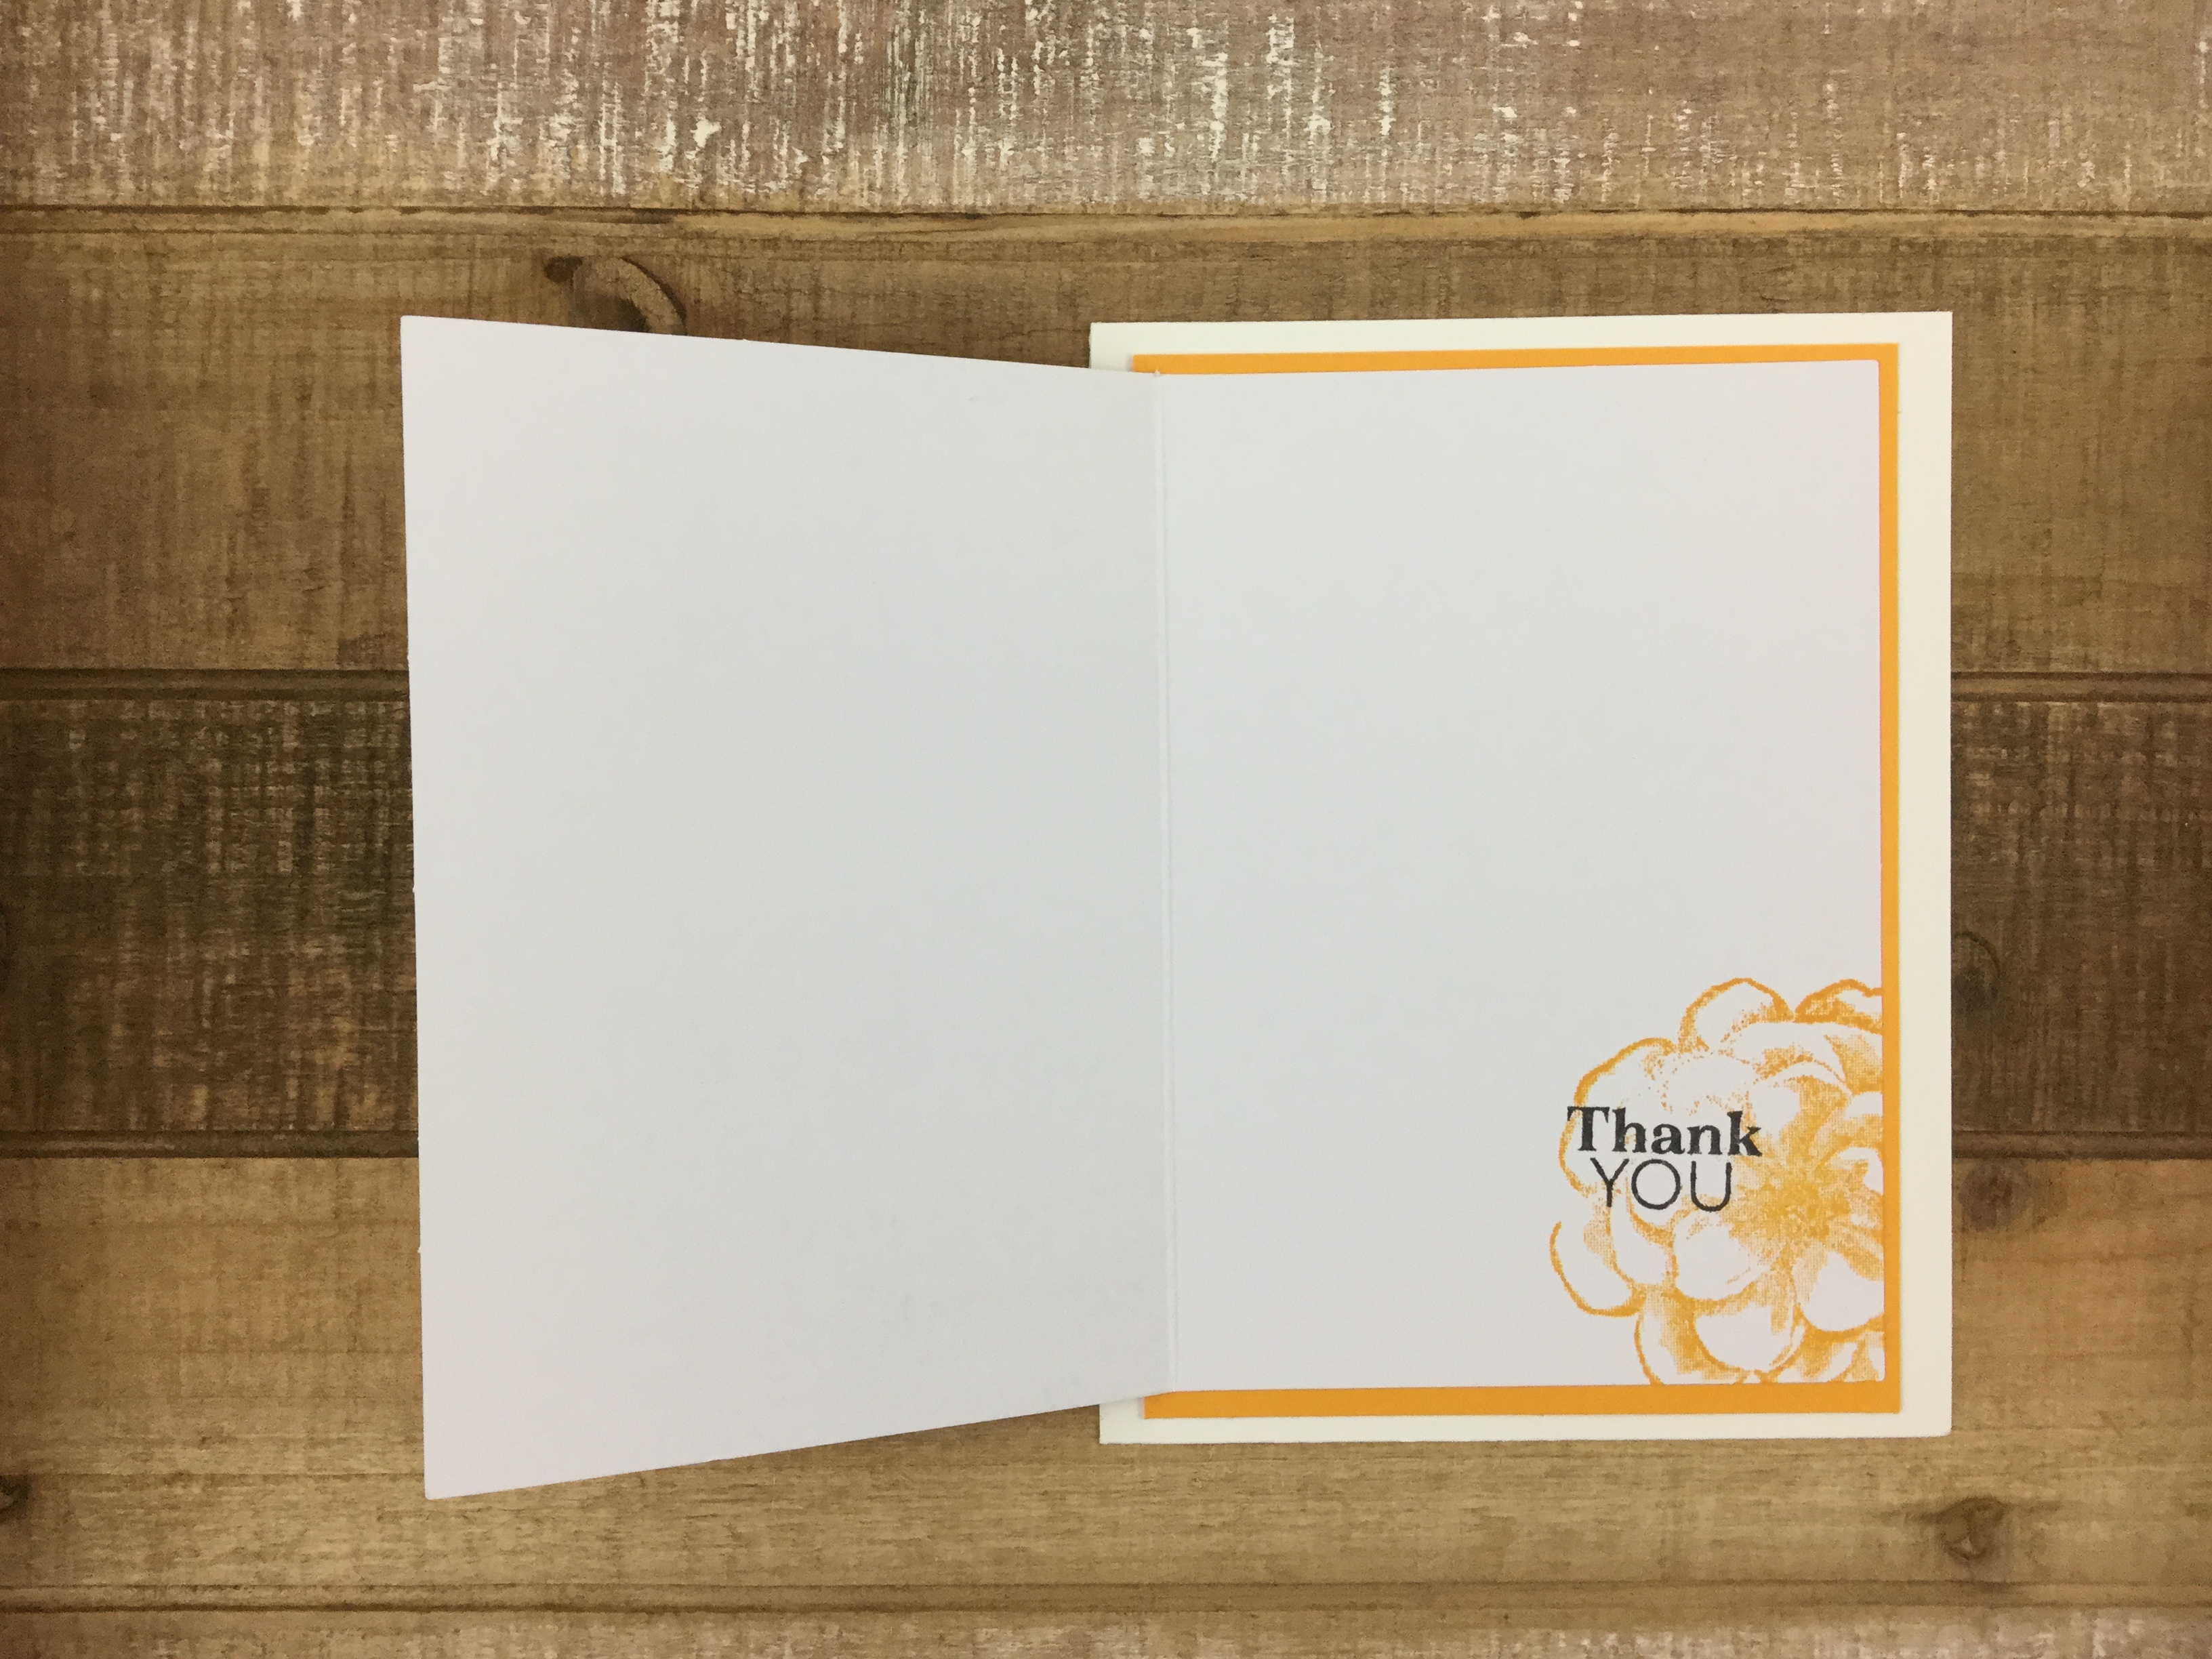
Solution: Stamp again on another piece of cardstock, punch or diecut the image and layer on top of the not-so-perfect image. Or stamp a different image over the top. In the card below, I was all finished with the front, then went to decorate the inside. I didn’t press evenly on the rose image and had a blank spot. So I stamped “Thank You” over that spot. And to prevent these types of wrecks from happening in the first place, use a Stamparatus 🙂

Fix Stamping Wrecks by getting creative!

Accident: Ink smudge

Solution: Time to add a creative embellishment! Use pearls, rhinestones, ribbon, diecuts, or even another stamped image. And remember, each piece of paper has two sides, so when the smudge is really large, turn the paper over and stamp again.

Accident: Messy Embossing

Solution: Use a dry paintbrush to brush off those little extra bits of embossing powder before you heat set. Even better, use an Embossing Buddy before you start. Rub the Embossing Buddy over the blank cardstock. Stamp with Versamark ink, sprinkle embossing powder on top and heat set. Use a microfiber cloth to remove any dust left over from the Embossing Buddy.

Accident: Adhered paper layers crookedly

Solution: Shimmy a piece of dental floss between the paper layers to get them apart and adhere again.

Accident: Excessive Glue

Solution: You can use a rubber adhesive eraser (Xyron makes nice one) to remove the excess after it dries. Or sometimes just rubbing your finger over the dried adhesive can scrub it off.

Share:

Leave a Comment
see more related posts: Of Interest

Previous Post: « Gift Pouch
Next Post: Mother’s Day Card »

Reader Interactions

Leave a Reply Cancel reply

Your email address will not be published. Required fields are marked *

Primary Sidebar

Peri Beal

Cheesehead. Avid reader. Antique hunter.

Shop Online

Shop with me and get a FREE PDF tutorial bundle delivered to your inbox AND a handmade card via snail mail

Search

Papercrafting Threads

Gift Certificates
  • Email
  • Facebook
  • Instagram
  • Pinterest
  • YouTube

Sign up for my Newsletter

Sign up for my newsletter and get a free PDF tutorial as my welcome thank you!

Almost there...

Please check your email to confirm your subscription

Retired Product
Privacy Policy

The Fine Print

Just so you know... This is a personal website and I am responsible for its content. Stampin' Up!® does not endorse the use of or contents of the classes, services, or non-Stampin' Up! products I offer.

Sign up for my Newsletter

Sign up for my newsletter and get a free PDF tutorial as my welcome thank you!

Almost there...

Please check your email to confirm your subscription

Footer

  • Calendar of Events
  • 3D Projects
  • Cardmaking
  • Fun Fold
  • Product Tips & Tricks
  • Projects
  • Techniques
  • Of Interest
  • Catalogs
  • Join the Fun
  • Contact Me
  • Email
  • Facebook
  • Instagram
  • Pinterest
  • YouTube

PAPERCRAFTING THREADS

Copyright © 2025 · Refined theme customized by Catherine Carroll

Privacy Policy · Affiliate Disclosure