Papercrafting Threads

  • Tutorials
    • PDF Tutorials
    • 3D Projects
    • Cardmaking
    • Fun Fold
    • Monday Mashup
    • Product Tips & Tricks
    • Projects
    • Techniques
  • Catalogs
  • Shop & Specials
    • Shop My Stampin’ Up! Online Store
    • Special Offers
    • Buy Me A Coffee
    • My Favorite Things on Amazon
    • Gift Certificates
  • Contact Me
  • Join the Fun
    • Join the Fun
    • Special Join Offers
  • Calendar of Events
  • Paper Pumpkin
    • Paper Pumpkin Kits
    • Paper Pumpkin Stamp Case Inserts
  • Nav Social Menu

    • Email
    • Facebook
    • Instagram
    • Pinterest
    • YouTube

Floating Frame Technique

June 28, 2019 Leave a Comment

28 Jun

Floating Frame is easy and oh so fabulous!

The Floating Frame Technique is fast, fabulous and easy to do once you know how. And you’re guaranteed two cards when you try it 🙂

Supplies Used

Whisper White cardstock (two card bases cut to 8 1/2″ x 5 1/2″ and scored at 4 1/4″, one piece cut to cut to 5″ x 3 3/4″ and scraps)
Tropical Chic stamp set
Tropical dies
Colorful Seasons stamp set
Stitched Rectangles dies
Pumpkin Pie Classic Ink
Melon Mambo Classic Ink
Pineapple Punch Classic Ink
Granny Apple Green Classic Ink
Memento Ink
Dimensionals
Pearl Basic Jewels
Glad Press N Seal

Instructions for Floating Frame Technique

Stamp flowers and leaves from Tropical Chic in assorted ink colors on Whisper White yardstick and cut out with the Tropical dies.
TIP:  Use the rock-n-roll technique to add more interest to your stamped images – ink light color first, then roll edges in darker color.
On the piece of cardstock, arrange the flowers and leaves as desired. Lay a piece of Glad Press N Seal over the entire surface and smooth over the tops of the die cuts. The Glad Press N Seal is tacky and the pieces will stick to it temporarily. Pick up the entire piece and place on the cutting plate for the Big Shot. Center a Stitched Rectangle die over the images and diecut. Separate the two pieces.

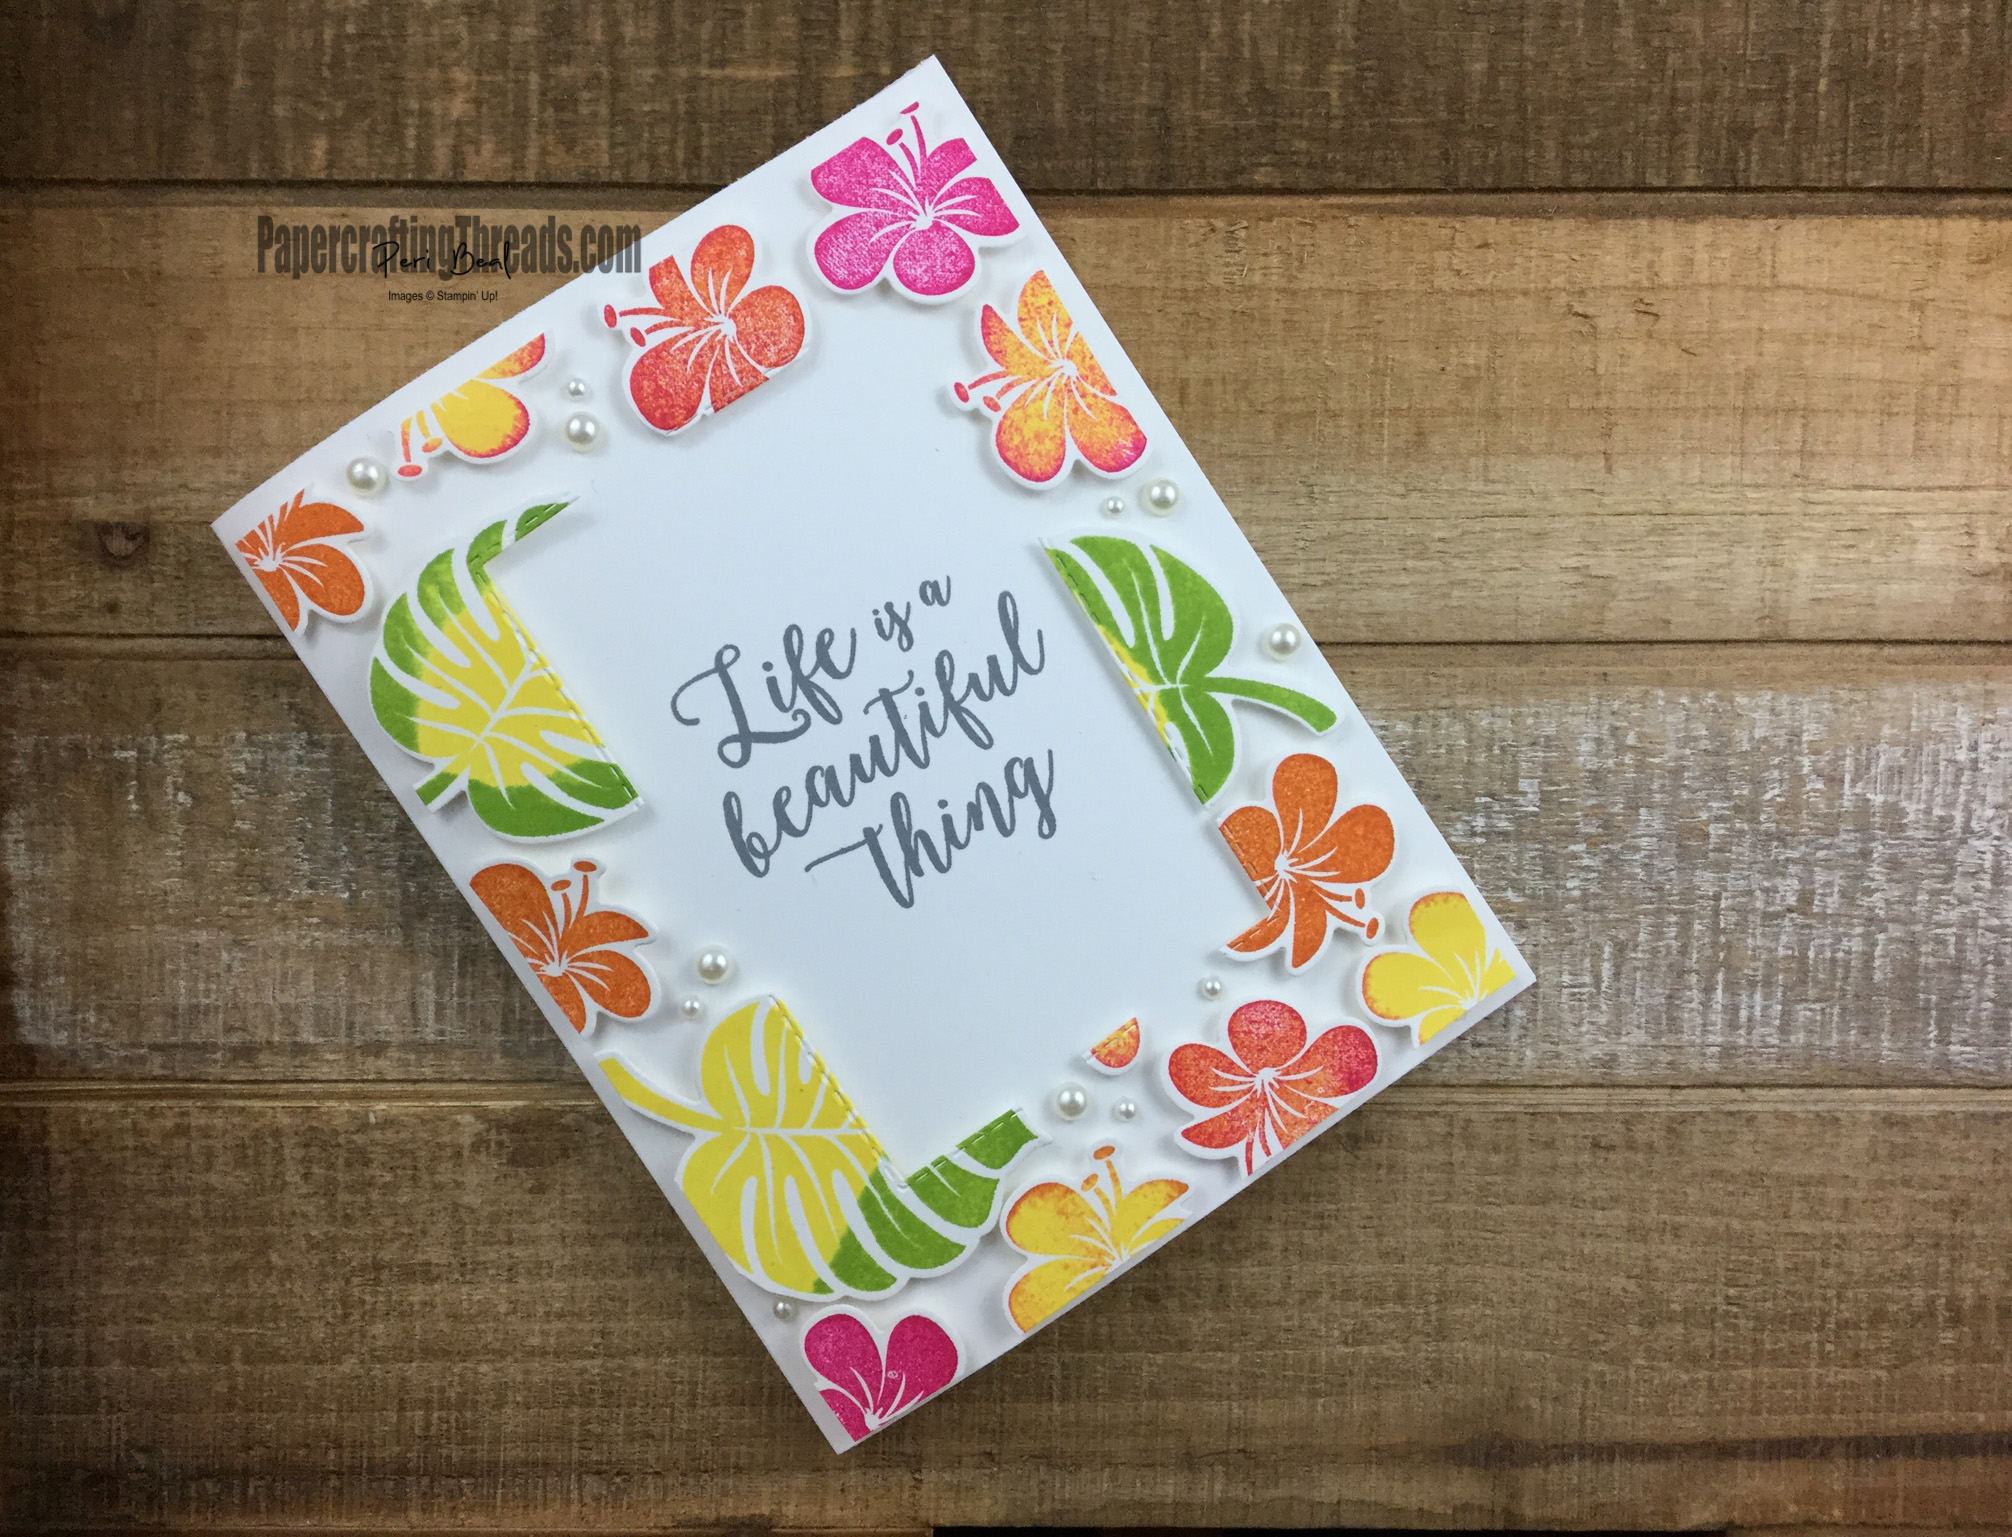
Floating Frame Technique Card #1

Closeup of Floating Frame Technique

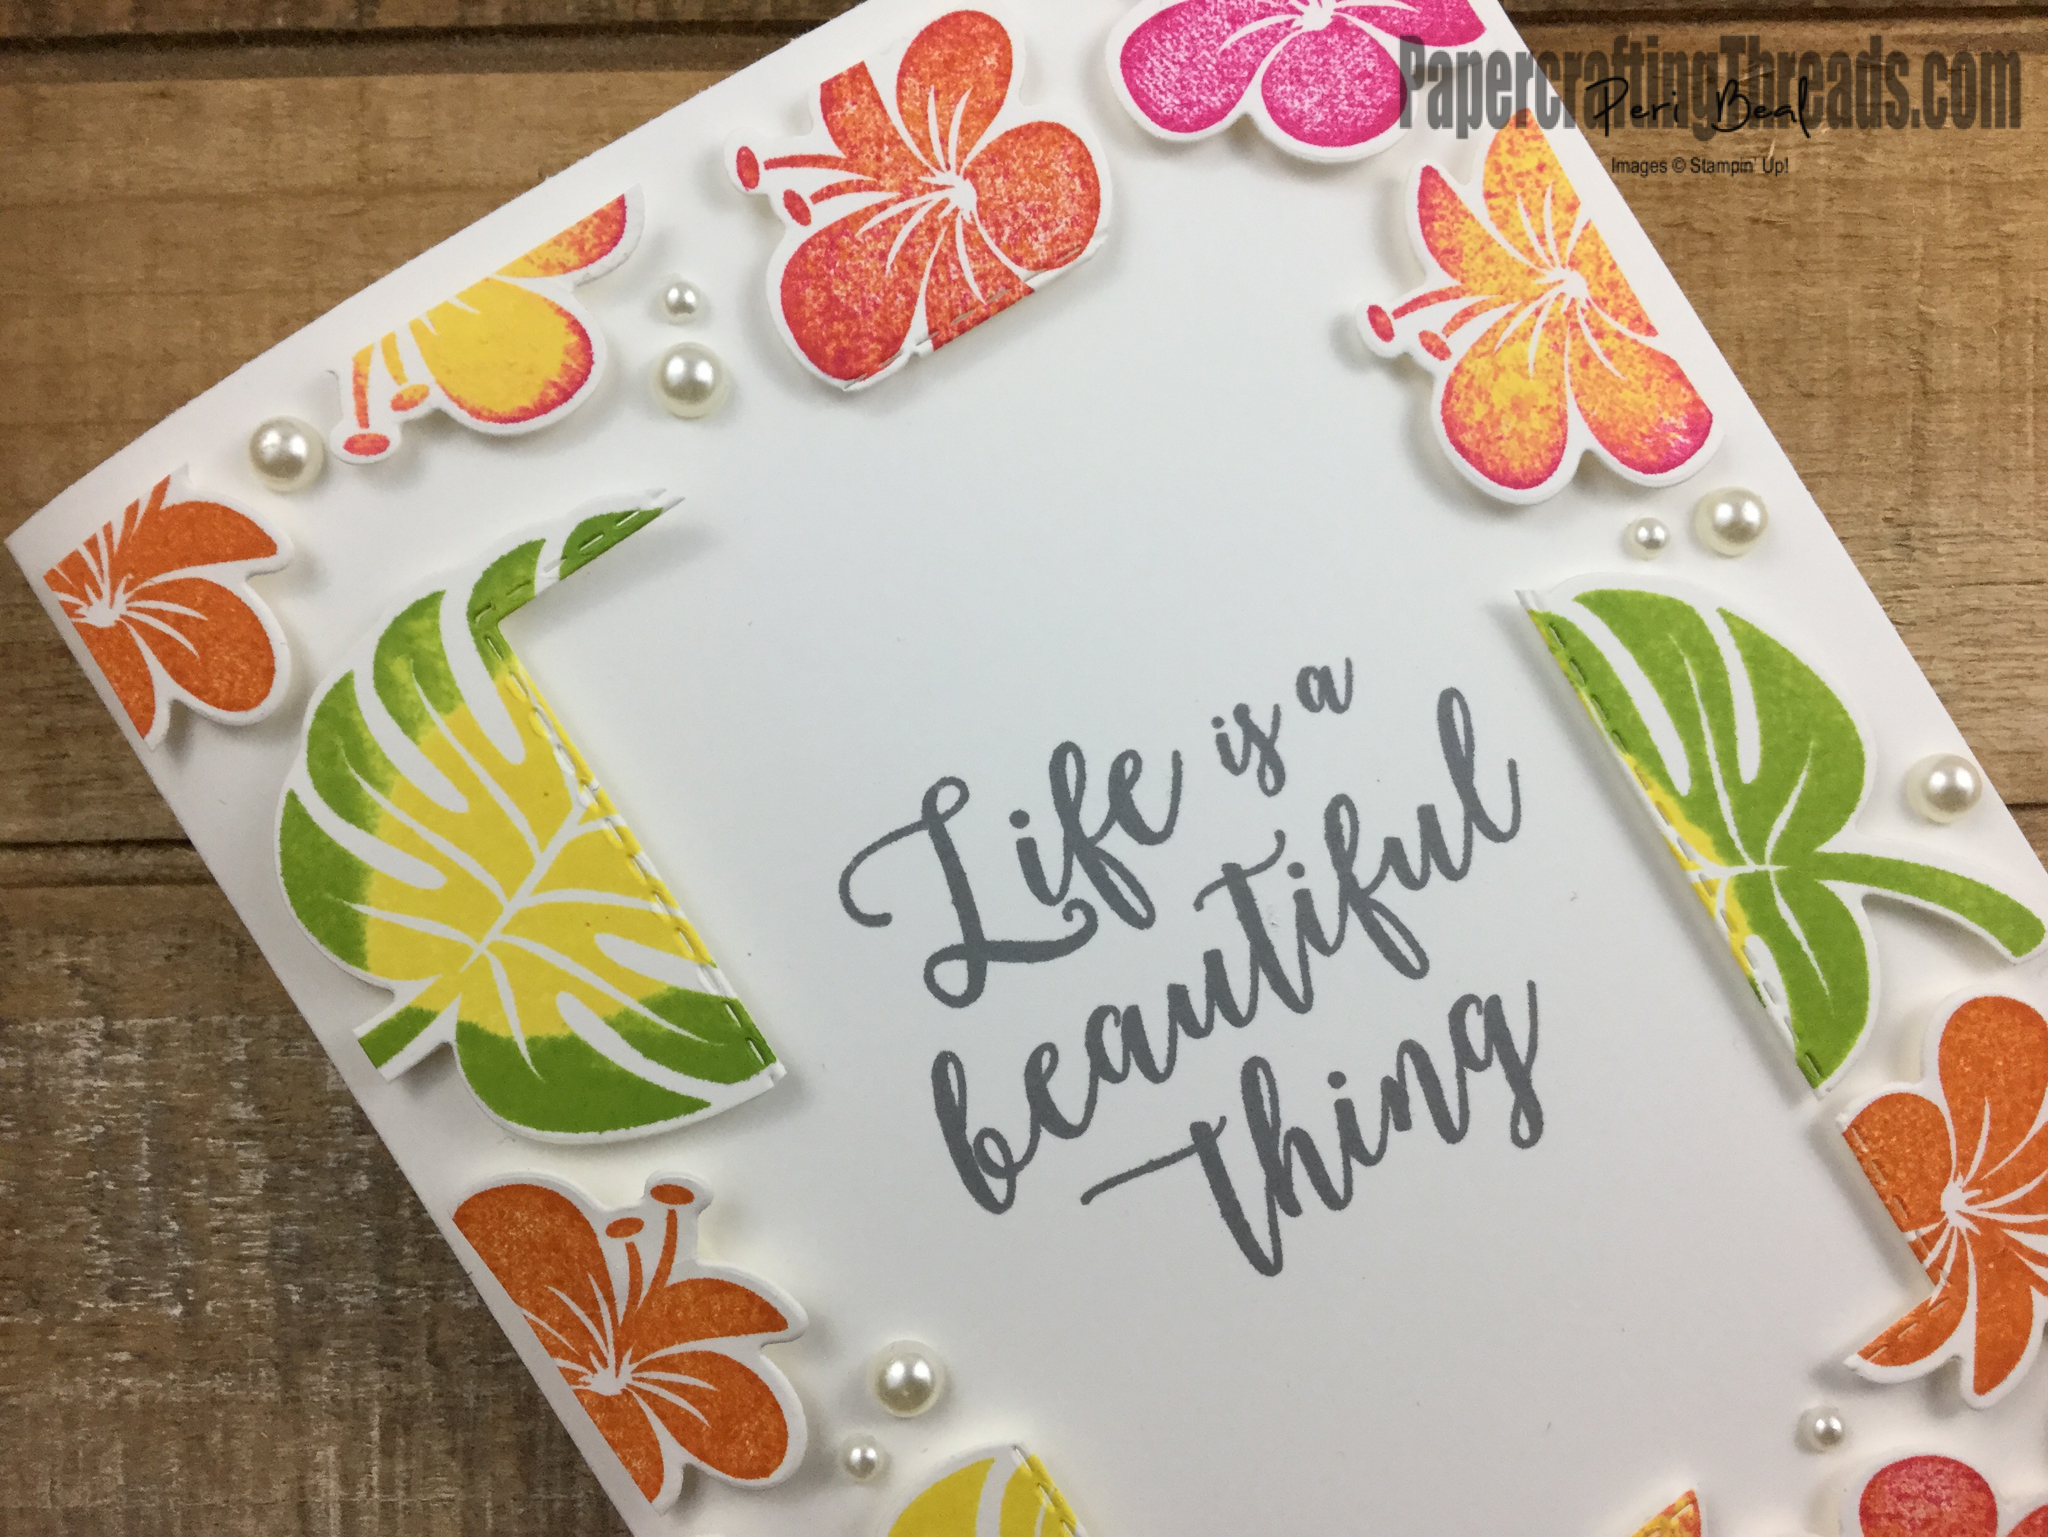
Using the exterior ‘border’ frame piece, flip it over and apply dimensionals to the back of every diecut. TIP:  Cut dimensionals into smaller pieces as needed so they don’t show on the front side. Remove the liners from each dimensional and center the floating frame on the front panel of Whisper White card base. Scatter pearls in the openings between the flowers and leaves. Stamp the greeting from the Colorful Seasons stamp set in the middle of the card in Memento ink.

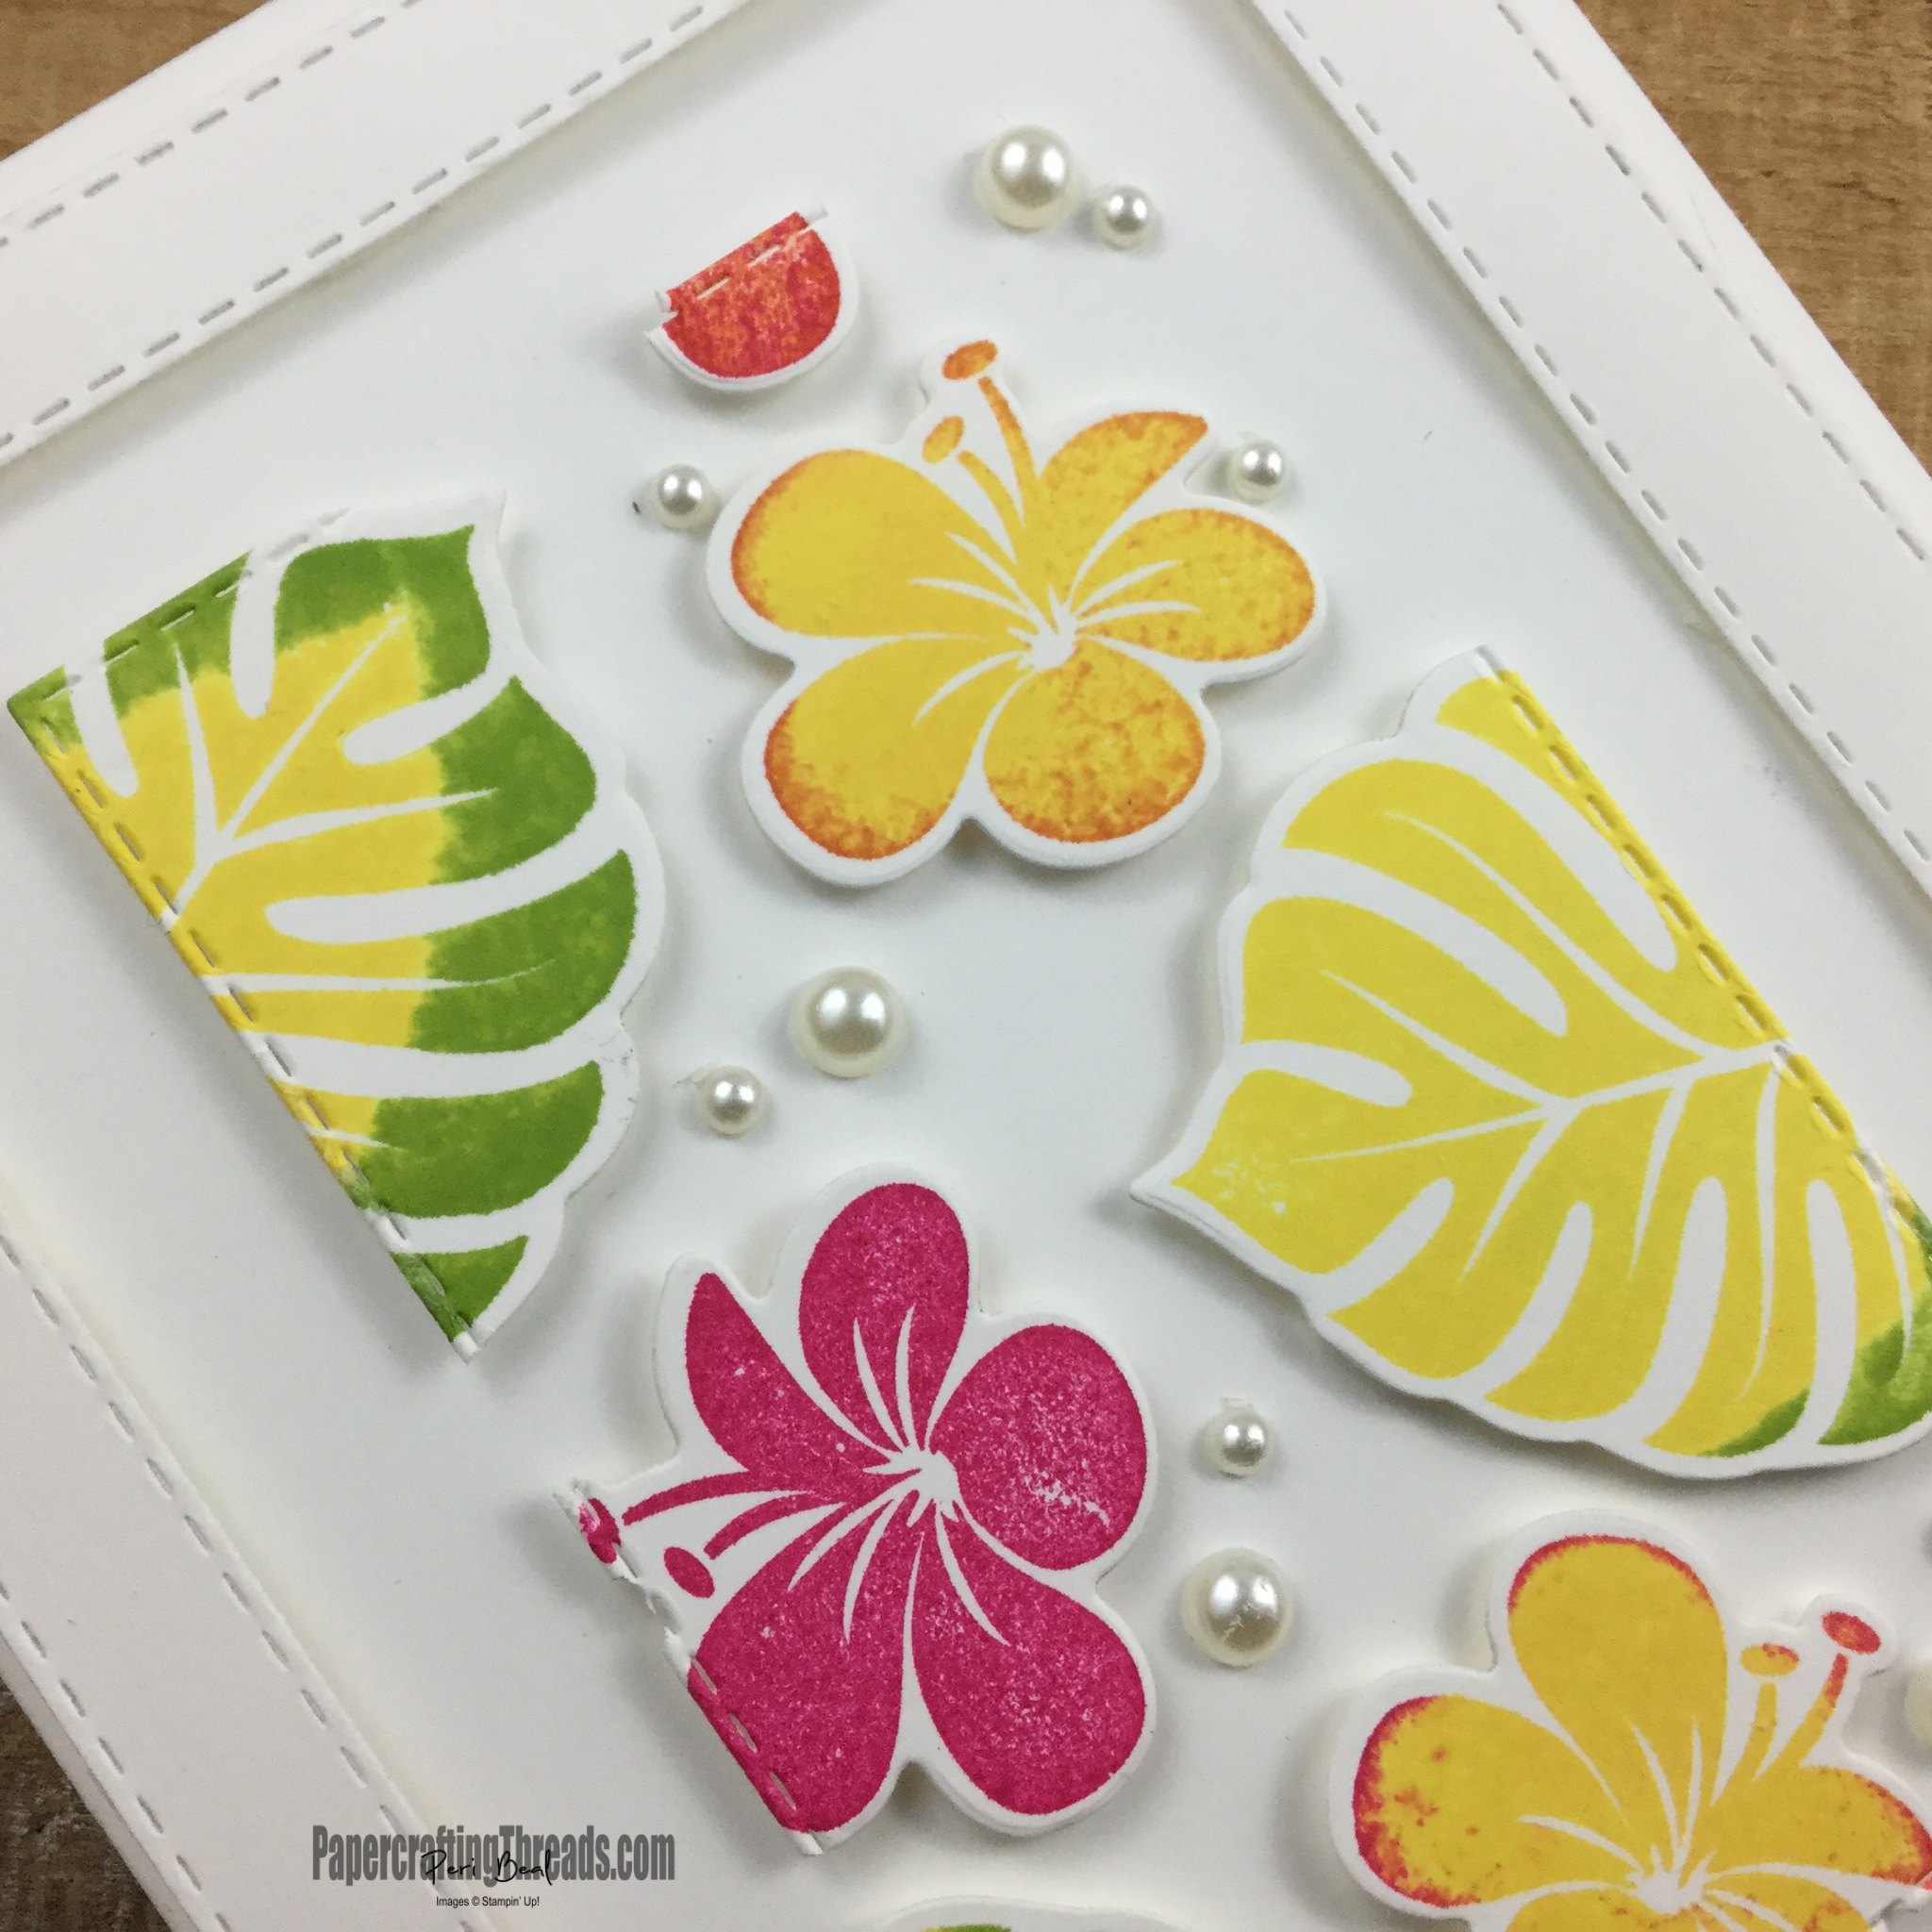
Floating Frame Technique Card #2

Best thing about the Floating Frame technique is getting a bonus card!

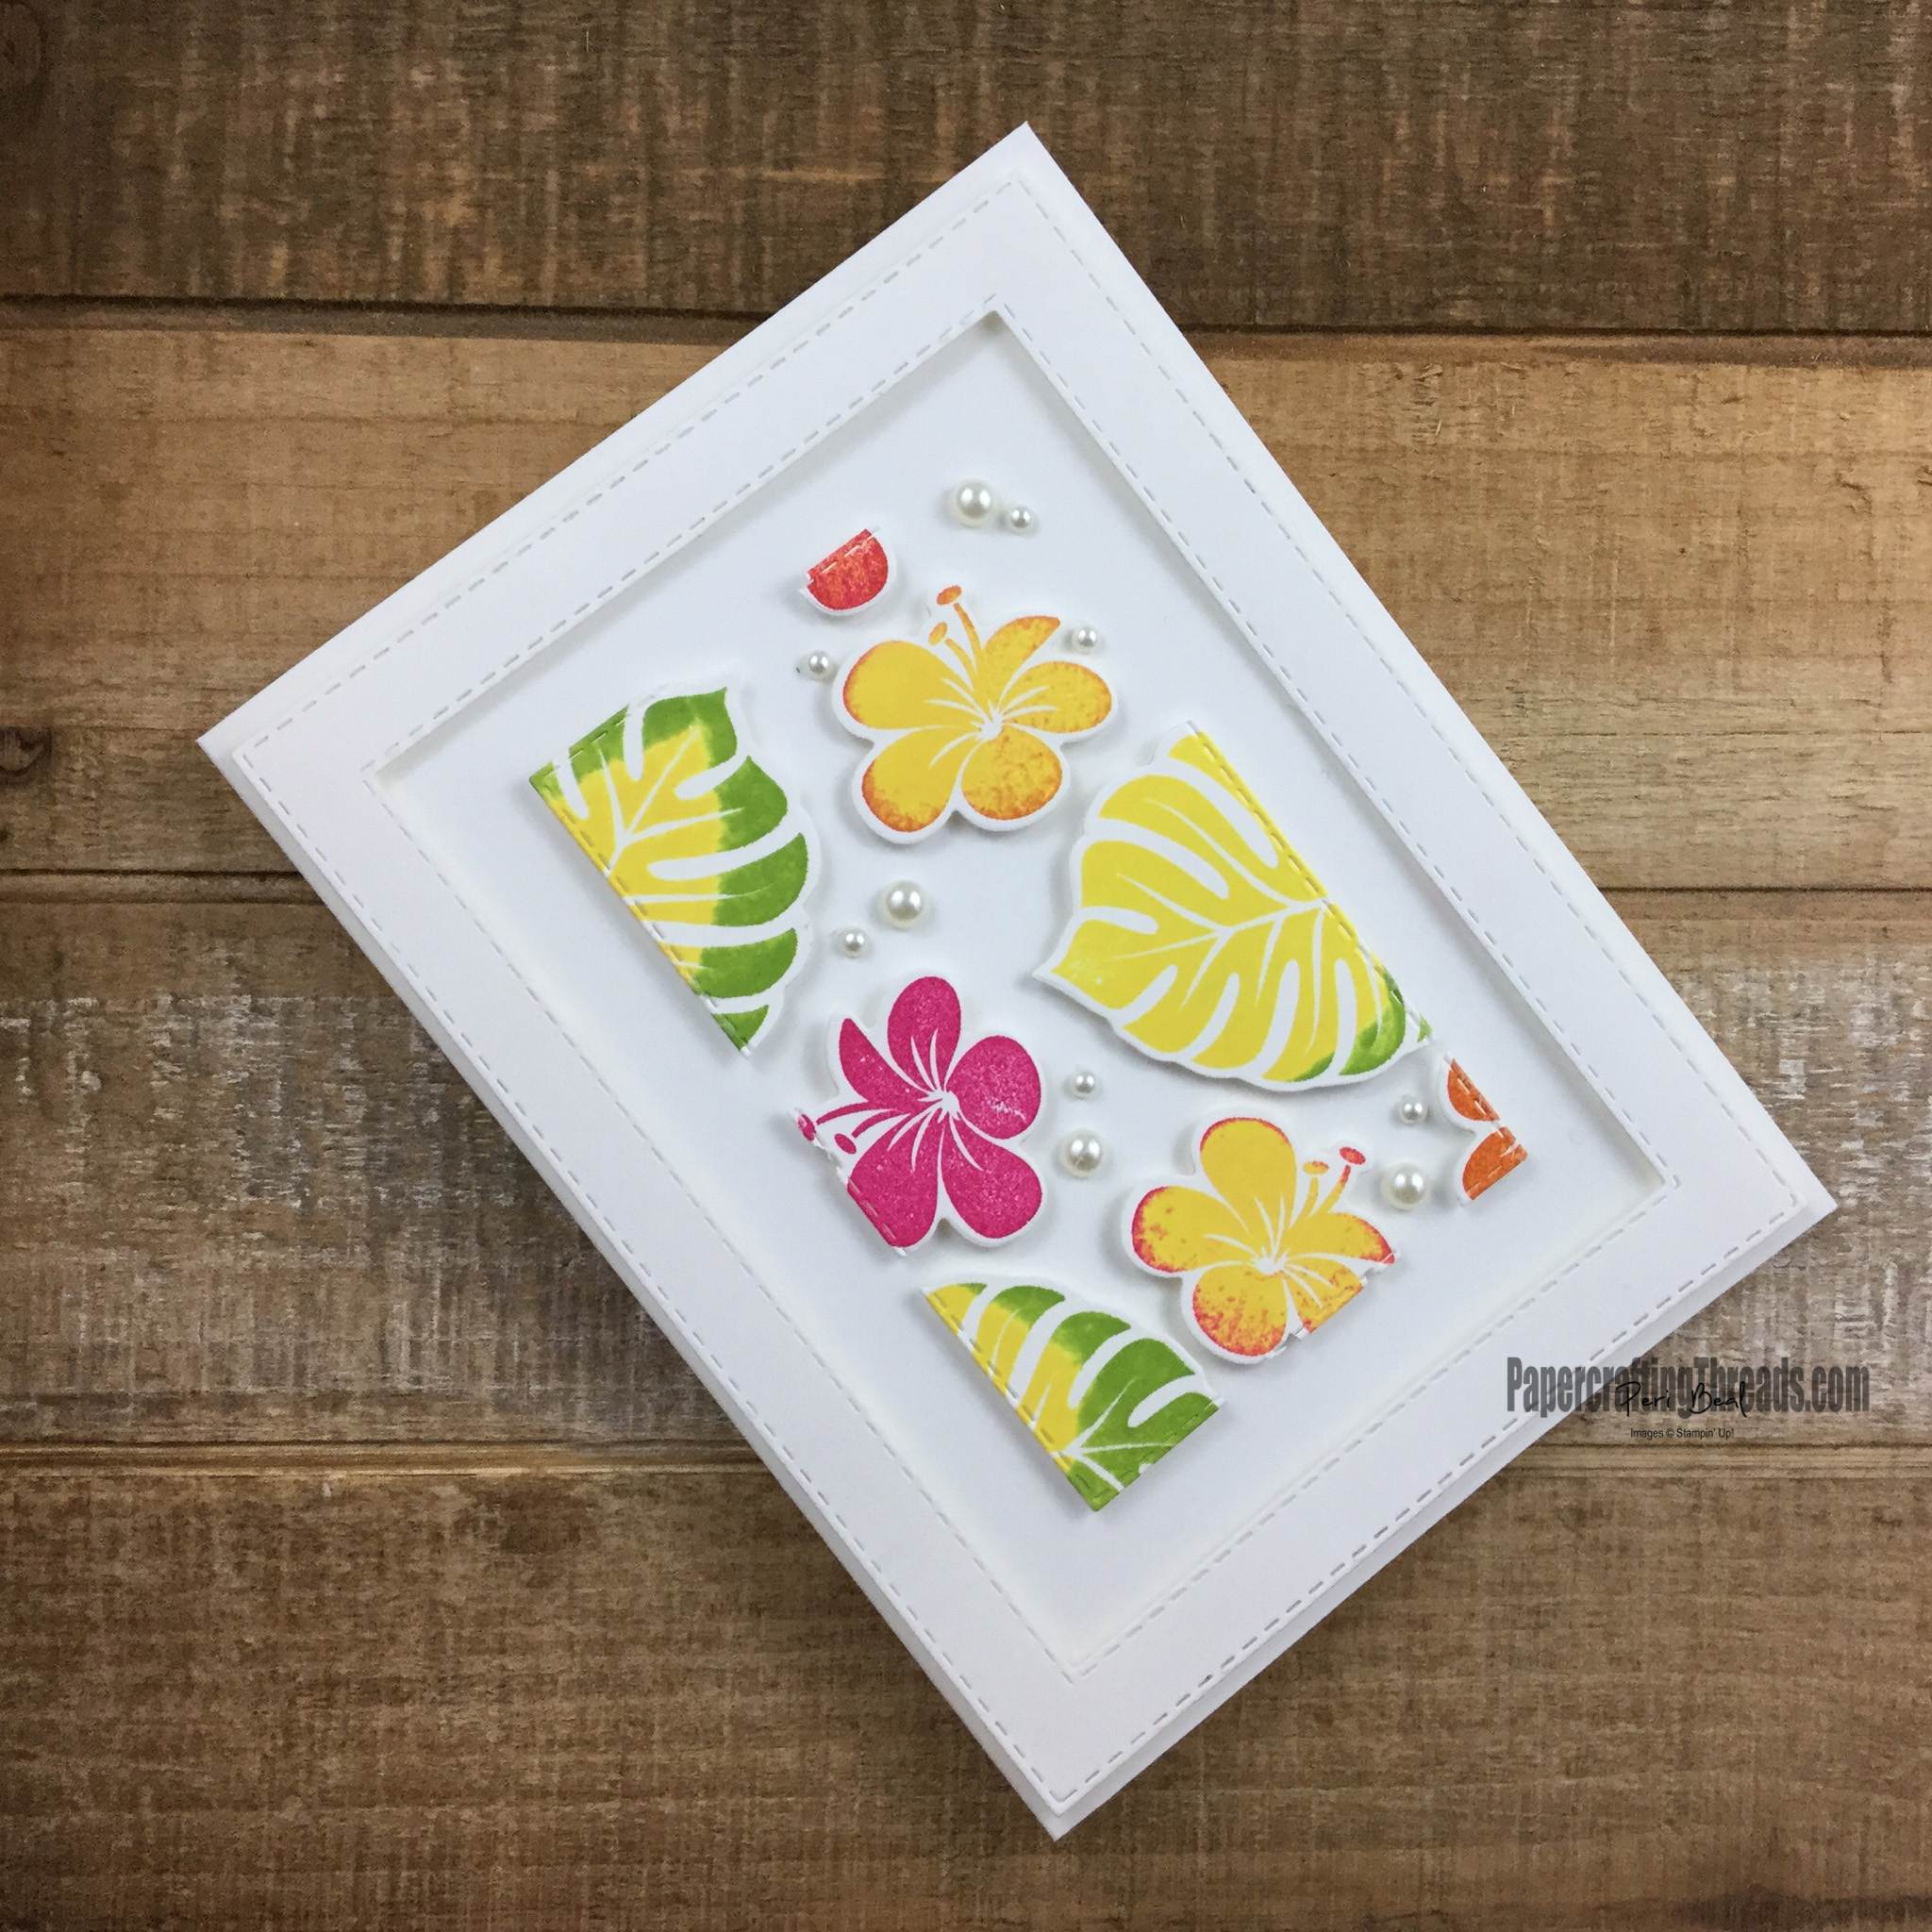
Attach the leftover bonus center from the diecut floating frame in the same manner as the frame in Card #1 to the second Whisper White card base. Position two of the Stitched Rectangle dies on a scrap of Whisper White cardstock to make another frame and diecut. Adhere with dimensionals. Add pearls in the spaces between the blossoms and leaves.

Floating Frame Technique up close and personal

Have fun with this technique – I’d love to see what you come up with!

Share:

Leave a Comment
see more related posts: Cardmaking

Previous Post: « Butterflies Abound
Next Post: Pigment Sprinkles »

Reader Interactions

Leave a Reply Cancel reply

Your email address will not be published. Required fields are marked *

Primary Sidebar

Peri Beal

Cheesehead. Avid reader. Antique hunter.

Shop Online

Shop with me and get a FREE PDF tutorial bundle delivered to your inbox AND a handmade card via snail mail

Search

Papercrafting Threads

Gift Certificates
  • Email
  • Facebook
  • Instagram
  • Pinterest
  • YouTube

Sign up for my Newsletter

Sign up for my newsletter and get a free PDF tutorial as my welcome thank you!

Almost there...

Please check your email to confirm your subscription

Retired Product
Privacy Policy

The Fine Print

Just so you know... This is a personal website and I am responsible for its content. Stampin' Up!® does not endorse the use of or contents of the classes, services, or non-Stampin' Up! products I offer.

Sign up for my Newsletter

Sign up for my newsletter and get a free PDF tutorial as my welcome thank you!

Almost there...

Please check your email to confirm your subscription

Footer

  • Calendar of Events
  • 3D Projects
  • Cardmaking
  • Fun Fold
  • Product Tips & Tricks
  • Projects
  • Techniques
  • Of Interest
  • Catalogs
  • Join the Fun
  • Contact Me
  • Email
  • Facebook
  • Instagram
  • Pinterest
  • YouTube

PAPERCRAFTING THREADS

Copyright © 2026 · Refined theme customized by Catherine Carroll

Privacy Policy · Affiliate Disclosure