Think diecut sets are limited? Think again and get more from your die cuts by cutting them apart! There’s no rule that says you have to use the full die.
cutting Guide
| Paper Dimensions | ||||
| 3-1/4″ x 4″ Crumb Cake Cardstock for die cutting | ||||
| 3-3/8″ x 4-1/8″ Distressed Gold Specialty Paper |
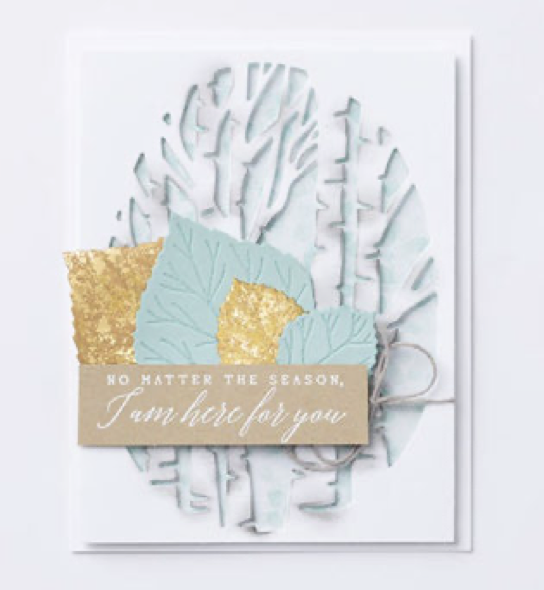
Perfect case in point, the Aspen Tree Die set. While the die cuts a large, beautiful oval (see sample below from the Holiday Mini Catalog, I wanted a different look.

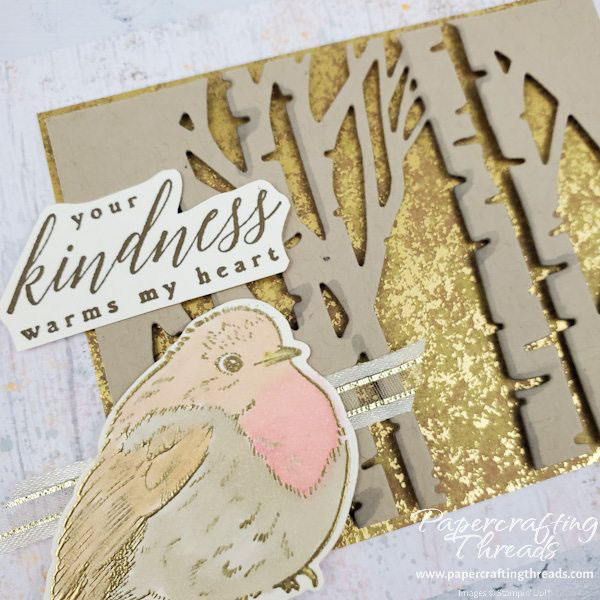
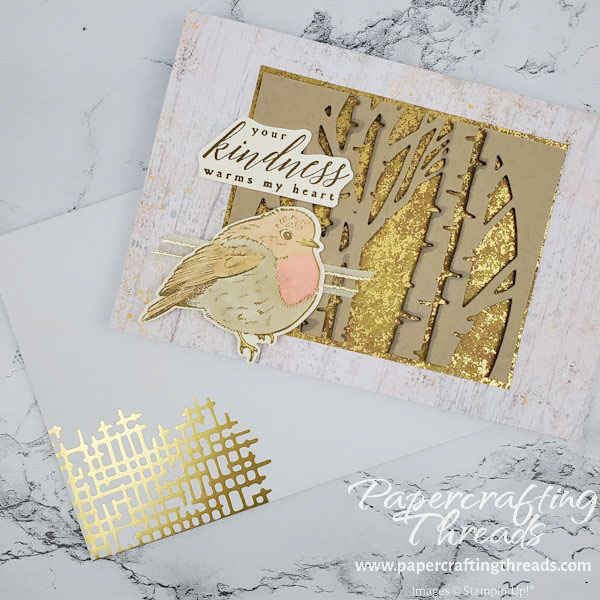
I started with a piece of Crumb Cake cardstock and taped the die over the center of the cardstock and then diecut as usual. I ended up with two pieces of aspen trees. After swiping the left sides of the trees with a Light Smoky Slate Blend to create shadows, I then popped it up on dimensionals over a piece of Distressed Gold Specialty paper. The card base and matching envelope are from the Texture Chic Memories & More card and envelope set.
After heat embossing on Very Vanilla cardstock with gold embossing powder, I colored the bird with Stampin’ Blends.
coloring guide for bird
| Beak | Light Daffodil Delight | |
| Breast | Dark Petal Pink, Light Petal Pink, Light Flirty Flamingo | |
| Body | Light Crumb Cake | |
| Wing | SU800 | |
| Head | SU900 |
The sentiment was stamped in Soft Suede Ink on Very Vanilla cardstock, then fussy cut before adhering to the card front. A small strip of Gold & Vanilla Satin-edged Ribbon is tucked behind the bird, and the bird is popped up on dimensionals.
How will you get more from your die cuts? I’m already looking at my stash to see what else I can cut apart for even more variety in my card making. Nothing like getting more bang for your buck!


Leave a Reply