Make this adorable gift box from a card base. It’s a great way to use a product in a different manner and get more bang for your buck. And it’s easy, too! Let’s get started.
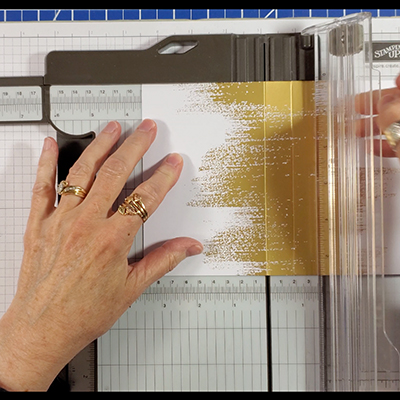
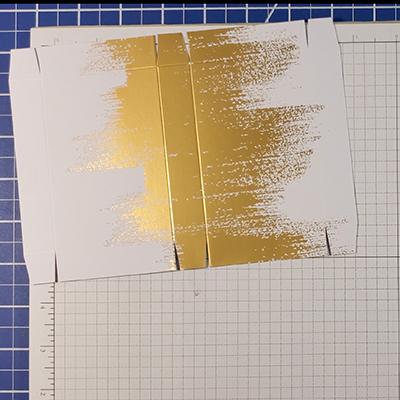
I used the gold embossed standard card base from the Brushed Gold Cards and Envelopes package. Both halves of this card base are patterned, so it doesn’t matter which half becomes the top of the box. Place the flat card base with the gold side up in a trimmer and score the long edge at 3-1/2″ to the left of the existing scoreline.
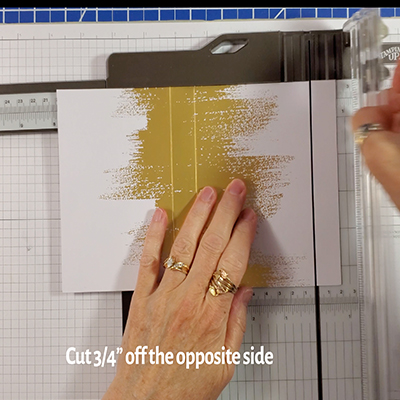
Trim off 3/4″ from the right edge.
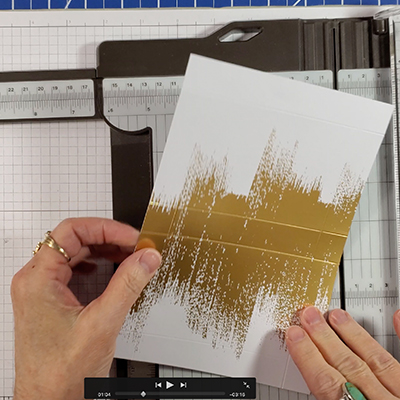
Then score all four sides at 3/4″.
The scorelines form six tiny squares. Hold the card base in landscape position and cut the sides of each square and miter to form the box flaps.
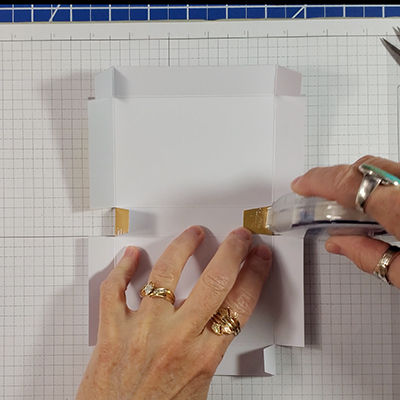
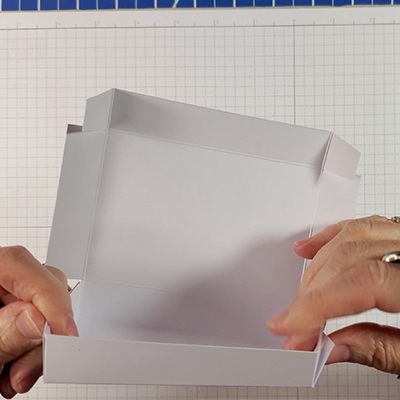
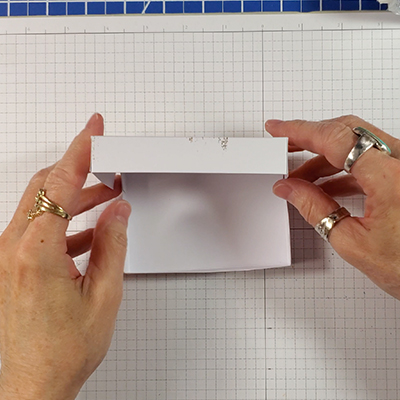
Fold and burnish all of the score lines. Now place the card base in portrait orientation and fold in the bottom four flaps. Add adhesive to the gold side and adhere the corners of the box bottom.
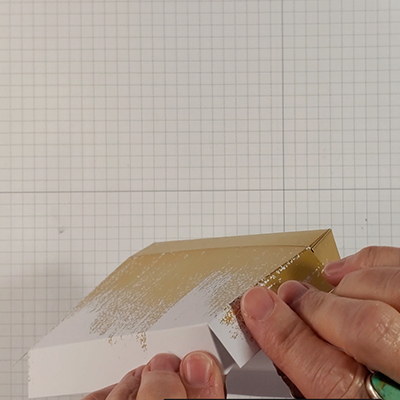
Add adhesive to the top flaps and press to adhere to the sides forming the box top.
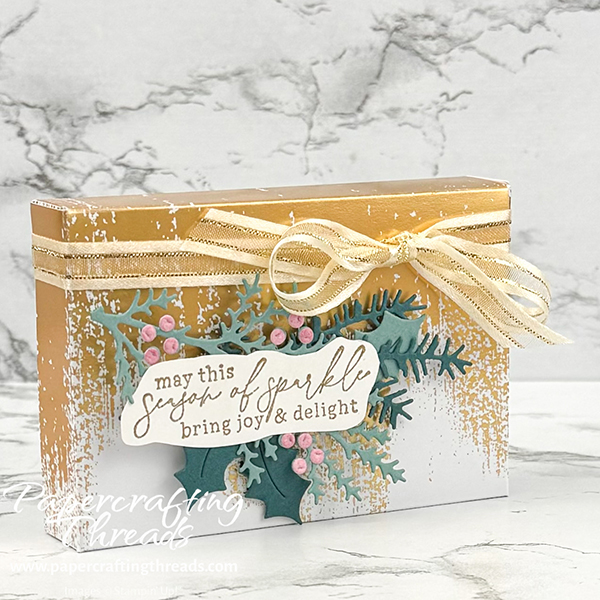
The box top folds down over the box bottom. And there you have it!! A gift box from a card base.
To decorate the gift box, I chose the dies from the Magical Meadow set. I used Pretty Peacock for the pine sprig and two holly pieces. The juniper branch and one holly sprig were die cut from Lost Lagoon. I sponged Bubble Bath on Basic White cardstock before die cutting the berries.
Gold satin edged ribbon tied in a bow accent the top portion of the gift box. I adhered the greenery behind my gold embossed sentiment and then popped the whole thing up with dimensionals.
The gift box holds 4 Ghirardelli chocolate squares easily. Get your supplies here today!
Leave a Reply