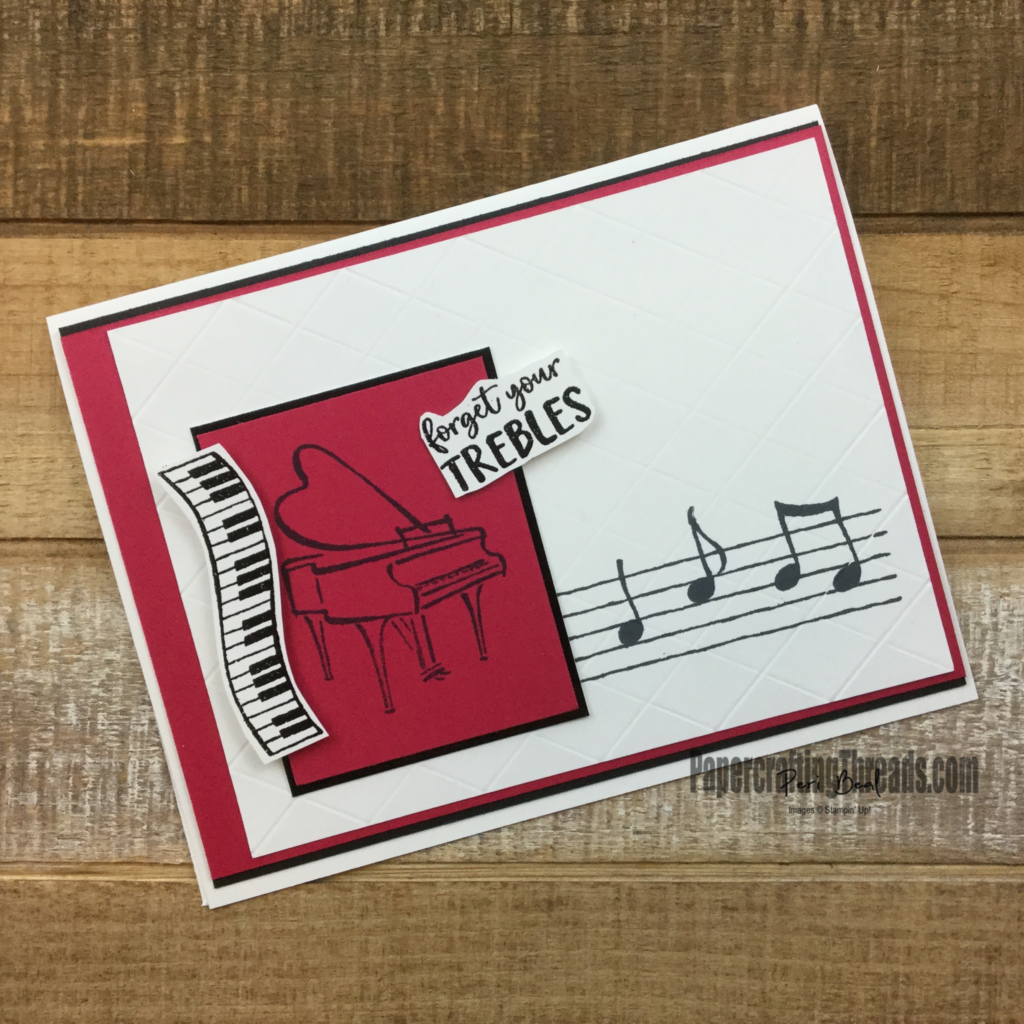
Add a scored grid to set off your card’s message with the Grid Stamping Technique. Then stamp directly on the surface of the grid to draw even more attention to this easy but wow technique. And don’t you love that bluish red color set against the white and black? Lovely Lipstick will be retiring soon, so order your pack of cardstock (and ink) today!
Supplies for the Grid Stamping Technique:
Paper Trimmer
Whisper White cardstock cut to 5” x 3 ¾”
Additional Supplies for this particular card project:
Whisper White cardstock, cut to 8 ½” x 5 ½” and scored at 4 ¼”, plus scraps
Lovely Lipstick cardstock, cut to 5 3/8” x 3 7/8” and 2 1/2” x 2”
Basic Black cardstock, cut to 5 3/8” x ½”, twice, as well as 2 5/8” x 2 1/8”
Versamark Ink
Memento Ink
Basic Black Embossing Powder
Heat Tool
Music From the Heart stamp set
Dimensionals
Tombow Multipurpose Glue
Instructions:
- Using the Whisper White cardstock cut to 5” x 3 ¾”, position the piece in the Paper Trimmer diagonally, lining up opposite corners in the cutting track. Slide the scoring blade from the top corner to the bottom corner.
- Slide the cardstock over to the right ½”, and score again, repeating all the way across the right hand side of the diagonal.
- Flip the cardstock 180° and score the other half of the piece every ½”.
- Turn the cardstock to the opposite point, line up the corners at a diagonal, and score every ½”, as done in step 1 and 2, creating a crosshatch of score lines every ½” inch.
- Repeat Step 3.
- Stamp the staff from Music from the Heart stamp set in Memento Ink right on top of the scoring.
- Ink and stamp the music notes on the staff as shown.
- Stamp the piano on the small piece of Lovely Lipstick cardstock in Memento Ink.
- Using scrap pieces of Whisper White cardstock, stamp the keyboard and the sentiment in Versamark Ink and emboss both with the Black Embossing Powder and a Heat Tool.
- Assemble the card as shown, using Tombow Multipurpose Glue as the adhesive, and using Dimensionals to pop up the keyboard and sentiment.

Leave a Reply