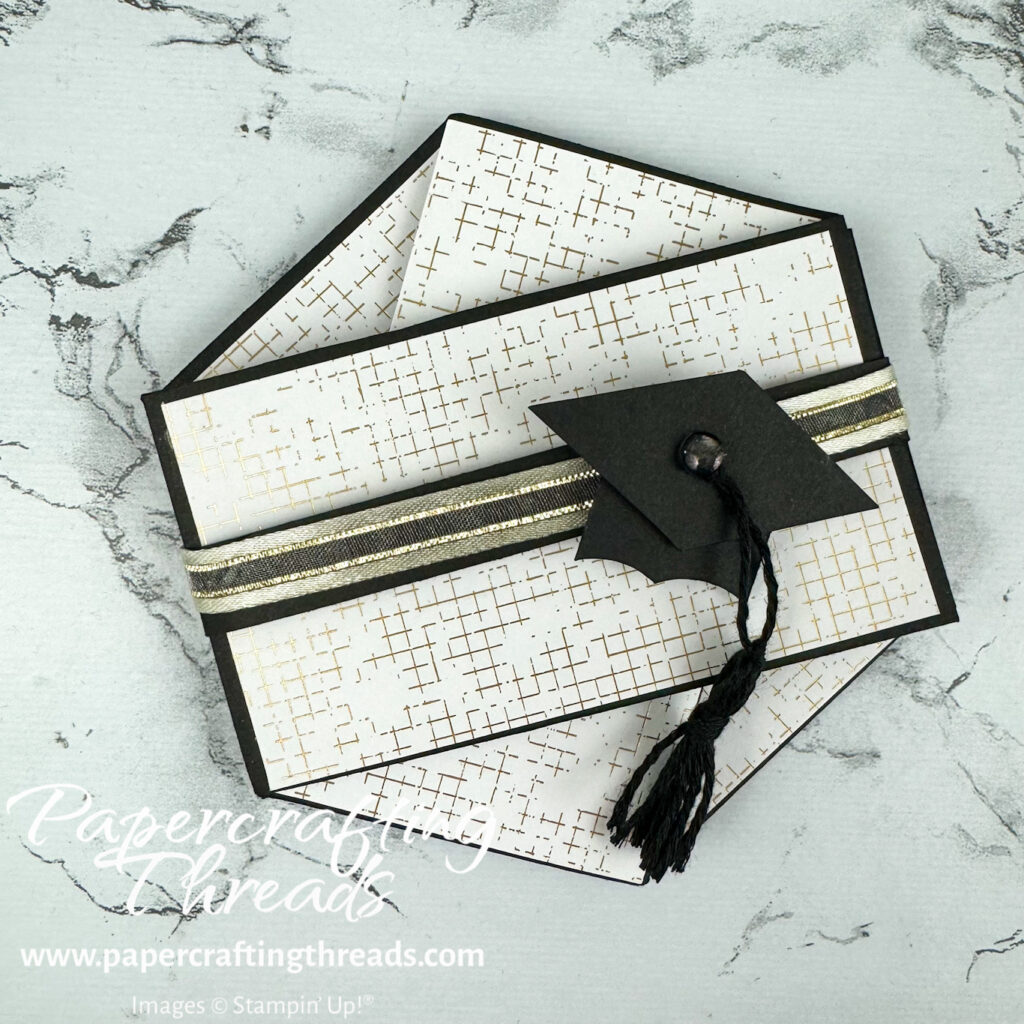
Stand out from the crowd with this Hexagon Twist Fun Fold Card! It has pockets (and not just one, but three) for notes, gift cards, or cash. No special tools needed, just a good scoring blade and scissors. Even the graduation cap is easy to make with just cardstock, scissors, a circle punch and twine. Let’s get started.
cutting & scoring guide
| Paper Dimensions | Score Short Side | Score Long Side | ||||
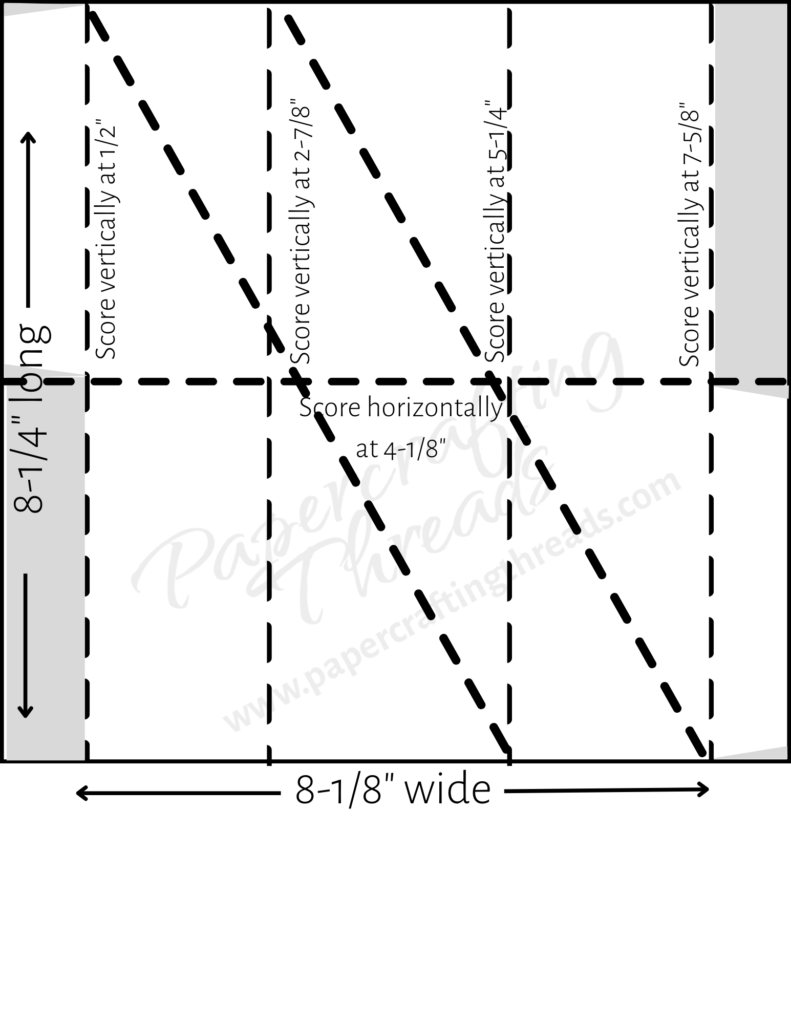
| 8-1/8″ x 8-1/4″ Basic Black card base | 1/2″, 2-7/8″, 5-1/4″ & 7-5/8″ | 4-1/8″ | ||||
| 2-1/4″ x 3-7/8″ patterned paper panels (cut three) | ||||||
| 2-1/4″ x 4″ Basic Black pocket card (cut three) | ||||||
| 2″ x 3-3/4″ Basic White pocket card (cut three) | ||||||
| 1/2″ x 11″ Basic Black belly band | ||||||
| 1″ x 2″ Basic Black graduation cap(cut two) |
instructions for hexagon twist fun fold card
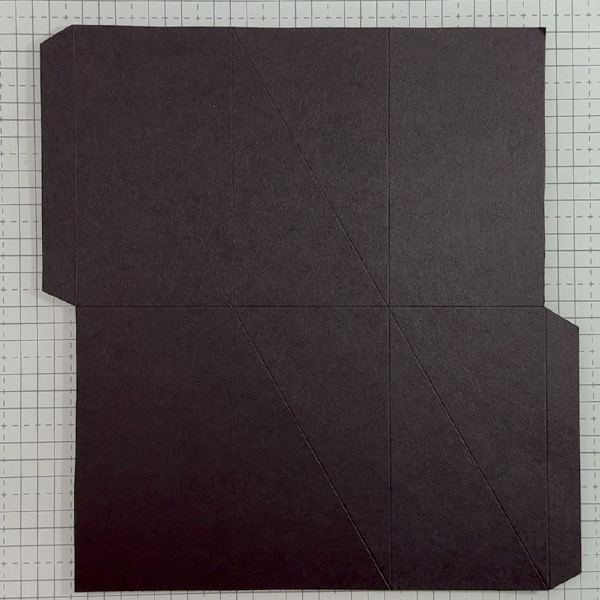
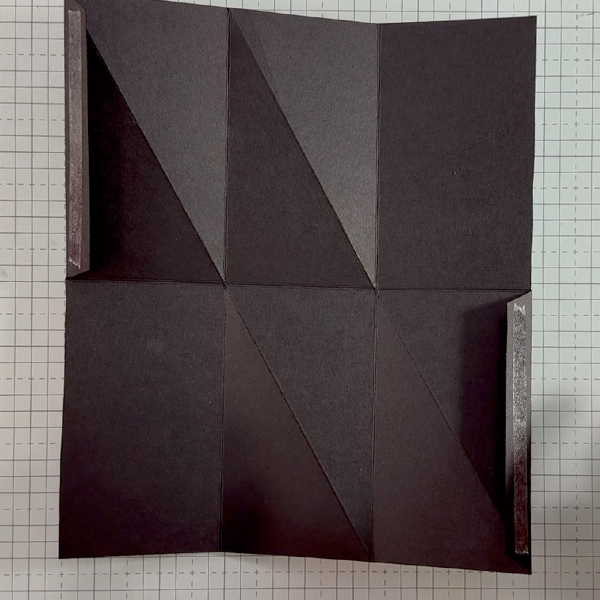
Score the Basic Black card base as noted in the table above. Score diagonally the height of the cardstock as shown in the photo and template below. I like using the Stampin’ Up! Paper Trimmer because the channel makes it easy to line up on the diagonal. Then remove two diagonally opposite flaps and miter the two remaining flaps.
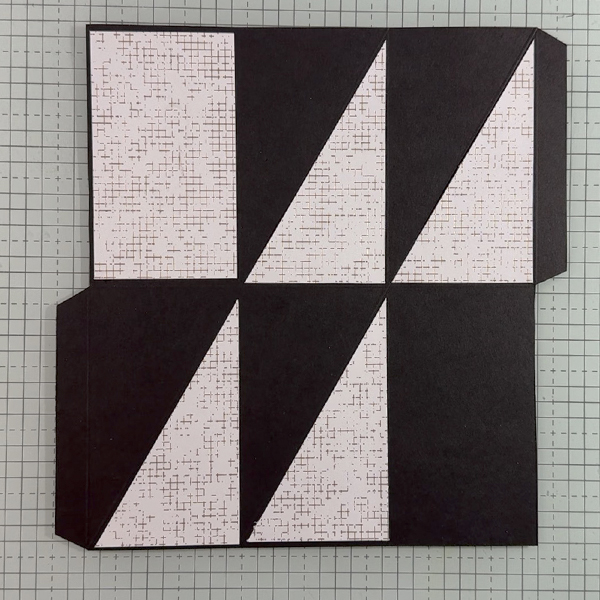
Flip the piece over and add the patterned paper as shown.
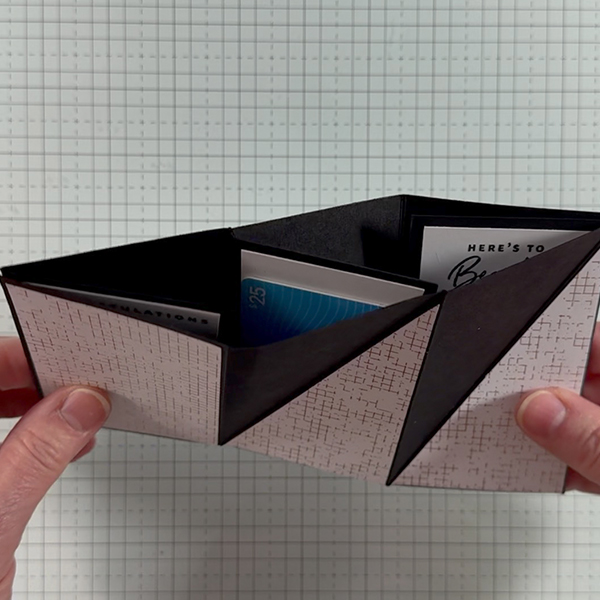
Mountain fold the diagonals and burnish with a bone folder. Valley fold the horizontal score line and burnish. Valley fold all the vertical score lines and burnish. Flip over and add Tear ‘N Tape to the two flaps. Fold up and press to adhere. The patterned paper should now be on the front and the back, with blank inside pockets.
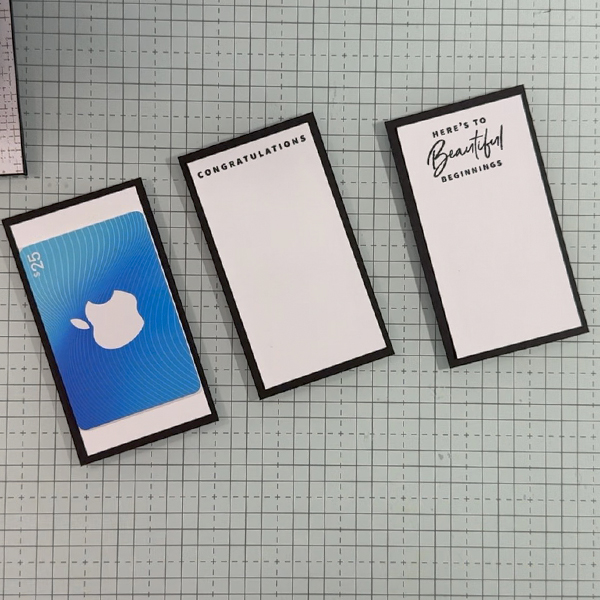
Create mini note cards using the dimensions in the Cutting & Scoring Guide above. Stamp sentiments, adhere layers and attach any gift cards with glue dots. I used sentiments from the Something Fancy stamp set.
Insert pocket cards into Hexagon Twist Fun Fold Card. Push on the folds from the left, collapsing the card into the folded hexagon shape.
step by step instructions for graduation cap
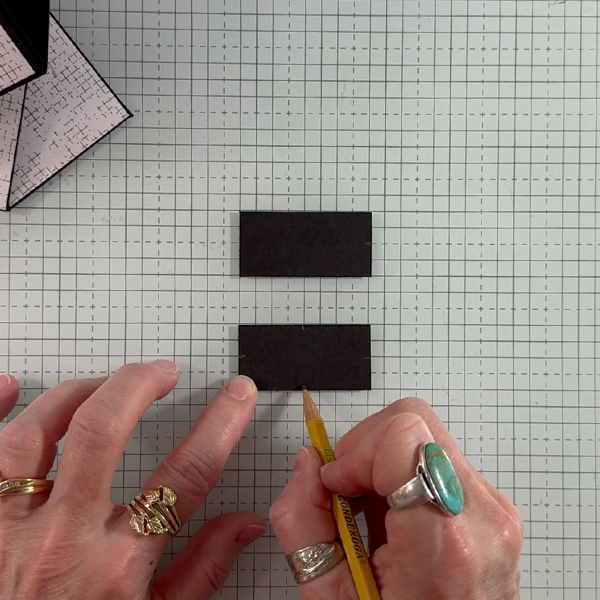
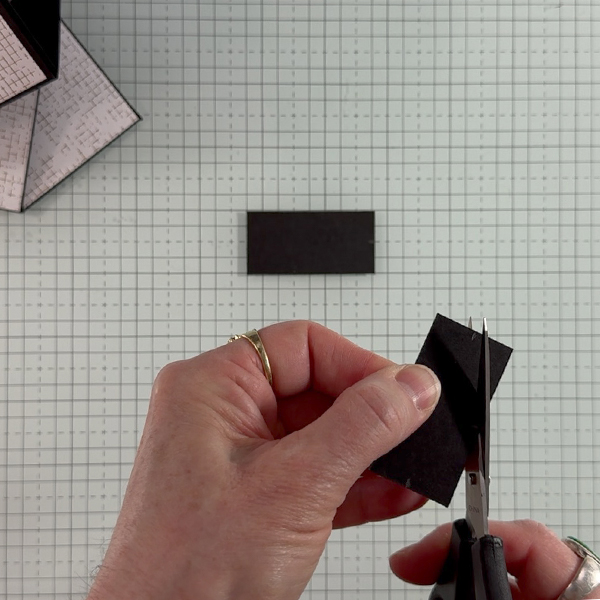
Find the halfway point (1/2″) on one short side of the 1″ x 2″ Basic Black cardstock piece and mark it with a pencil. Find all four halfway points (1/2″, 1″, 1/2″ & 1″) on the other 1″ x 2″ Basic Black cardstock piece and mark all with a pencil.
For the mortar board, cut from halfway point to halfway point on all four sides, forming a diamond.
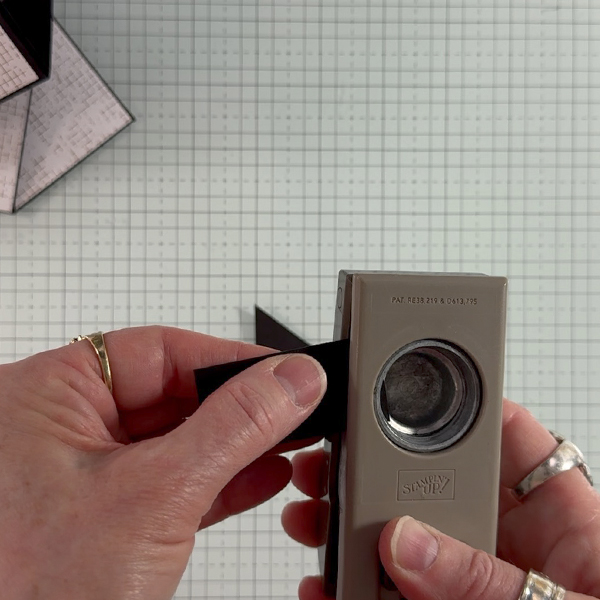
Insert the tip of the remaining rectangle into a 1″ punch, lining up the corner and the pencil mark with the circle outline and punch.
Move the rectangle over and punch the other side, lining up the pencil mark and the remaining corner point,
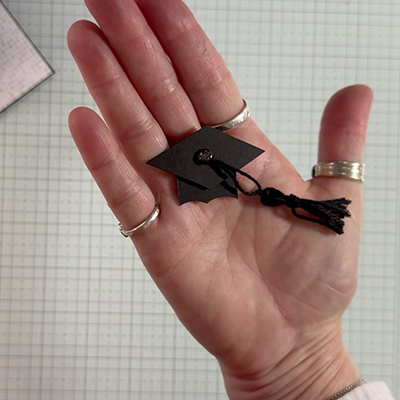
Trim the length with scissors, add dimensionals and pop the mortar board on the cap base. Make a tassel, add a glue dot to the center of the cap, adhere the tassel and cover with an embellishment.
finishing touches for Hexagon twist fun fold card
Wrap the Basic Black belly band around the folded Hexagon Twist Fun Fold Card. Use glue dots to adhere gold ribbon to the belly band. Adhere the mini graduation cap over the ribbon.
This is such a fun way to give a gift card for a milestone. Check out my YouTube video to see the making and the card in action. And of course the card can be customized to your graduate with school colors!
Leave a Reply