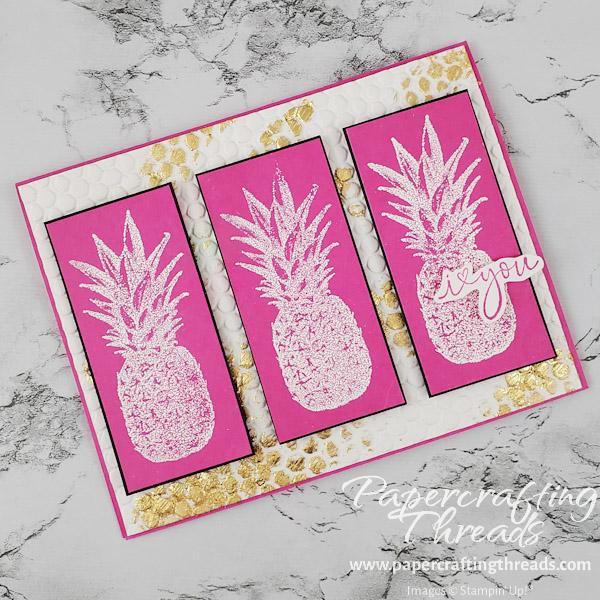
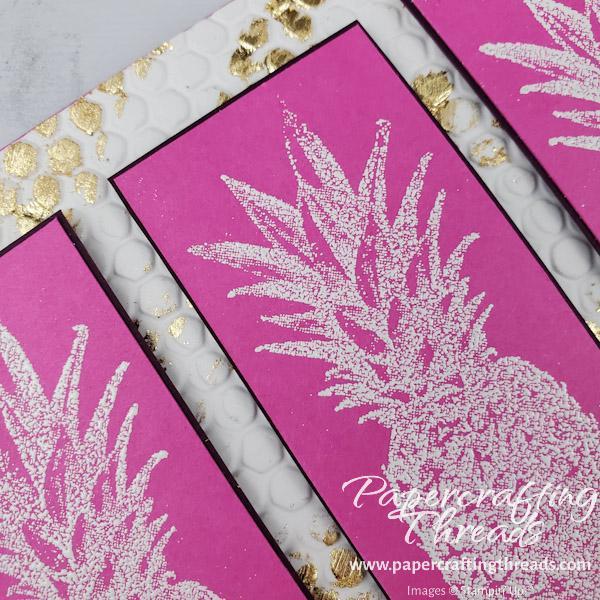
While I’m not usually a fan of pink, I totally love this Magenta Madness card with white heat embossed pineapples and gilded leafing on the hive embossed background! Watch my Instagram Reel for a visual on how this card came together. Or just read on for how to heat emboss, as well as add gilded leafing to an already embossed layer of cardstock.
How to Heat Emboss
I started by cutting 3 pieces of Magenta Madness cardstock 1-7/16″ x 3-1/8″. That gorgeous pineapple is from the free Saleabration stamp set, Island Vibes. I stamped the pineapple in Versamark ink, poured White Embossing Powder on top and heat set all three with my heat tool. Then I layered the three pieces on Blackberry Bliss cardstock cut to 1-1/2″ x 3-3/8″. Set these aside.
Add Gilded Leafing
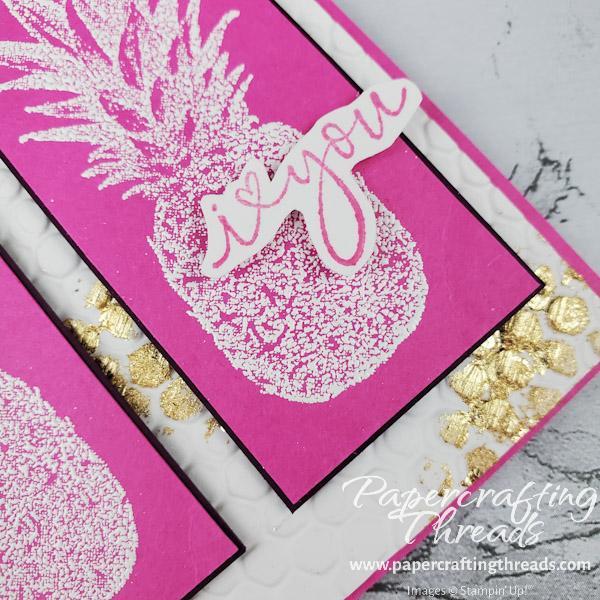
Using a Spritzer, I lightly sprayed a piece of Basic White cardstock 4-1/8″ x 5-3/8″ with water. Next I placed the damp cardstock in the Hive 3D Embossing Folder and ran it through the Cut & Emboss Machine. Using a piece of sponge, I dipped the edge in a pool of Multipurpose Glue I squirted on my Silicone Mat. Then I randomly swiped glue over the hive-embossed cardstock. I dropped bits of Gilded Leafing over the surface and rubbed them in with my fingertip. And lastly, I went over the whole surface gently with a clean Blender Brush, removing any fine bits of leafing not attached.
Finally, I assembled my layers on a base of Magenta Madness cardstock 5-1/2″ x 8-1/2″, scored at 4-1/4″. I used Multipurpose Glue to add my gilded hive layer. Dimensionals pop up the three pineapple layers. And the final touch is a sentiment from the Happy & Heartfelt stamp set.
Get your own pineapple stamp for free with a minimum $50 purchase from now until February 28! Visit my online store today.


Leave a Reply