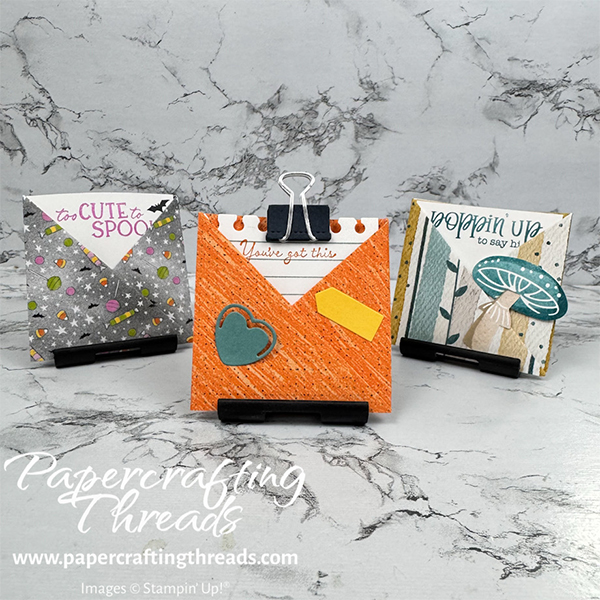
With school starting up, create Lunch Box Love Notes to brighten up someone’s day. And let’s face it, anyone who could use a little cheer, whether they are five and starting kindergarten, 18 and starting college or a fully fledged adult going to work would love a surprise in their lunch box. These notes are easy as ABC, and fast to make. It takes longer to pick which patterned paper to use than it does to whip up these notes. No special tools needed, just simple folding. And I’ve got a BONUS mini tutorial on how to make a 3D binder clip out of cardstock! I’ve got three different versions to share, so let’s get started!
Cutting & scoring guide
| Paper Dimensions | Score Short Side | Score Long Side | ||||
| 3″ x 12″ Spooky Sweet patterned paper | ||||||
| 2¾” x 2¾” Basic White cardstock for note | ||||||
| 15/16″ x 1″ Secret Sea cardstock for inner part of binder clip | 9/16″ from each end | |||||
| Scraps of cardstock for decorating |
step by step instructions for the pocket
Position 3″ x 12″ strip of the orange dotted Spooky Sweet patterned paper in front of you with right side facing down and the strip running horizontally. Fold in half and burnish fold with bone folder. Open and fold the right side in to meet the middle scoreline. Press and burnish. Open and fold the left side in to meet the middle scoreline.
Open and fold the far right square down at a diagonal, lining up the former top edge with the inner first scoreline. Press and burnish.
Treat the two far left squares as one and fold diagonally, lining up the scoreline separating the two squares with the bottom edge of the strip of paper. Press and burnish.
Fold and flip the bottom hanging square up, flush with the top of the strip. Fold the left side over the bottom square. If there’s any excess paper jutting over the scoreline towards the left, trim off.
Tuck the right side triangle into the newly created pocket. If there is a gap and the pocket does not lie flat, turn the tip of the triangle in before inserting into the pocket.
creating the notes
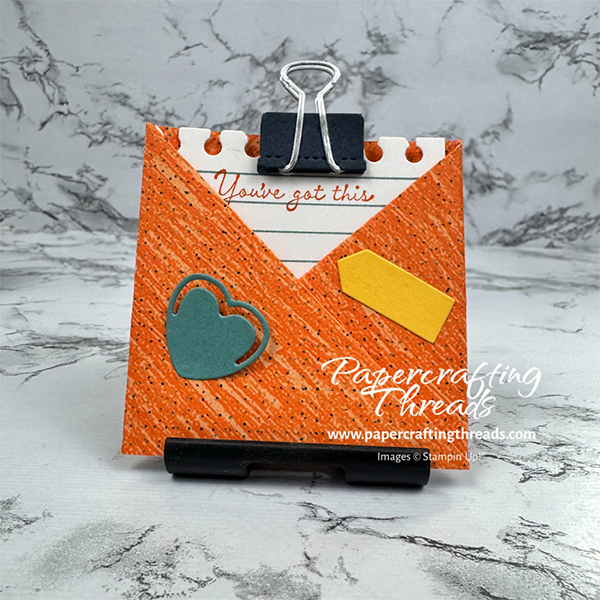
Cut a piece of 2¾” x 2¾” Basic White cardstock. I wanted a back-to-school theme for my first project, so I used the spiral notepaper die from the Just A Note die set to cut the top of the cardstock. Next, I stamped the lines image from the matching Just A Note stamp set in Lost Lagoon ink. Then die cut small arrows and heart from Pretty Peacock cardstock, large arrows and star from Daffodil Delight cardstock, large heart clip from Lost Lagoon cardstock. Adhered to note and pocket as shown. The sentiment and splotches were stamped in Pumpkin Pie ink.

making the binder or bulldog clip
Die cut two of the clip parts from Secret Sea cardstock, and two of the metal parts from silver foil cardstock. From a scrap of Secret Sea, cut a piece measuring 15/16″ x 1″ for the inner workings of the binder clip. Score at 9/16″ from each end on the 1″ side, creating a channel. Fold on the scorelines (the piece should resemble a book with a spine).
If you are finding this tutorial helpful, consider a contribution to my coffee fund ☕️ Coffee → Creativity → Content → More Coffee (help fuel the cycle!)
Place two mini black Dimensionals inside the ‘book cover’ close to the spine and press to adhere. Book should have a slanted cover. Working on a silicone mat, add liquid glue to the ‘cover’ of the book and add one of the die cut clip parts with the long plain edge lining up with the edge of the ‘book spine’. Add a tiny line of glue to the back side of the legs of one of the silver pieces. Then add a drop of glue to each of the feet on the silver foil side. Slide the feet into the notches on the bottom of the die cut piece and press the legs onto the front of the ‘book cover’.
Use liquid glue to adhere the remaining die cut clip part to the back of the ‘book’. To add the clip portion, add glue to the legs on the silver foil side and to the feet on the back side. Slide into place and let dry. Then add drops of liquid glue to the top of the notebook paper and adhere the clip on top. Slide into the pocket.
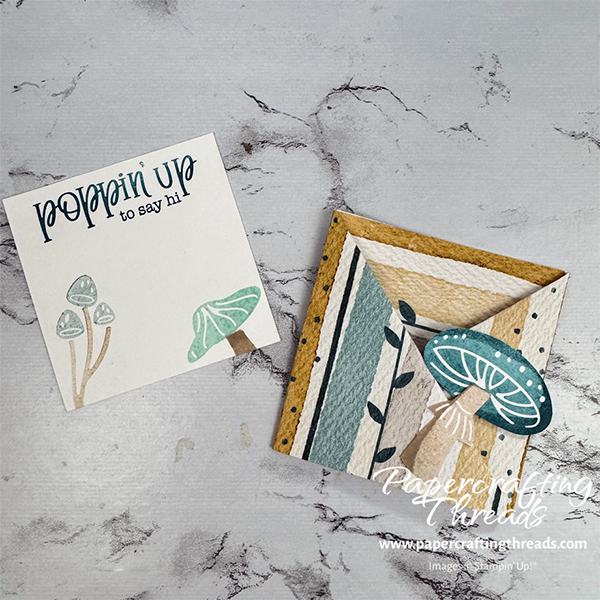
terrific toadstools version
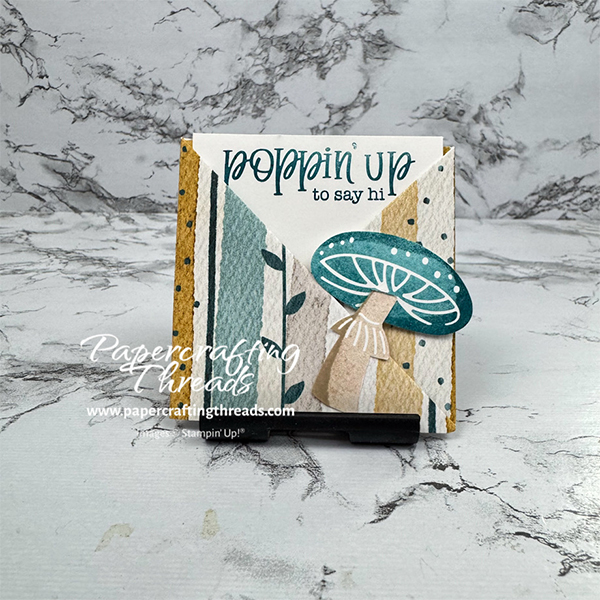
I used Everyday Happiness patterned paper (and the stripes lined up magically!), as well as the Terrific Toadstools stamp set and matching punch for this second version. ink colors are Crumb Cake, Pool Party, Lost Lagoon and Pretty Peacock.
halloween treat holder version
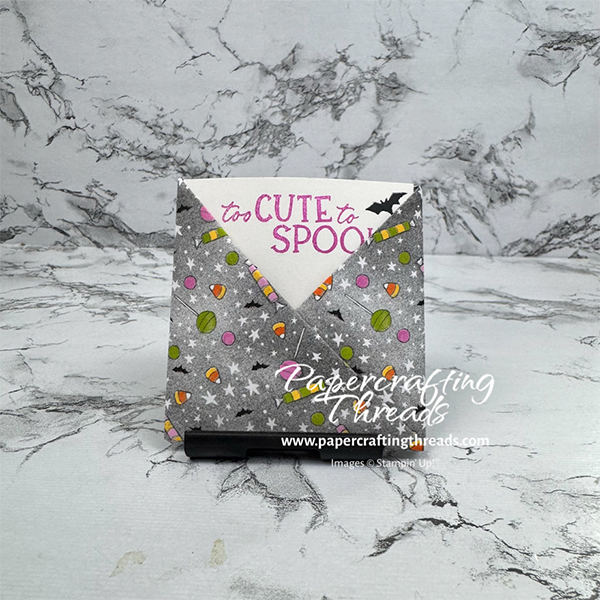
These Lunch Box Love Notes also work great as a treat holder! This version uses another pattern from he Spooky Sweet patterned paper pack. And the new Sweet Halloween online exclusive stamp set available September 2025 for purchase.
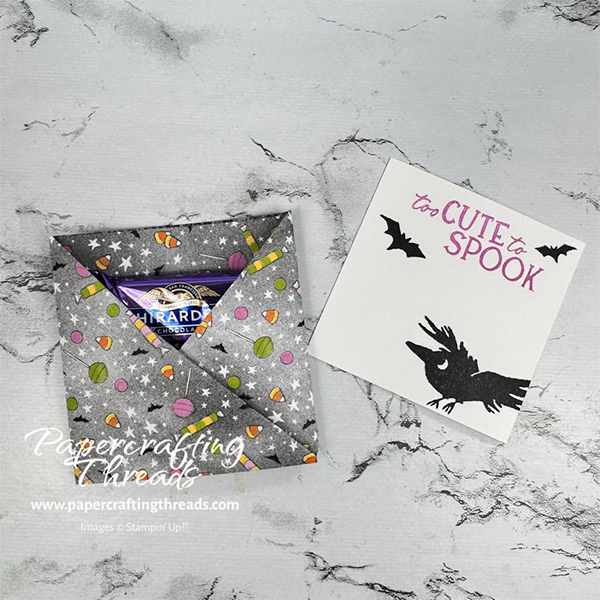
Ghirardelli chocolate squares fit perfectly behind the note as an extra sweet surprise. Ink colors are Tuxedo Black Memento and Petunia Pop.
Which one’s your favorite? Mine changes daily. And I’ll warn you, these things are addictive. I’ve also recorded a YouTube video on how to make the back-to-school version of the Lunch Box Love Notes. Happy Crafting!
Leave a Reply