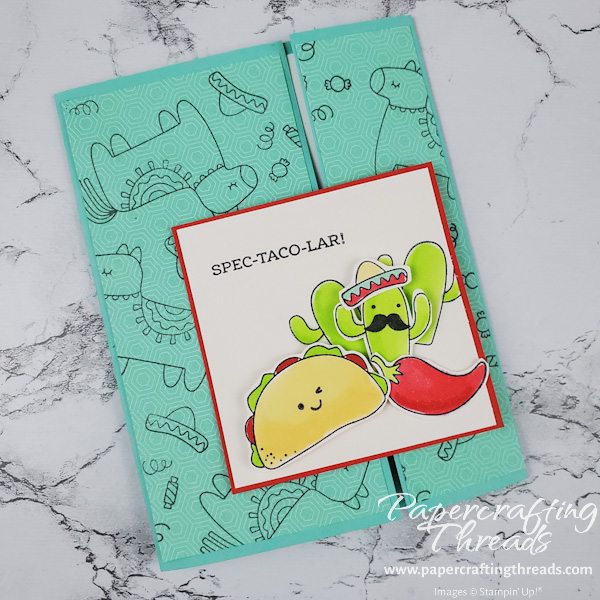
Isn’t this Slide and Lock Gatefold card spec-taco-lar? (Sorry, I couldn’t resist!) The whole front taco panel slides up and down on the card front. I’d definitely say that’s spec-taco-lar. Okay, on to the tutorial!
cutting & scoring guide
| Paper Dimensions | Score | |||
| 5-1/2″ x 8-1/2″ Coastal Cabana cardstock base | 1-1/2″ | |||
| 3-7/8″ x 5-1/4″” Dandy Design patterned paper for card front | ||||
| 4″ x 5-1/4″ Basic White cardstock for inner card liner | ||||
| 2-1/2″ x 2-1/2″ Coastal Cabana cardstock for mechanism | ||||
| 2-1/2″ x 2-1/2″ Poppy Parade cardstock for mechanism (cut 2) | ||||
| 3″ x 3″ Poppy Parade cardstock mat | ||||
| 2-7/8″ x 2-7/8″ Shimmery White cardstock for focal point | ||||
| 2-7/8″ x 2-7/8″ Shimmery White ardstock for focal point |
step by step instructions
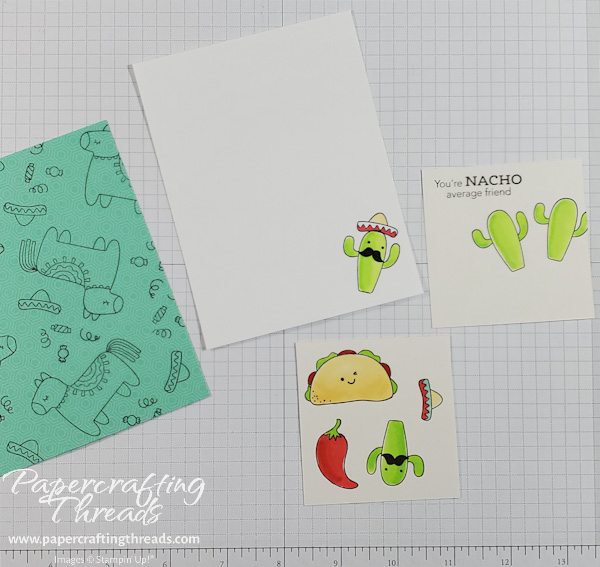
Using the Taco Fiesta stamp set, stamp the piñata, candy and sombrero randomly on the Dandy Design patterned paper using black Memento ink. Yes! It’s okay to stamp on patterned paper! Cut the piece vertically into two pieces at 1-3/8″. Stamp the cactus with a mustache and sombrero on the bottom right inner card liner. Stamp the sentiment and two cacti on the Shimmery White focal point. And stamp the cactus with a mustache, the sombrero, the taco and the pepper on a scrap of Shimmery White cardstock. Color the images with Light and Dark Parakeet Party, Light and Dark Poppy Parade, Light and Dark So Saffron and Dark Pool Party Stampin’ Blends. Fussy cut the images on the scrap.
assemble the slide and lock gatefold card
Fold and burnish the Coastal Cabana card base on the 1-1/2″ scoreline – this is the right side of the card front. Gently fold over the left side of the card to meet the right side, but do not burnish, as this will move slightly later on. Adhere the front panels with multipurpose liquid glue. Adhere the card inner liner with adhesive.
Fold both Poppy Parade 2-1/2′ squares in half and burnish with a bone folder. PRO TIP: gently fold the paper both ways and commit to folding with the direction that the cardstock gives easier.
Lay the Coastal Cabana square on the work surface. Add multipurpose liquid glue to the back side of one of the Poppy Parade folded squares and adhere to the Coastal Cabana with the fold facing the middle of the square. Add multipurpose liquid glue to the back of the remaining Poppy Parade square and butt the folded edge up to the already-glued square.
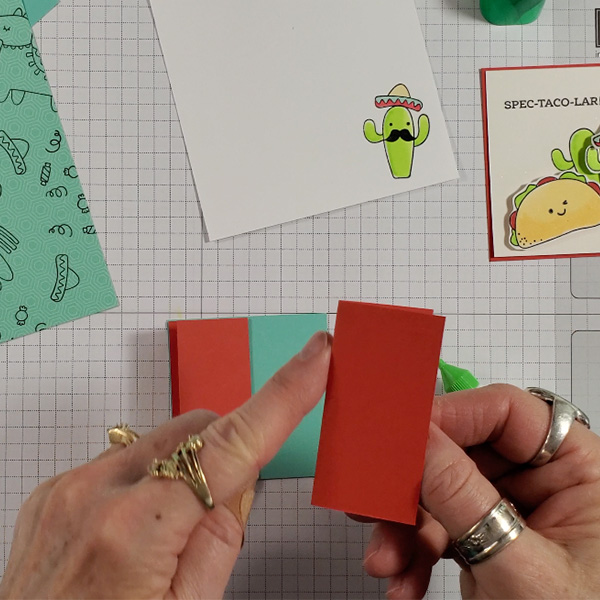
The mechanism should look like this from the front:

And the mechanism will look like this from the back:

Slot the mechanism over the left hand side of the card front and fold the right front flap into the slot on the other side of the mechanism.
Glue the spec-taco-lar square onto the 3″ x 3″ Poppy Parade square. Add multipurpose liquid glue to the Poppy Parade flaps and adhere the focal point on top, aligning the right edge with the right edge of the open flap.
Add the character images with dimensionals and glue dots as shown.

And there you have it, a spec-taco-lar Slide and Lock Gatefold Card!

If you’d like more of a visual for how the mechanism comes together, check out this short over on YouTube.
Leave a Reply