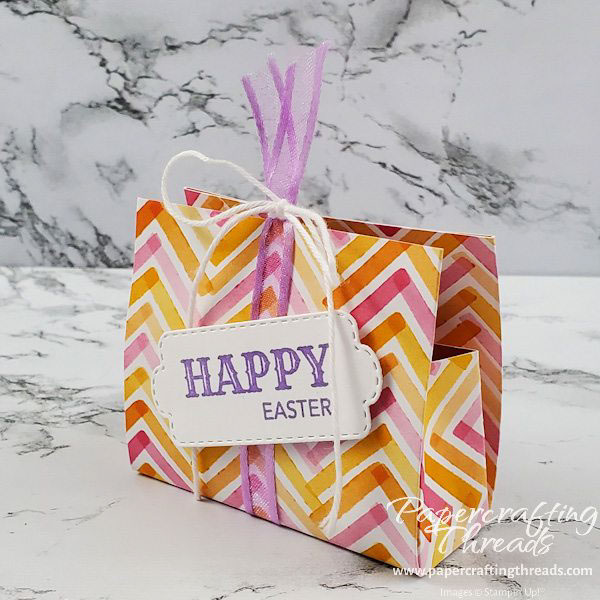
Need a last minute Easter tabletop decoration? Check out this Pinch Pouch Easter Treat Holder. Throw the ham in the oven and whip out a few of these cuties. All you need is a 6×6 inch piece of patterned paper, ribbon and a label. Fill with your favorite treats.
Scoring & cutting guide
| Paper Dimensions | Score Side Edge | Score Top Edge | |||
| 6″x6″ Enjoy the Journey patterned paper | 2-1/2″ and 3-1/2″ | 1-1/2″ x 4-1/2″ | |||
| Scraps of Basic White cardstock for sentiment |
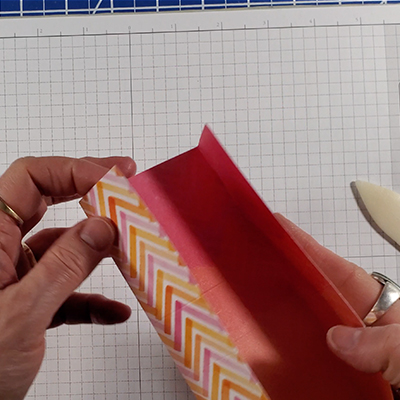
Cut a piece of patterned paper 6″ x 6″. If your pattern is directional, score the side at 2-1/2″ and 3-1/2″. Rotate the patterned paper so the pattern is upright and score the top at 1-1/2″ and 4-1/2″. Fold the two long side panels in towards the middle and burnish with a bone folder.
Step by step instructions pinch pouch easter treat
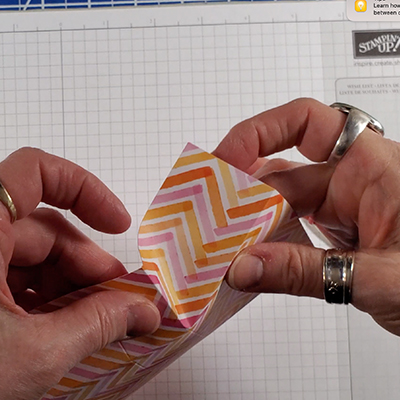
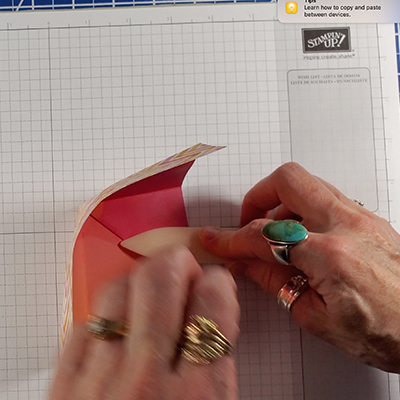
Choose one of the score lines on the edge and pinch it slightly. Then fold it in and towards the long scoreline.
Line up the two scorelines and hold in place.
Then flip the piece over while holding the two scorelines in place and burnish the crease that was created on the inside.
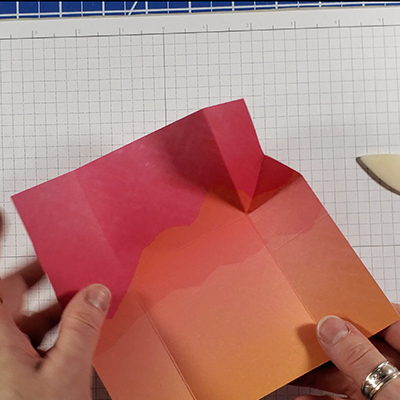
Repeat on all four ‘short’ scorelines. The patterned paper should like this when done:
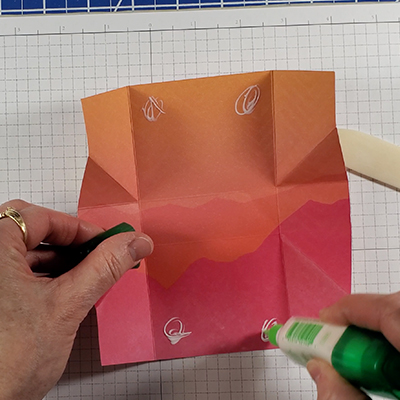
Add glue as shown. Technically, glue can be omitted but I like the finish better with the glue.
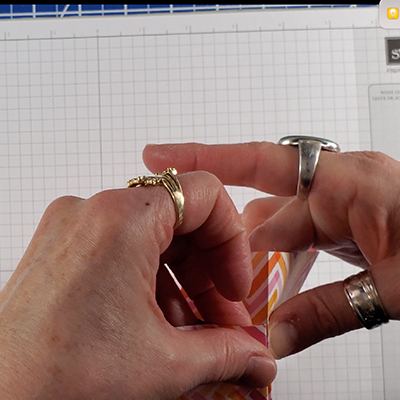
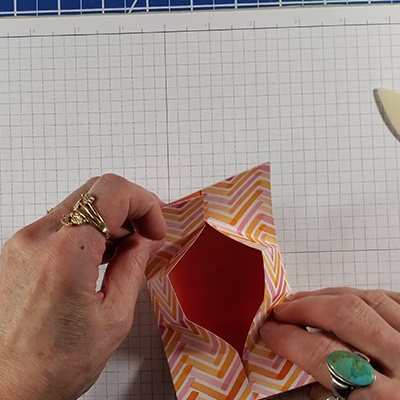
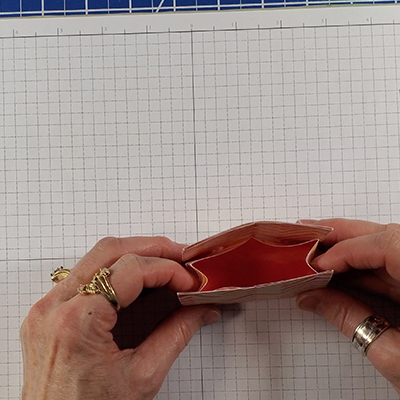
Fold the two long sides in and burnish with a bone filer to help the glue set and hold. Then push the to and bottom towards each other, forming a pouch in the center.
Pull the ends up towards each other and push in the sides to form a gusset.
Fill with your favorite candy and tie a ribbon around the middle from top to bottom to hold the pouch closed. Stamp a label with your sentiment and add to front.
If you’d like to see the pinching, folding and burnishing in action, check out my YouTube short. It’s sped up but you’ll get the gist!
Leave a Reply