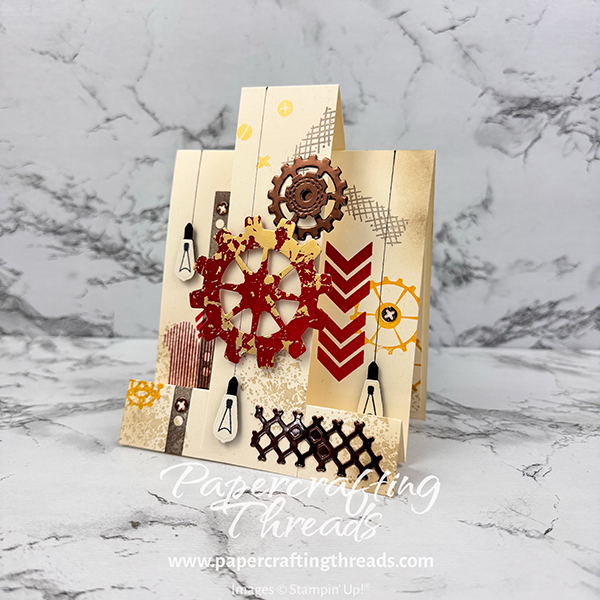
This Pop Up Easel Card is perfect for a steampunk look, and it’s a super easy fun fold. I made my own patterned paper with ink and stamps, creating a grungy feel. My colors are Crumb Cake, Early Espresso, Crushed Curry, Real Red & Cherry Cobbler inks all on Very Vanilla cardstock. Stamping off as well as using full strength ink adds to the dimension and stretches the color palette even further. Let’s get started!
cutting & scoring guide
| Paper Dimensions | Score Short Side | Score Long Side | ||||
| 4¼” x 11” Very Vanilla cardstock card base | 1″, 2″ & 6½” | |||||
| 1½” x 11” Very Vanilla cardstock pop up | 5½” | |||||
| 4″ x 4¼” Very Vanilla liner | ||||||
| Scraps of Seasons of Elegance, Earthen Toned Foil, Very Vanilla & Basic Black for die cutting |
step by step instructions
Prep all paper as noted. Don’t have the Gears & Textures stamp set and die bundle yet? Visit my online store here to get yours today.
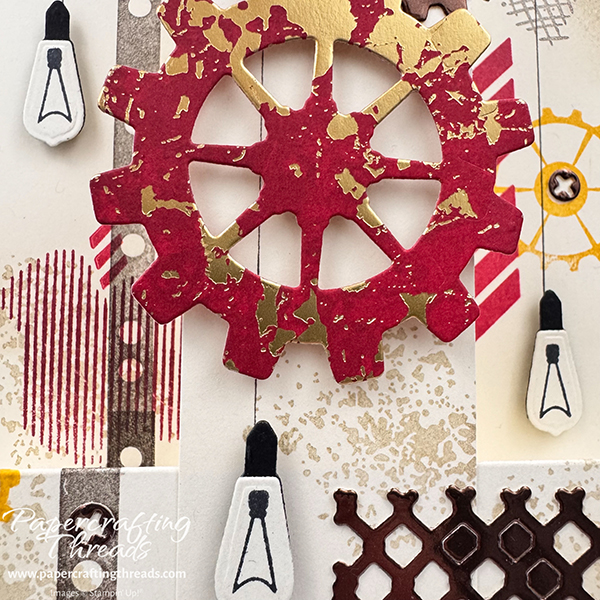
Stamp images from the Gears & Textures stamp set as shown in the example on the card base, long strip and lower right corner of the liner. Use 1st and 2nd generation ink for variety. Stamp three placement light bulbs.
Draw a line from each of the placement light bulbs up to the fold line using a black fine liner pen and a ruler.
Use a Blending Brush to add Crumb Cake ink along some of the card base sides.
Stamp the light bulbs three times on scrap of Very Vanilla and die cut. Die cut three of the light bulb casings from a scrap of Basic Black. Then die cut the largest gear from the red Seasons of Elegance. Die cut the remaining gears, grid and three screws from the Earthen Toned foil.
Assemble The Pop Up Easel Card
Accordion fold the front edge of the card base. Adhere the bottom narrow edge of the long strip to the front accordion fold of the card base. Then fold it over the top of the card base and adhere the opposite end to the bottom edge of the back of the card base.
Assemble the light bulbs with the casings. Adhere these to the card with dimensionals over the placeholder bulbs. Adhere the gears using a combination of dimensionals and liquid glue.
If you’re finding this tutorial helpful, consider a contribution to my coffee fund ☕️ Coffee → Creativity → Content → More Coffee (help fuel the cycle!)
Use a reverse tweezers and liquid glue to adhere the screws and lattice to the card.
And, lastly, stamp a few of the stamp images in the lower right corner of the Very Vanilla liner and adhere inside the card base.
I think my favorite part of this card are the hanging light bulbs. I’ve always been a big fan of steampunk, whether it’s jewelry (I have lightning bug earrings made from old zippers and Christmas light bulbs I got on Etsy) or books (check out Gail Carriger’s Parasol Protectorate series). Now I can make my own steampunk paper crafts!
Leave a Reply