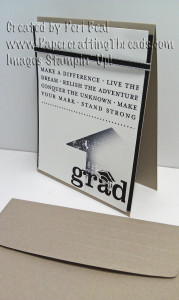
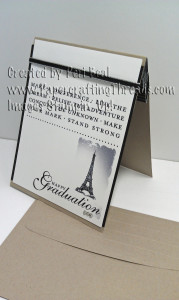
With graduations coming up soon, it’s nice to have a handcrafted gift card holder at the ready. And with My Digitial Studio, it’s easy (and quick) to have several versions. See the video here or read on for the printed version.
Pop Up Gift Card Holder
Step by Step
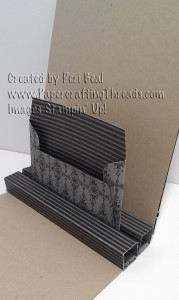
For pop-up:
2 pieces of DSP 4 ¼ x 2, score every ½” on the short side
1 piece of DSP 4 ½ x 4 ½ for scallop envelope
- Die cut scallop envelope using the Big Shot – line up the DSP to not cut the scallop edge.
- To one of the rectangular pieces: Apply adhesive on the right side (the side you want to see) on the long edge.
- Attach to top inside of the card, just above the crease.
- Align other end of scored piece to card base – it should look like a long box without ends.
- Adhere scallop envelope to center of long box
- To the second rectangular DSP: Apply adhesive on the right side (the side you want to see) on the long edge.
- Adhere to scallop envelope.
- Adhere other side to base of card.
For envelope:
Enclose flap of envelope in Stripes Embossing Folder; run through Big Shot and remove.
For card:
Design card front using My Digital Studio with Graduation Stamp Brush Set, export as .jpg, print and trim. Mat with Basic Black card stock and mount on Crumb Cake card stock. Add Rhinestones or fussy cut grad cap and pop up with Dimensional.
Supply List
My Digital Studio with Graduation Stamp Brush Set; Big Shot, Scallop Envelop Bigz Die; SNAIL, Neutrals Designer Series Paper, Basic Black and Crumb Cake card stock, Stripes Embossing Folder


Leave a Reply