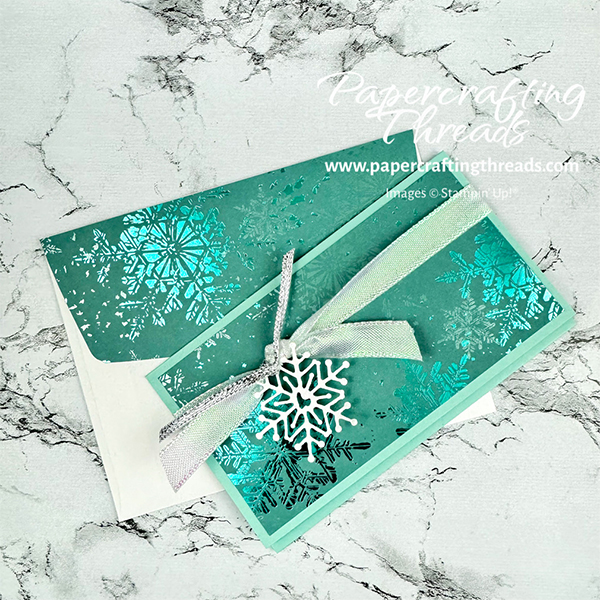
Make a quick gift card holder for those last minute presents. Fits in a standard card envelope and can even hold cash! Let’s get started.
cutting & scoring guide
| Paper Dimensions | Score Long Side | |||
| 5-1/2″ x 8-1/2″ Pool Party cardstock base | 3″ and 6-1/4″ | |||
| 2-3/4″ x 5-1/4″ Snowflake Magic Specialty Paper, cut 2 | ||||
| 2-1/2″ x 6″ Snowflake Magic Specialty Paper for envelope flap |
Step by step instructions for Quick gift card holder
Cut the paper and score as noted in the table. Cut the 2-1/4″ flap at an angle, from tip to about halfway to the first scoreline. Valley fold both scorelines. Add a strong adhesive such as Tear ‘N Tape to the outside edges of the diagonal flap, fold up and adhere, creating a pocket. Place gift card in the pocket.
Adhere one of the pieces of the Snowflake Magic Specialty Paper to the top inside of the holder. Fold the top flap down, covering the gift card. Adhere the remaining piece of Snowflake Magic Specialty Paper to the front.
Wrap a piece of Iridescent ribbon around the width of the gift card holder and tie in a knot. Diecut a large snowflake from Basic White cardstock. I used the largest snowflake from the Chic Die Set. Thread a piece of thin sparkly silver ribbon through the snowflake and tie it around the first ribbon over the knot.
Grab a Basic White envelope and the remaining piece of Snowflake Magic Specialty Paper. Add liquid glue to the back of the envelope flap, adhere the paper, and trim around the flap. Done!
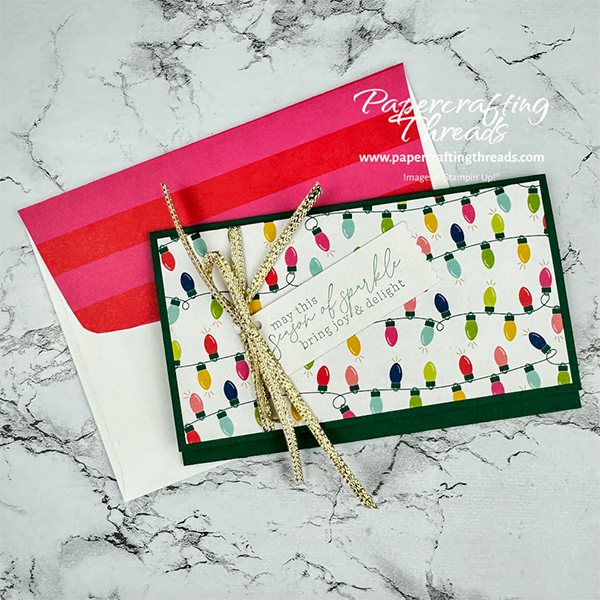
This type of Quick Gift Card Holder can be completely customized to the occasion. Check out this other version with a completely different color scheme. The basic holder instructions are the same.
I’ve uploaded a quick video to YouTube too. Check it out. Gift it a thumbs up. Subscribe!


Leave a Reply