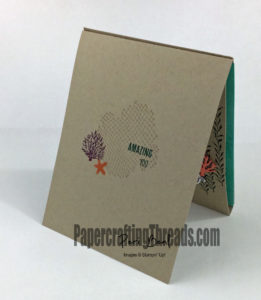
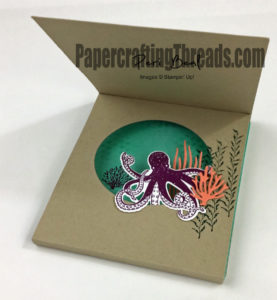
Isn’t the Seaside Inside Shadow Box adorable? And it’s quite easy to make. Follow my step-by-step instructions below to make your own Inside Shadow Box card now.
Cardstock Used:
Crumb Cake cardstock, 4 1/4 x 10 1/2, score long side at 5 1/2 (card base) NOTE: The front panel of the card is the longer flap of the card base. The back flap will be 1/2″ shorter.
Crumb Cake cardstock, 4 1/4 x 11, score long side at 3/8″, 5 3/8″, and 5 7/8″ (mechanism)
Bermuda Bay cardstock, 4 1/4″ x 5″
Scrap of Whisper White cardstock
Scrap of Grapefruit Grove cardstock
Scraps of any color cardstock of your choice
Instructions for Inside Shadow Box:
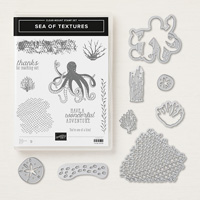
Fold Crumb Cake cardstock on scored lines. Using the Big Shot, die cut the net and the large sand dollar from scraps of cardstock. These pieces will be used as stencils.
Stamp the front of the card as shown in sample (remember that the front is the longer flap) Sponge the starfish using the sand dollar stencil.
Sponge the “scales” using the net as a stencil on the Coastal Cabana cardstock. Add random sponging for more depth. Adhere the finished piece to the back inside flap of the card base.
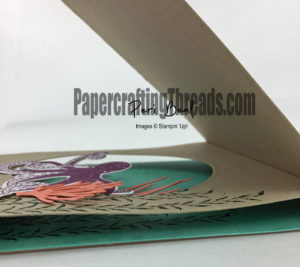
Add Tear N’ Tape to the small 1/2″ flap of the mechanism. Die cut a 2 7/8″ circle in the panel below the 1/2″ taped flap.
Open the base, place the mechanism inside with the adhesive edge lined up with the score line and close the card. One side of the mechanism should now be adhered to the base of the card.
Ink the vegetation on the Coastal Cabana piece so it shows through the cut out circle. Stamp vegetation around the outside of the circle.
Stamp and die cut the octopus. Cut slits between the arms, and place octopus half in and half out of the circle, adhering with glue dots. Die cut the coral pieces and place some behind and in front of the octopus, adhering with glue dots.
Adhere the back flap of the mechanism to the back of the card base. And there you go – you have just created an Inside Shadow Box card that folds flat for mailing.


Leave a Reply