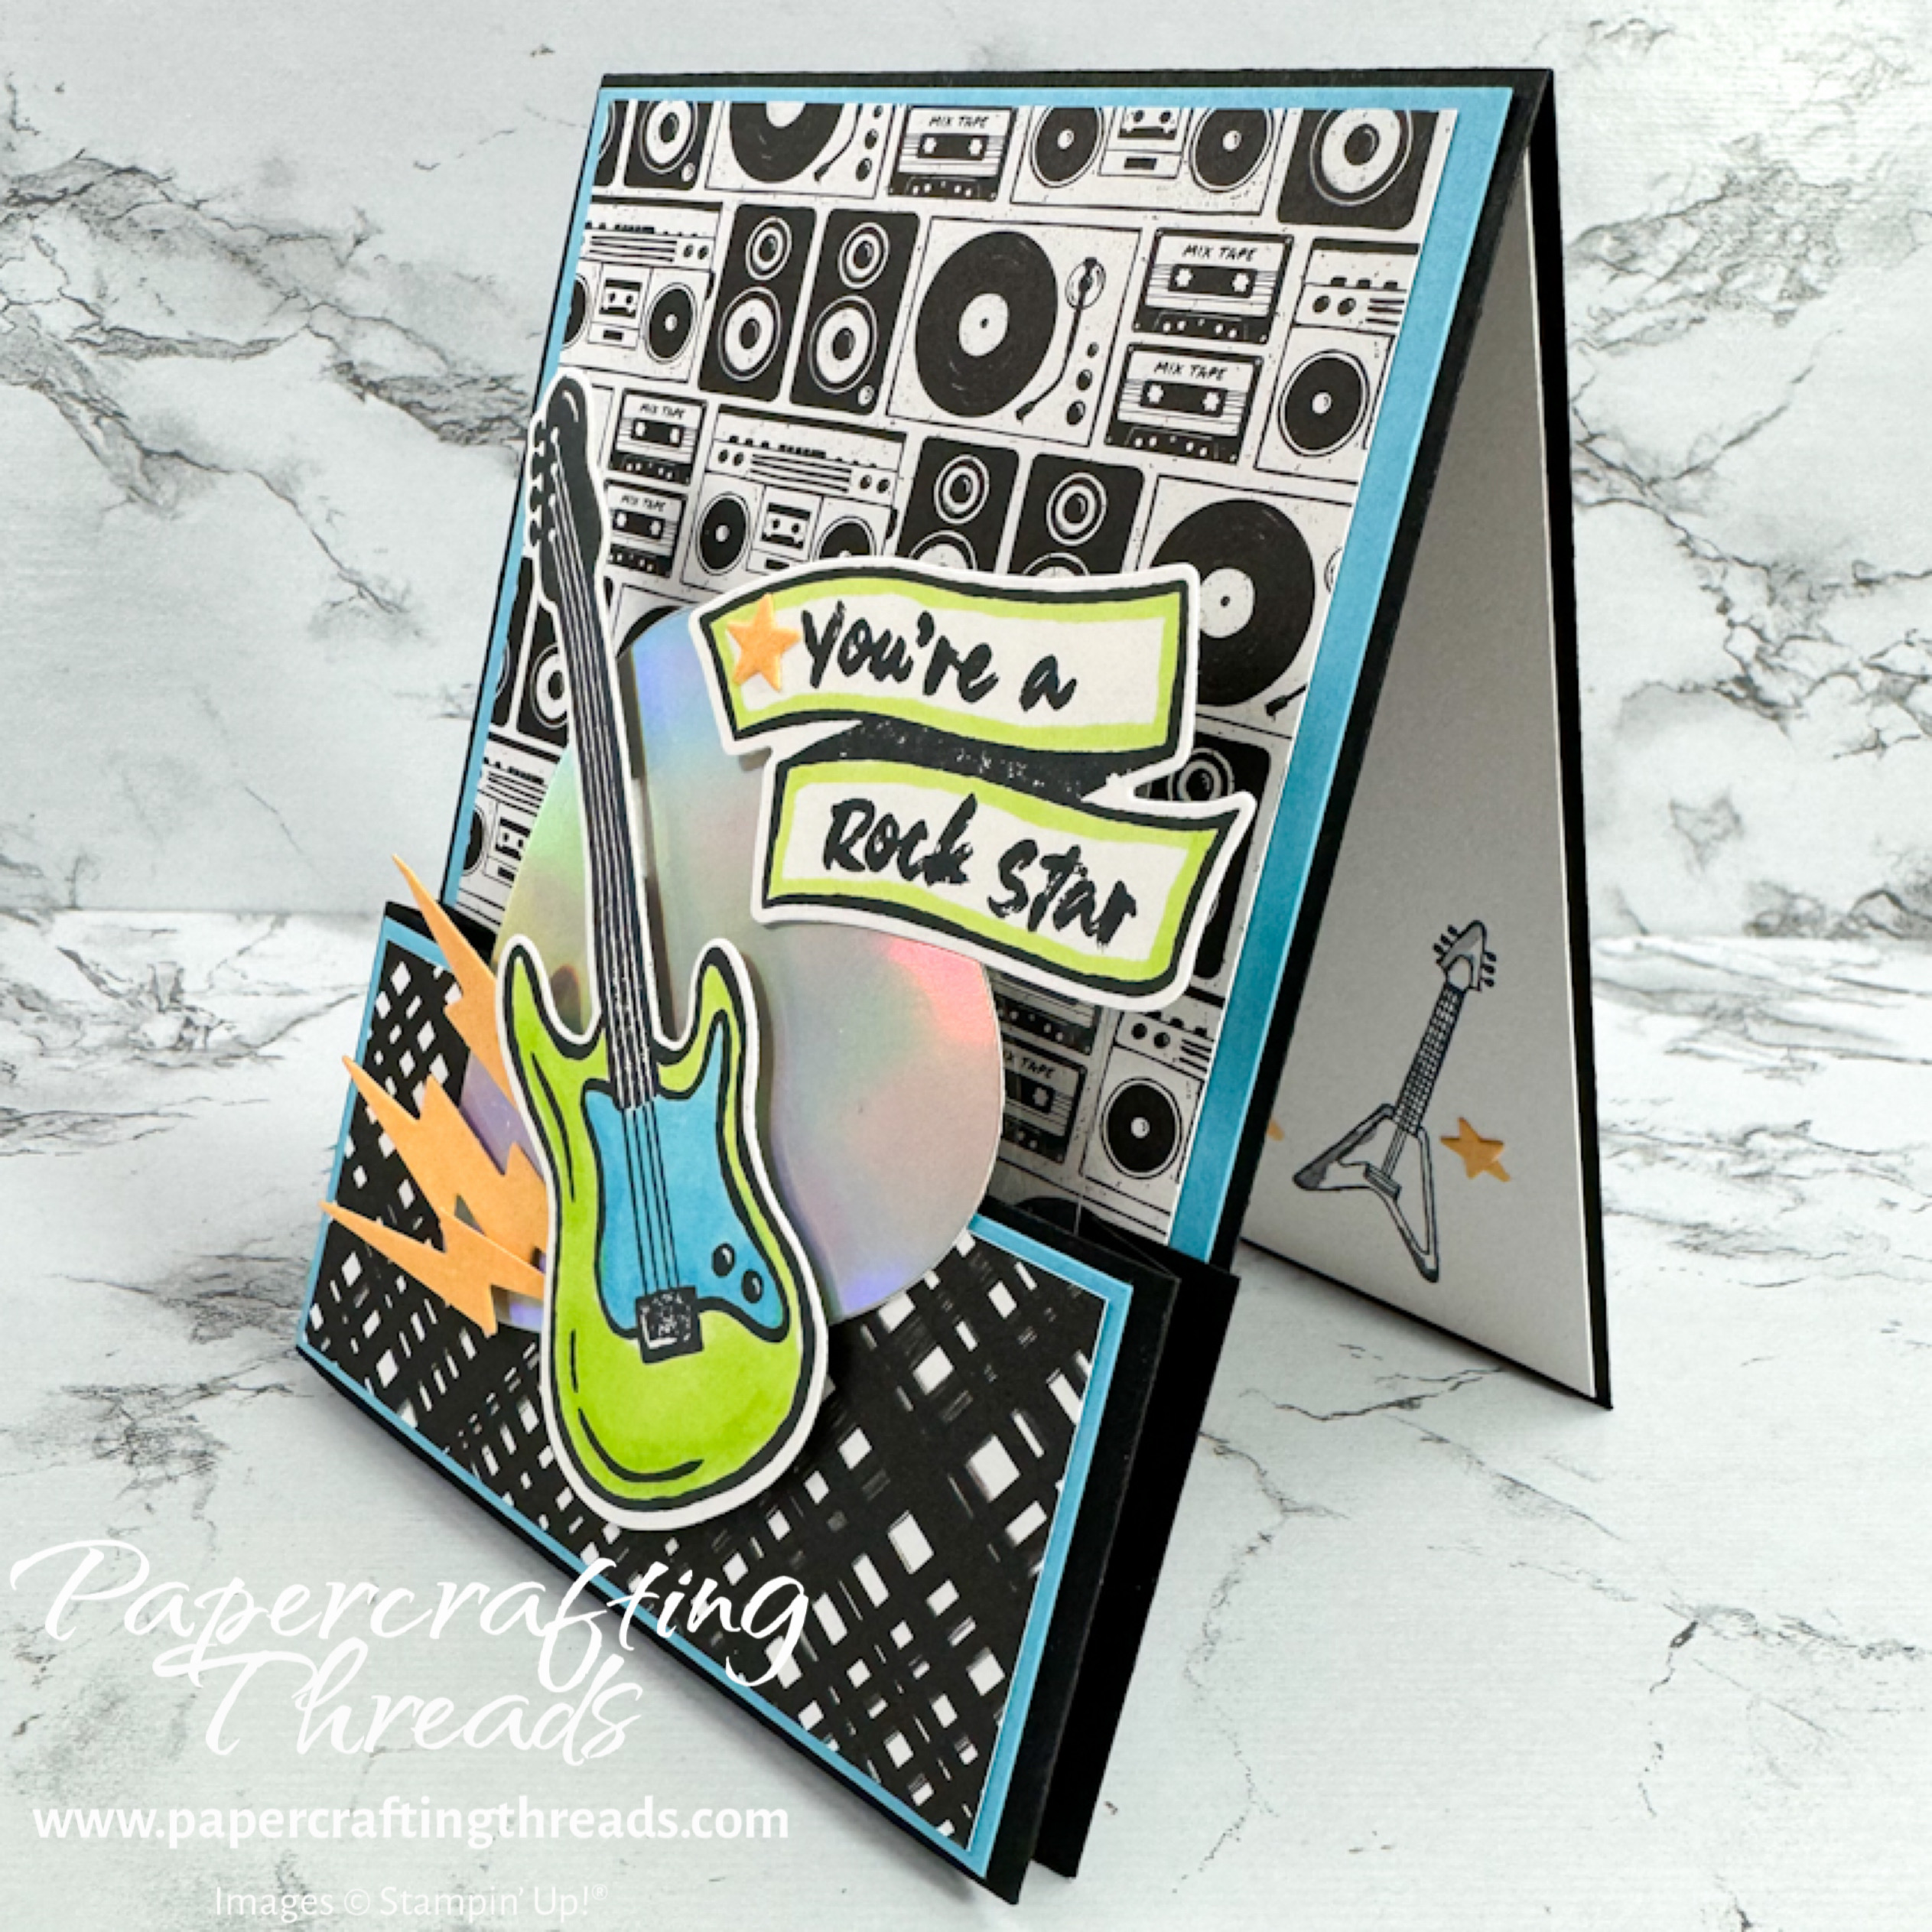
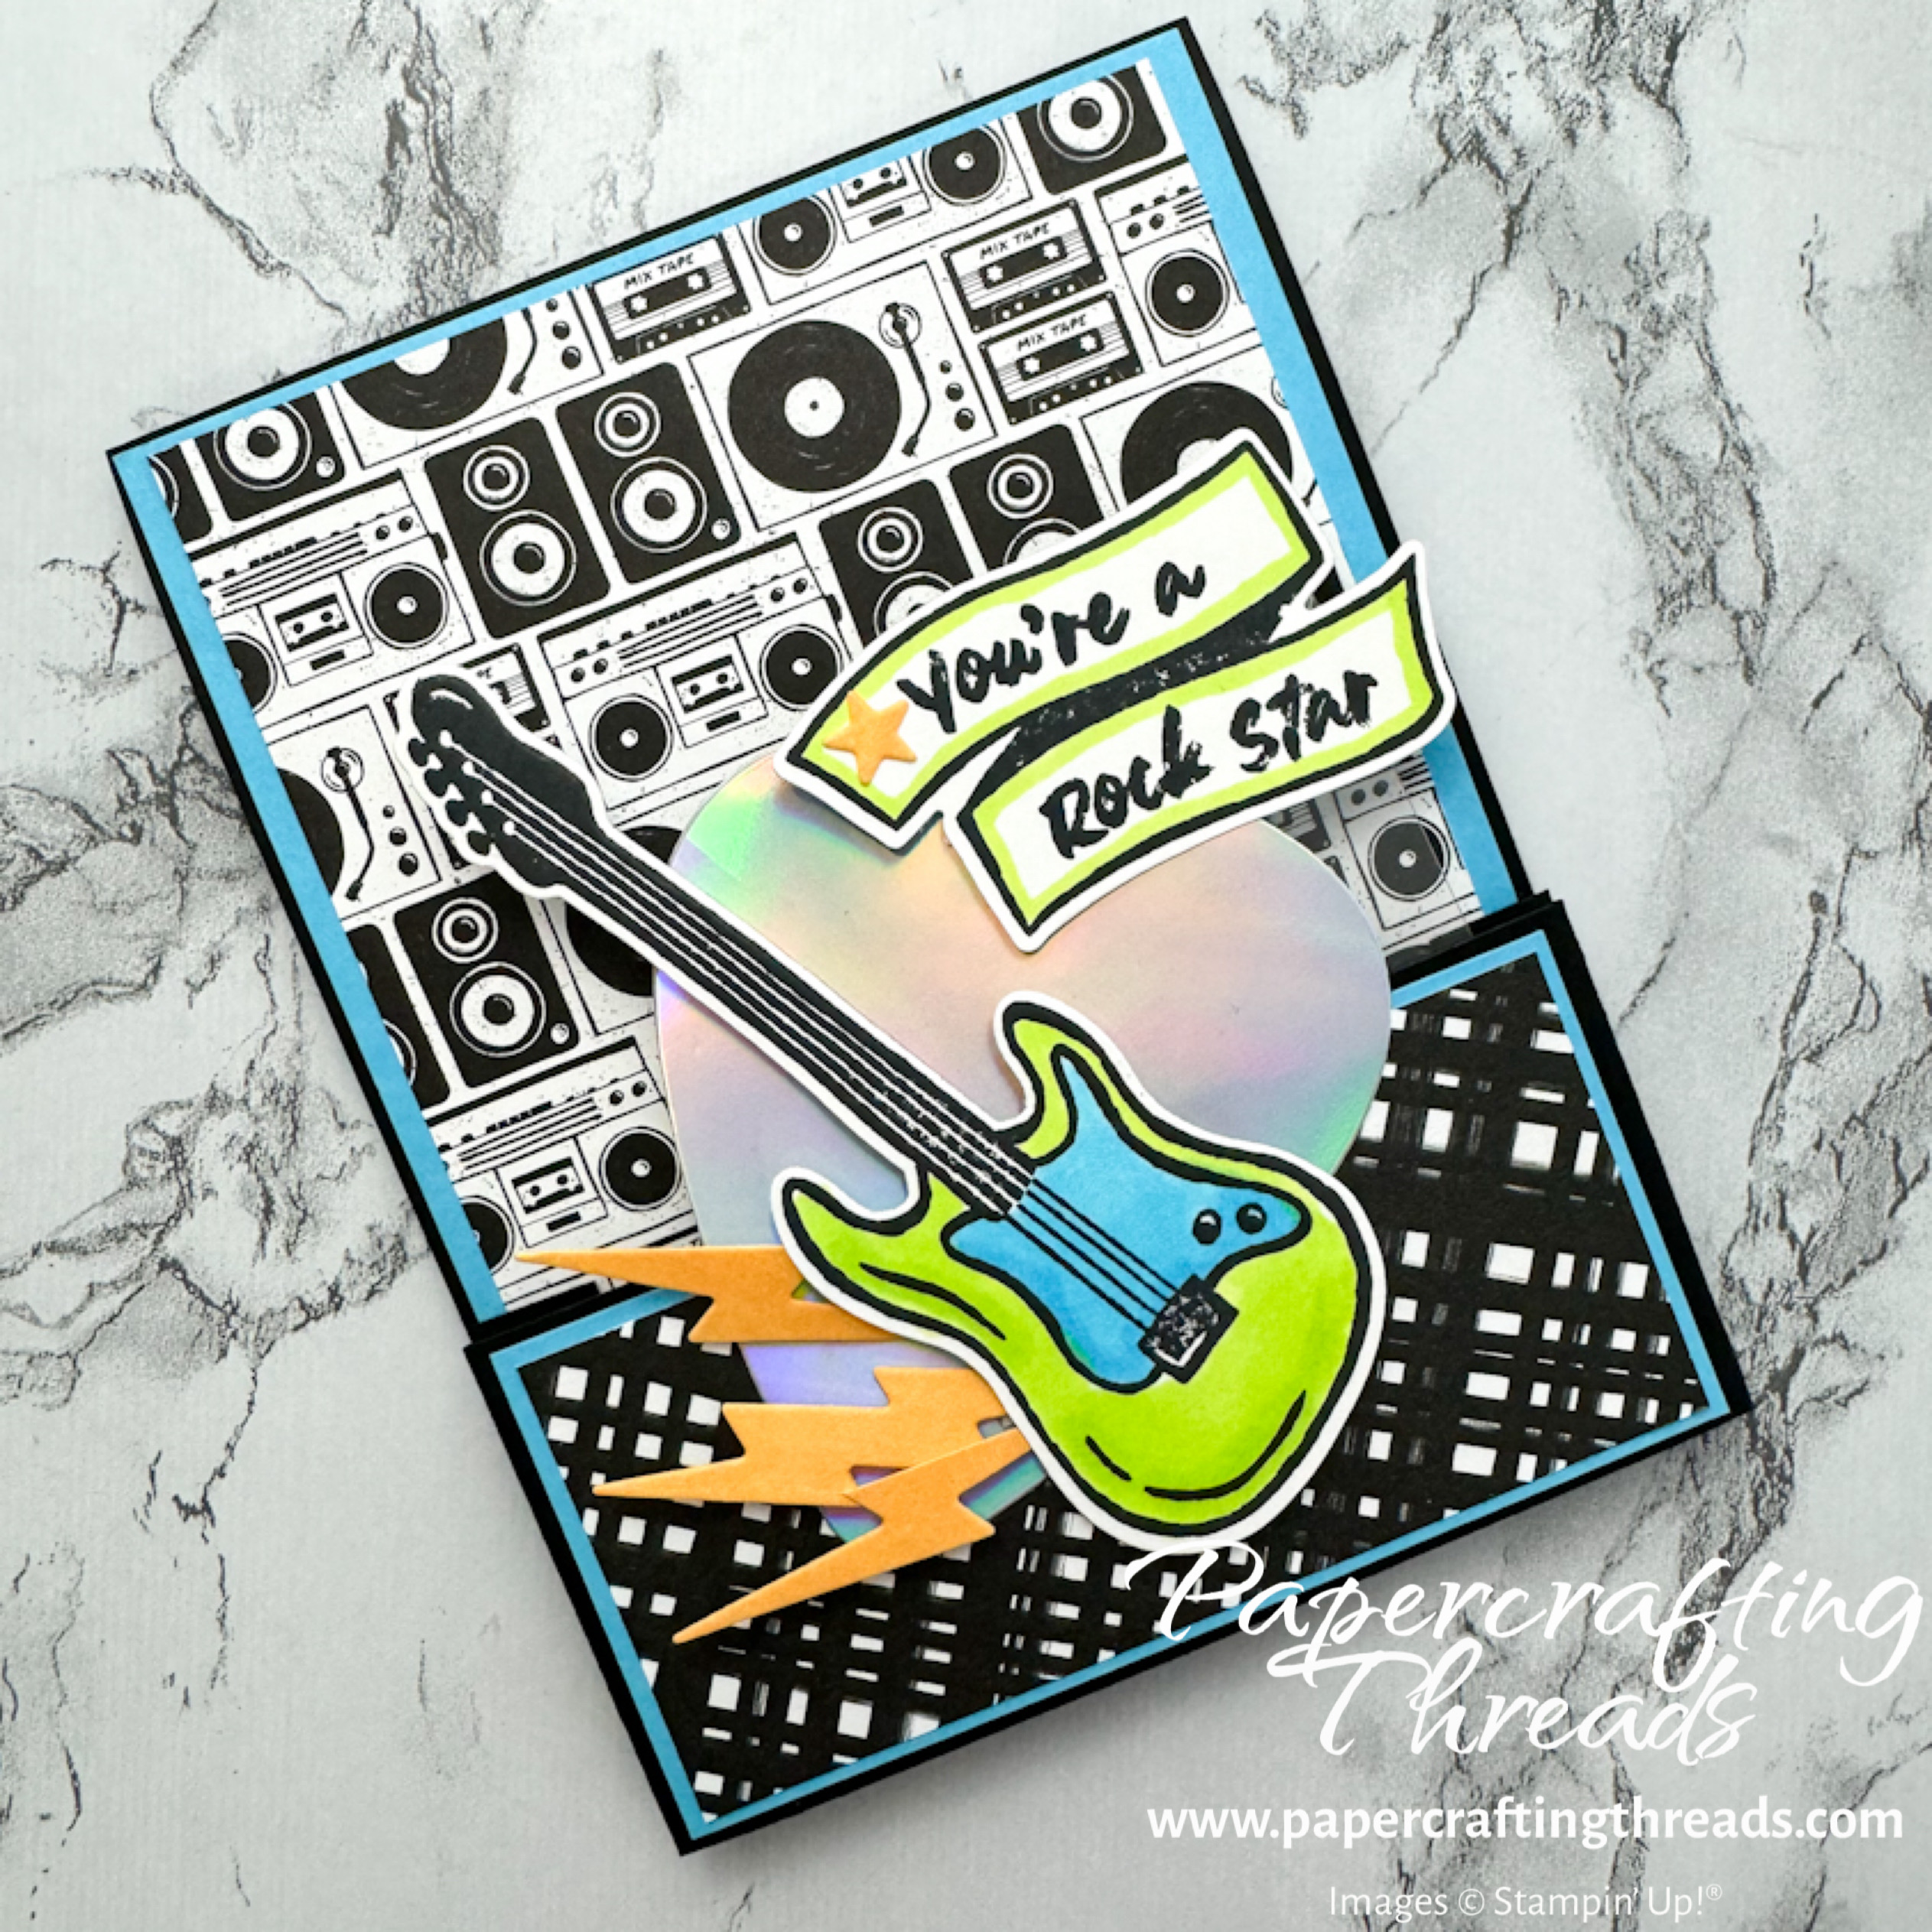
Make this fun (and easy) Single Bridge Card for the rock star in your life! Bold black and white graphics accented with turquoise (Tahitian Tide), lime green (Parakeet Party) and touches of orange (my secret mix!!) make this card pop. Let’s get started.
cutting & scoring guide
| Paper Dimensions | Score Long Side | |||||
| 4-1/4″ x 11″ Basic Black card base | 5-1/2″ | |||||
| 2″ x 6-1/4″ Basic Black cardstock for bridge mechanism | 1/2″ & 1″ both ends | |||||
| 4″ x 5-1/4″ patterned paper for back panel | ||||||
| 1-3/4″ x 3-7/8″ patterned paper for bridge panel | ||||||
| 4-1/8″ x 5-3/8″ Tahitian Tide cardstock for back panel mat | ||||||
| 1-7/8″ x 4″ Tahitian Tide cardstock for bridge panel mat | ||||||
| 4-1/8″ x 5-3/8″ Basic White cardstock for inside message liner | ||||||
| Scraps of Basic White cardstock for diecuts |
instructions for Single bridge card
Fold Basic Black cardstock in half and burnish scoreline. For the Basic Black bridge mechanism, fold the 1″ scorelines as mountain folds and the 1/2″ scorelines as valley folds. Layer and adhere the back panel mat with the corresponding patterned paper onto the front of the card base. Layer and adhere the bridge panel mat with the patterned paper on the front of the bridge panel. Add adhesive to the left back tab, line up with the bottom left corner of the card front and adhere. Repeat on the right side.
decorating the single bridge card
Stamp the electric guitar and the ‘You’re a rock star’ sentiment from the Rock Star Stamp Set in Tuxedo Black Memento ink on a scrap of Basic White cardstock and diecut each with the matching dies. Color in the guitar center with Light and Dark Tahitian Tide Stampin’ Blends. Color the body with Light and Dark Parakeet Party Stampin’ Blends. Add a line of Light Parakeet Party alcohol ink around the banner edges of the sentiment. Diecut the extra large guitar pick from Holographic Specialty Paper. Color in a scrap of Lemon Lolly cardstock with a Light Pumpkin Pie Stampin’ Blend and diecut three lightning bolts and a set of 3 stars.

Adhere the bottom of the pick to the top of the bridge, using your hand under the bridge to support the pick while being adhered. Adhere the guitar at an angle over the pick with Dimensionals. Tuck the lightning bolts in under the left side of the guitar with glue dots.
Adhere the sentiment banner to the top of a strip of Window Sheet with glue dots. Add glue dots to the front of the bottom of the strip and slide under the bridge, positioning the sentiment over the top of the guitar pick and the clear strip behind it. Adhere one of the small stars to the sentiment.
Stamp the small electric guitar from the Enjoy the Rhythm Stamp set in Tuxedo Black Memento ink on the Basic White cardstock liner and adhere to inside of card. Add remaining stars around the guitar with dots of liquid glue.
Check out the video tutorial I posted over on my YouTube channel.
Leave a Reply