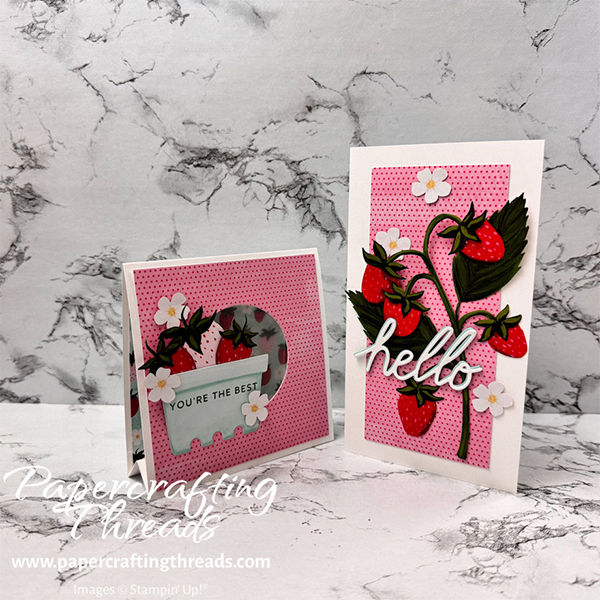
Maximize card making supplies with a Square Tent Card and a Mini Slimline Card from just one full sheet of Basic White cardstock for the card bases! I show you how to cut the standard 8½” x 11″ sheet with minimal waste to make these two specialty cards. And then I use elements from the July 2025 Sweeter with You Paper Pumpkin Kit to decorate with luscious strawberries for a summery treat. Don’t have a Paper Pumpkin Kit? No problem, just use items from your stash. Let’s get started!
cutting & scoring guide
Begin with a standard sheet of Basic White cardstock that’s 8½” x 11″. On the long side (with the 11″ side at the top of the trimmer), cut at 6¼”. Rotate the piece so the 8½” side is at the top, cut at 7″. This leaves a card base measuring 6¼” x 7″. Score down the middle of the 7″ side at 3½” and that’s the Mini Slimline card base.
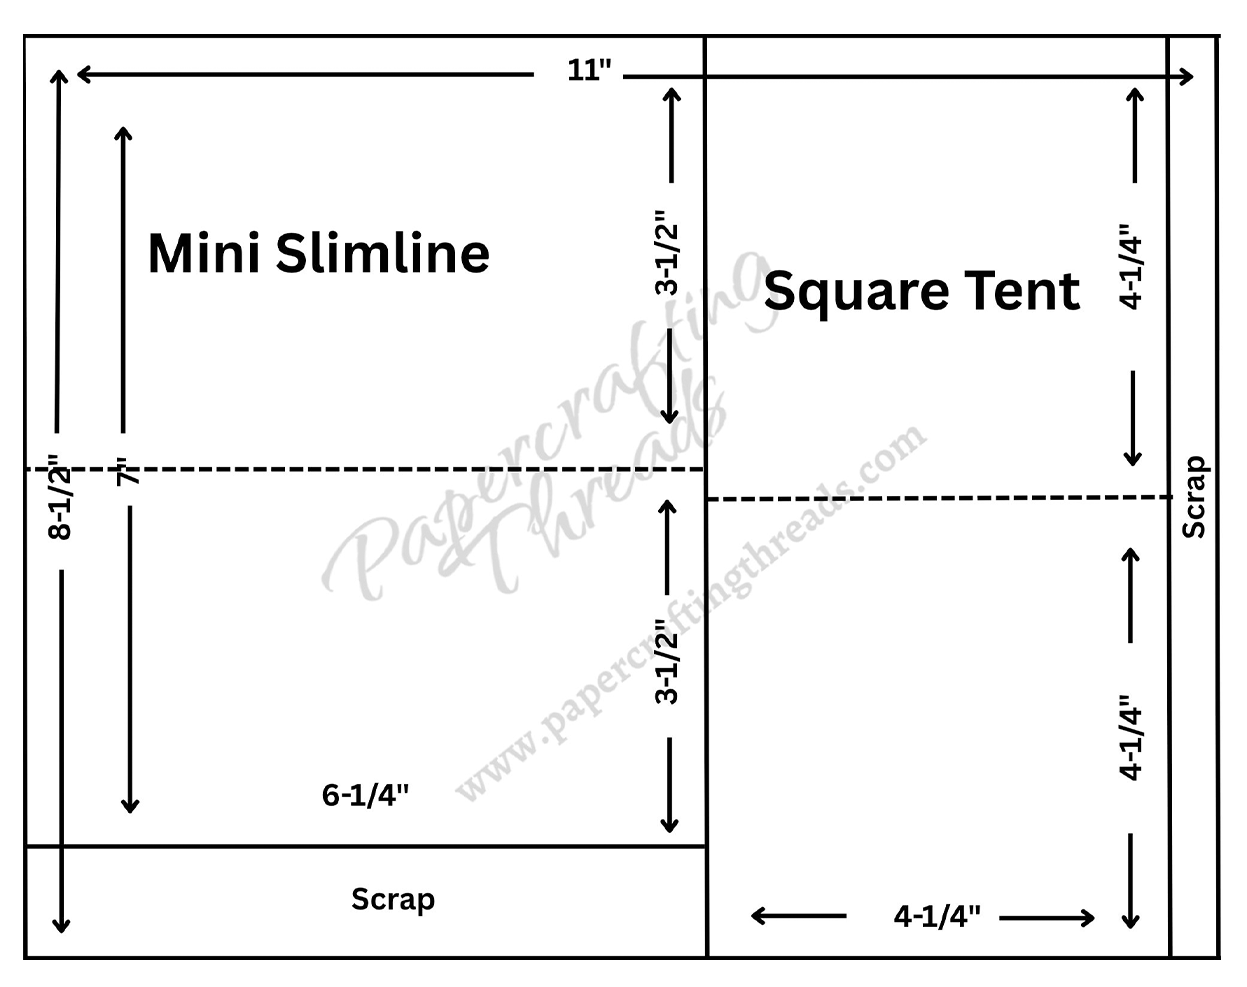
The remaining large piece of Basic White cardstock measures 4¾” x 8½”. With the short side at the top, cut ½” off. Score the long side down the middle at 4¼” making the Square Tent card base.
The table below shows all of the piece measurements. If you followed the template above, omit the card bases in the table below.
| Paper Dimensions | Score Short Side | Score Long Side | ||||
| Square Tent Card | ||||||
| 4¼” x 8½” Basic White cardstock base (see cutting above) | 4¼” | |||||
| 2½” x 4¼” Basic White cardstock mechanism | ½”, 1¼” & 2″ | |||||
| 4″ x 4″ Basic White cardstock for liner | ||||||
| 4″ x 4″ patterned paper (two complimentary designs) | ||||||
| 3″ x 3″ vellum | ||||||
| Mini Slimline Card | ||||||
| 6¼” x 7″ Basic White cardstock base (see cutting above) | 3½” | |||||
| 2 ⅜” x 5 ⅜” Basic White cardstock liner | ||||||
| 2 ½” x 5 ½” Pool Party cardstock mat for liner | ||||||
| 2 ½” x 5 ½” patterned paper | ||||||
| Scraps of Basic White and Pool Party yardsticks for die cutting |
Square Tent Card step by step instructions
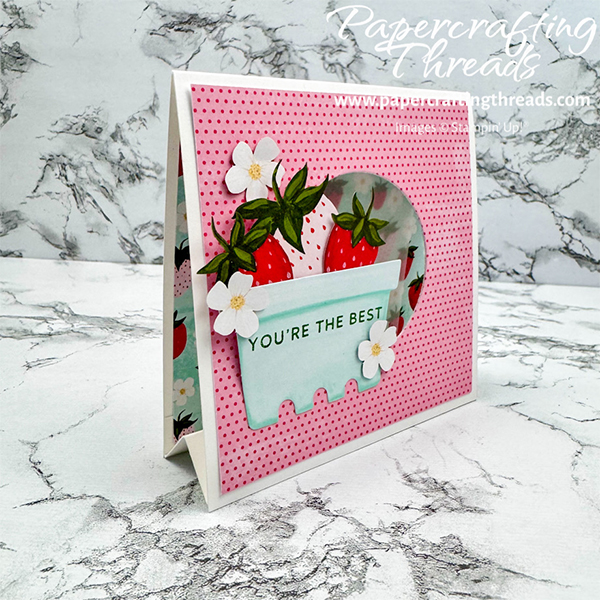
Add adhesive around the outside edges of the 4″ x 4″ pink with red polka dots patterned paper (cut from one of the card bases in the kit) onto the front of the Square Tent card base. Die cut the circle from the Circle of Seasons Add-On die set from the center front. Save the circles for another project.
Accordion fold the Basic White mechanism. The final folded piece resembles the letter ‘W’ when viewed from the ends, and the middle fold will extend past the tabs on the top and bottom. Open the card base. Add liquid glue to one of the tabs on the mechanism and adhere at the bottom of the card base, matching up the sides and the compressed folded mechanism with the bottom edge.
Adhere the piece of vellum to the center of the light blue strawberry patterned paper with Stampin’ Seal applied to just the corners. Then adhere this assembly to the inside of the card.
Fold and burnish the center scoreline of the card base. Add liquid glue to the remaining mechanism tab. Fold the card front and press to adhere.
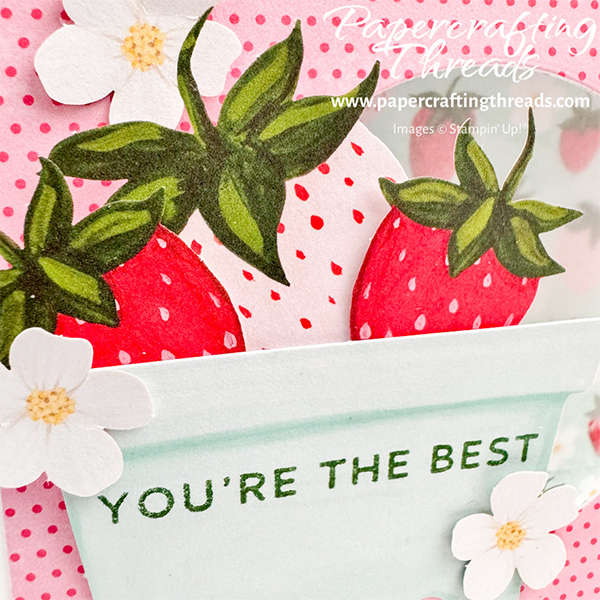
Decorate the front of the card with the basket, strawberries and blossoms as shown.
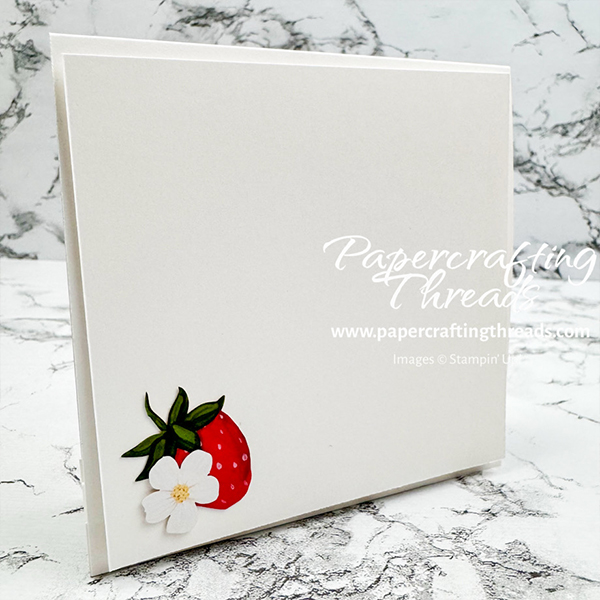
Adhere another strawberry and blossom to the 4″ x 4″ Basic White liner. Just before sending the card to someone special, write your message on the liner and attach to the card back. Card fits in a standard envelope.
If you found this tutorial helpful, consider a contribution to my coffee fund ☕️ Coffee → Creativity → Content → More Coffee (help fuel the cycle!)
Mini Slimline step by step instructions
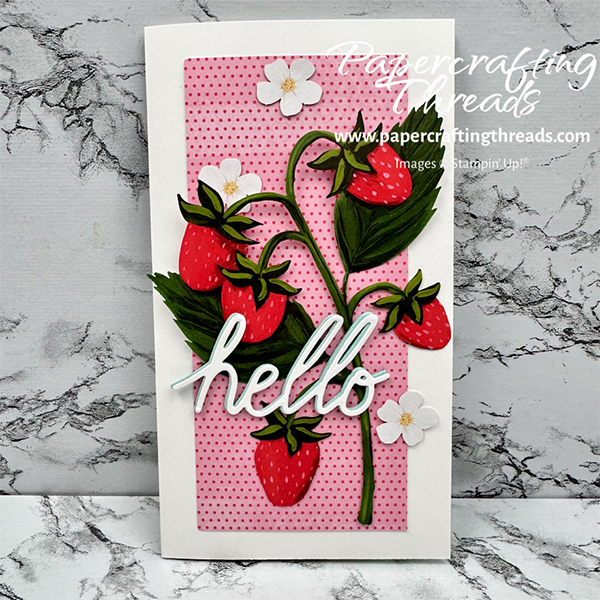
Fold and burnish the Mini Slimline card base on the scoreline. Adhere the large rectangle of polka dotted paper cut from the Paper Pumpkin card base.
Fussy cut the bottom right leaf from the large strawberry plant die cut included in the kit. Add dimensionals behind the top two strawberries. Then place glue dots behind the leaves and other strawberries. Press to adhere to card front.
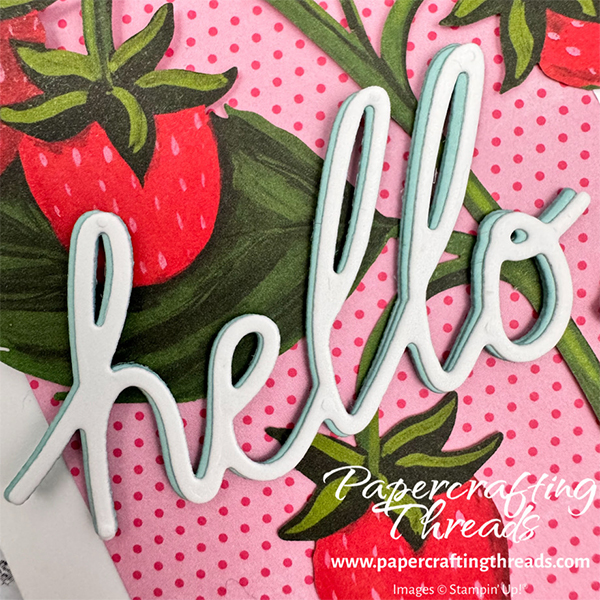
Add adhesive sheets to scraps of Basic White cardstock and Pool Party cardstock. Die cut one white and three pool party ‘hello’s’. Remove the backings and stack, offsetting just the white one over the aligned pool party words. Remove the backing from the bottom and adhere to card front as shown.
Scatter three blossoms on the front with glue dots as adhesive.
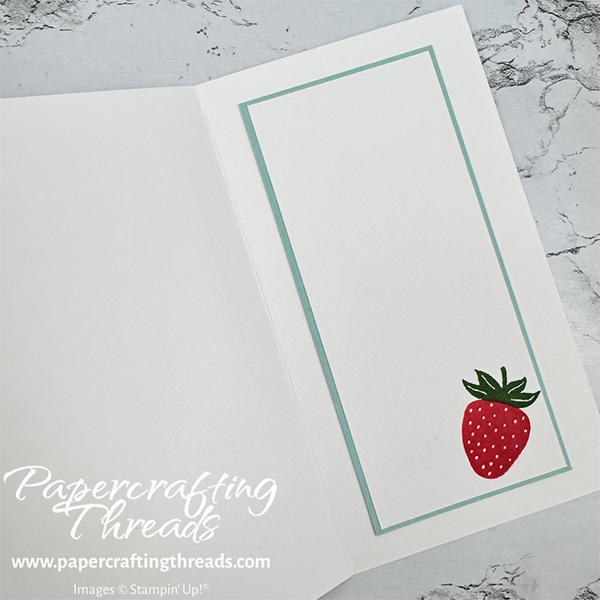
For the liner, adhere the remaining Pool Party and Basic White layers together. Stamp a strawberry in Poppy Parade ink and the leafy cap in Garden Green ink in the lower right corner. Adhere to inside of card.
I posted a full video tutorial over on my YuTube channel if you’re more of a visual learner.
Leave a Reply