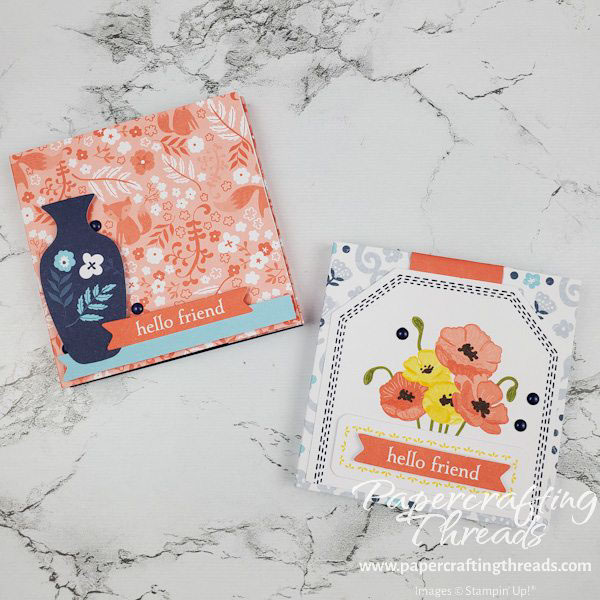
Make Sticky Note Holders using preprinted card bases from the Welcome Inn Paper Pumpkin Kit! Scorelines and a bone folder create the base and Paper Pumpkin Kit parts provide the decorating. And a fun little stamping trick brings a floral image to life. Let’s get started.
cutting & scoring guide
| Paper Dimensions | Score Long Side | |||
| 3-1/8″ x 7-3/4″ Paper Pumpkin Print card base | 1″, 1-1/4″, 4-3/8″ & 4-5/8″ | |||
| 3-1/8″ x 3-1/8″ Paper Pumpkin Night of Navy card base (cut 2) | ||||
| 1″ x 3-1/8″ Paper Pumpkin Night of Navy card base |
Step by step instructions
Since two of the card bases in this kit are directional, position the card base with the print going in the desired direction before cutting and scoring. Ignore the original scoreline, and fold and burnish the newly created scorelines. Fold the holder so the small rectangle panel is on the right side. The square left side folds over and on top of the rectangle panel.
Use one of the solid Night of Navy card bases and cut it into two squares measuring 3-1/8″ x 3-1/8″ plus a strip 1″ x 3-1/8″. Stamp the flowering vine image in Night of Navy ink repeatedly on one of the squares and on the strip. Adhere the plain square on the inside middle section. And adhere the stamped square and the strip on either side of the plain square.
Split a sticky note pad in half (save the other half for another holder!!) Stamp the sentiment in Night of Navy ink on the top sheet. Stamp the small flower image in the lower right corner. Flip to the next sheet and stamp the flower slightly to the left. On the next sheet, stamp the flower in the bottom center. And the next sheet stamp the flower one more section to the left. And lastly stamp another flower on the next sheet in the lower left corner. Repeat the sequence going to the right, then left, and so on until all sheets have one flower stamped. Adhere the pad to the center plain Night of Navy square.
decorate the Sticky Note Holder
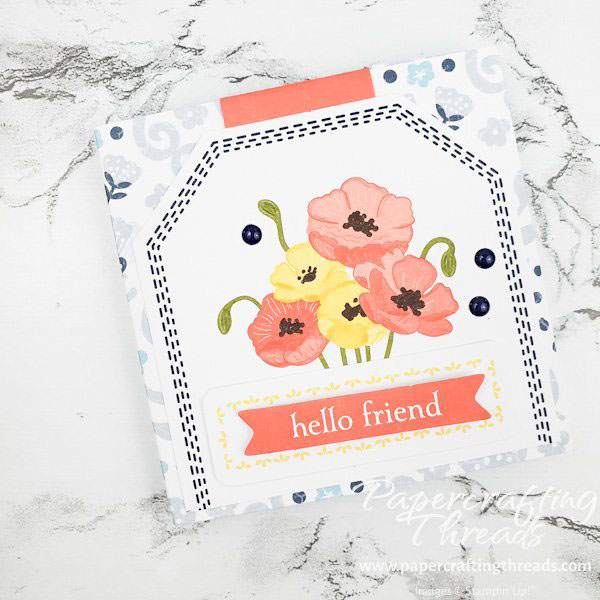
I folded and adhered one of the Flirty Flamingo banners over the front panel of the Sticky Note Holder. Then I used Flirty Flamingo, Daffodil Delight and Old Olive watercolor pencils to give more details to the smaller poppy image from the kit. Next I placed the poppy image on the front cover, marked the bottom edge with a pencil, trimmed and adhered it. The sentiment strip, flower border label and Night of Navy enamel dots are all from the kit.
Check out the flip book in action!
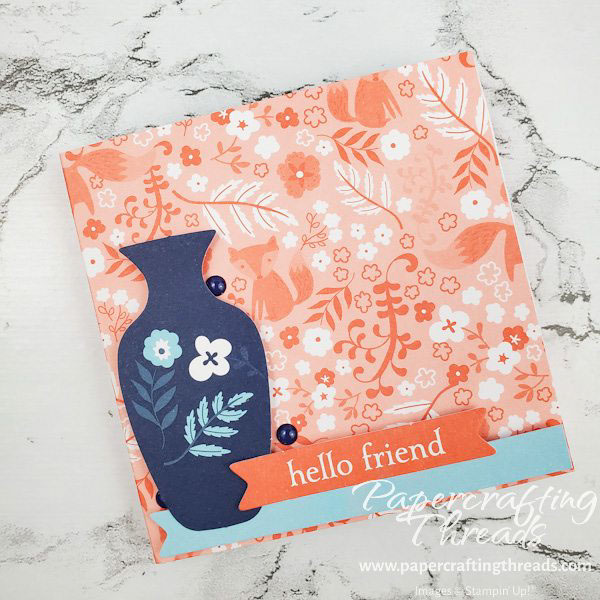
I made another version with the leftover half of the sticky note pad and other Paper Pumpkin Kit components. And this time I alternated bottom left and right corners for the floral image flip book.
Are you ready to subscribe to Paper Pumpkin yet? There’s so much more that can be made than just cards! Click here to subscribe today.


Leave a Reply