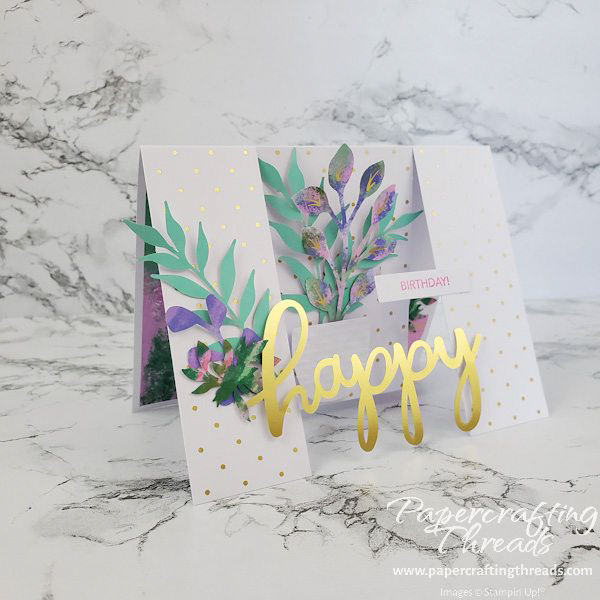
Make a quick and easy Swinging Spanner Card from the March 2023 Paper Pumpkin Kit! No extra supplies needed, just what’s in the box (though I did sub in my large Polished Pink ink pad instead of using the small ink spot). The middle section swings when the card is placed upright for display!
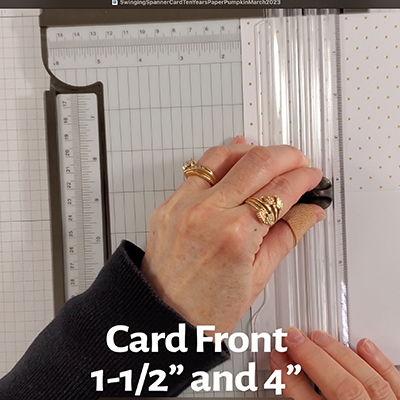
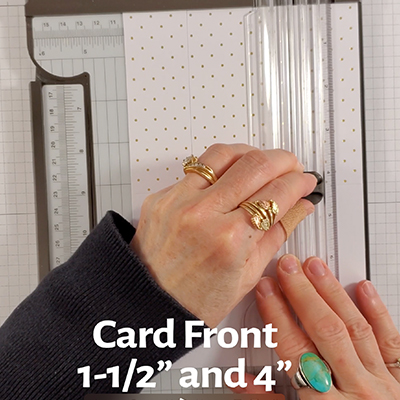
I used the gold foil polka-dotted card base for my card. Open the card and lay it face up with the polka dot panel at the top. Line up the front flap at the top of the trimmer and cut at 1-1/2″ from what was the top edge down to the middle score line. Move the panel over to the 4″ mark and cut again.
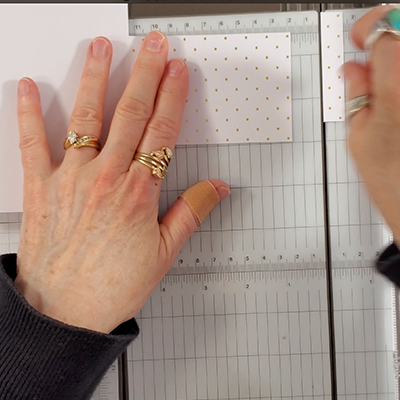
Fold back the two side flaps and place the center flap at the top of the trimmer. Trim off 1/2″ inch so the center flap is shorter than the two flanking side flaps.
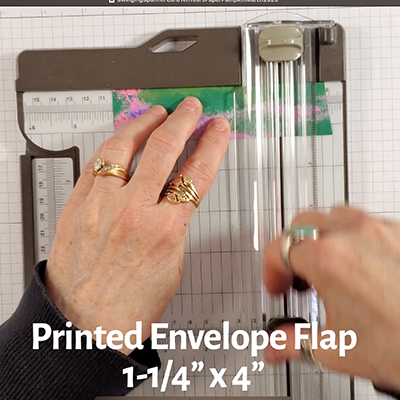
Next, cut the decorated flap off one of the envelopes from the kit and trim it down to 1-1/4″ x4″.
Swinging Spanner Card assembly
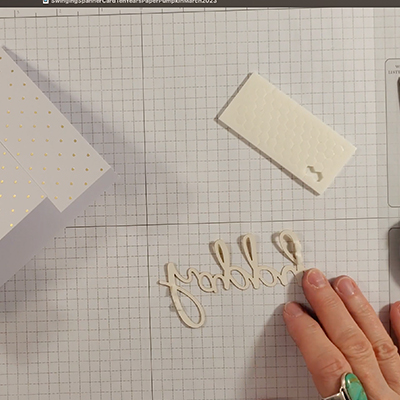
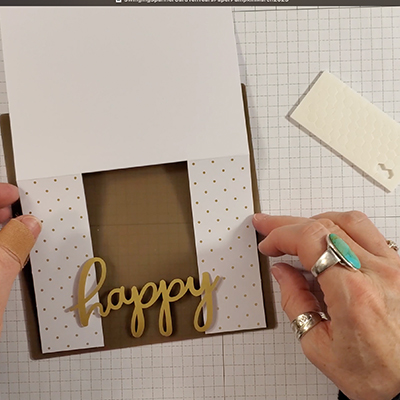
Cut two dimensionals that came with the kit in half and adhere to the sides of the gold foil diecut “happy” sentiment.
Then adhere the sentiment so it spans the empty space when the middle flap is folded back. No extra support is needed because this diecut is cut from a heavyweight gold foil.
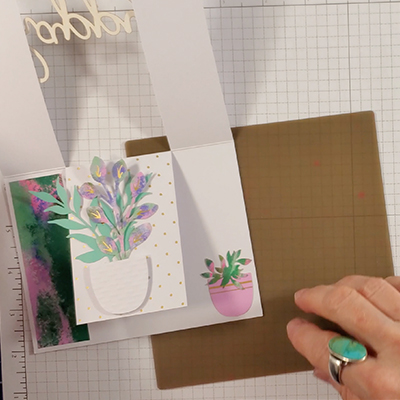
Adhere the envelope flap on the inner left side of the card. Add a pink pot diecut from the kit with a diecut mound of foliage on the inner right side. On the swinging middle flap, adhere the embossed white diecut pot and some of the tall foliage diecuts.
For the front of the Swinging Spanner Card, tuck a variety of foliage in behind the ‘h” in “happy” with glue dots. Stamp the sentiment in Polished Pink on a label from the kit and adhere. I did put together a little YouTube tutorial for you.
It’s amazing what a few cuts to a card base can do! Subscribe to future Paper Pumpkin Kits here.
Leave a Reply