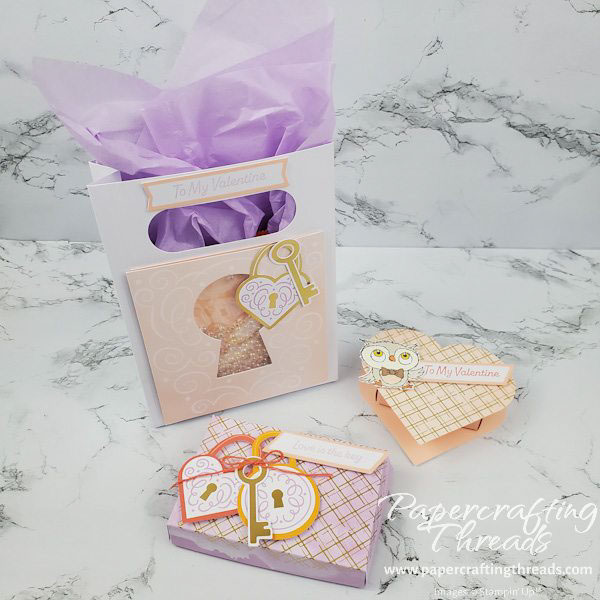
Fancy up that Valentine candy with one of these three Valentine Treat Packages! No matter the size of your Valentine treats, I have a package just right for you. I used the January 2023 Paper Pumpkin kit for the basis of these projects. Let’s get started.
Turn a card into a treat box
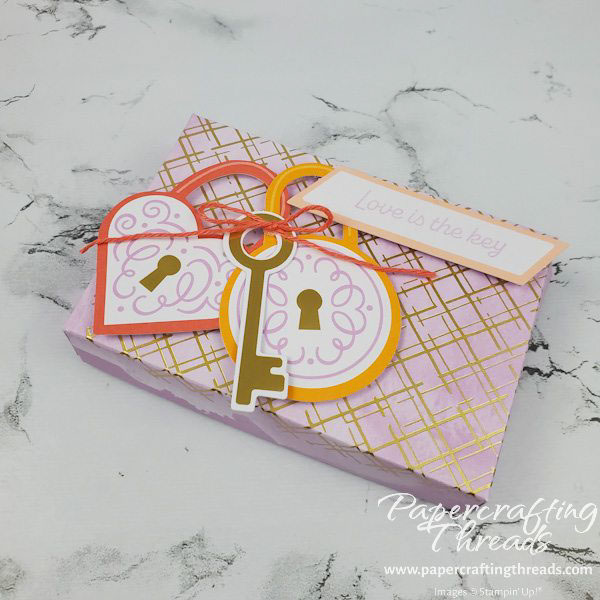
The Fresh Freesia card base became my first treat box. This box will hold a gift card and/or two (possibly 3!) York Heart-Shaped Peppermint Patties. I scored the ‘printed pattern’ side of the card at 3-1/2” along the existing center score line. And I cut ¾” off the opposite edge of the plain side. Then I scored all four sides at ¾”.
Using a pair of sharp snips, I cut up along the ¾” scorelines just until I reached the horizontal score line on both long edges to form the tabs of the box. Then I mitered all of the tabs by cutting both sides of each ‘square’ at a slight angle.
Fold all of the scorelines the same direction and turn the box and fold all of the sides and tabs in the same direction. Add adhesive to the colored side of the center tabs and the end tabs on the plain half of the box. Adhere the center tabs to form the spine of the box. Adhere the end tabs to form the bottom corners. Add the same strong adhesive to the colored part of the box top tabs and adhere.
I decorated the top of the treat box with a sentiment, twine and some of the diecuts from the Paper Pumpkin kit.
Shaker Gift Bag
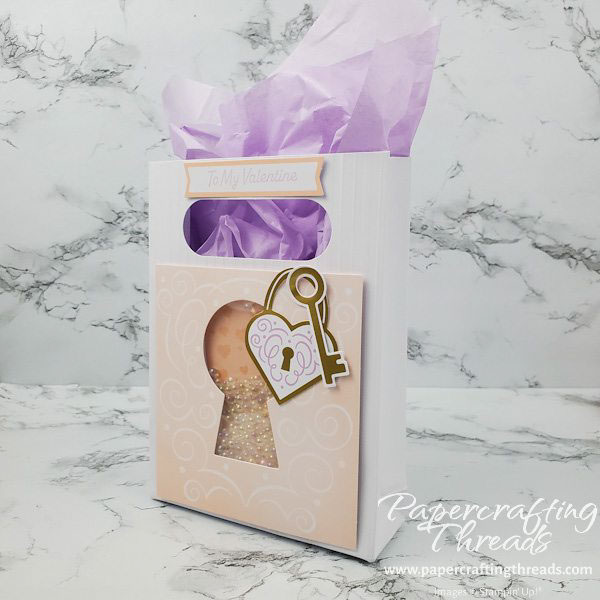
My Shaker Gift Bag will hold a bag of Partake Chocolate Chip Valentine cookies and a bag of Garden Veggie Mini Hearts. I started with the Petal Pink cardbase with the diecut keyhole from the Paper Pumpkin Kit. I trimmed off the back half of the card (save this for another project!!) and cut the front down just past the scrollwork to 4-1/2”.
Cut a piece of Petal Pink cardstock to 4” x 4-3/8”. I stamped the heart images from the Paper Pumpkin kit in Petal Pink ink randomly all over the Petal Pink cardstock.
After flipping the keyhole card front over, add adhesive around the keyhold. Then adhere a piece of window sheet over the keyhole. I placed foam adhesive strips all around the keyhole, making sure there were no gaps. Next, I poured Effervescent Elements inside the walls of the foam strips and then removed the adhesive backing. After making sure the stamped hearts were upright on the Petal Pink cardstock I stamped earlier, I placed the stamped image face down on top of the keyhole and pressed to adhere.
Now glue the shaker element to the front of an Embossed Treat Bag, which is available in the Annual Catalog. Use half of the Fresh Freesia tissue paper that came in the kit box and insert into the gift bag.
Add more decoration with a sentiment and diecuts from the kit to finish off the front of the bag.
add-on treat box
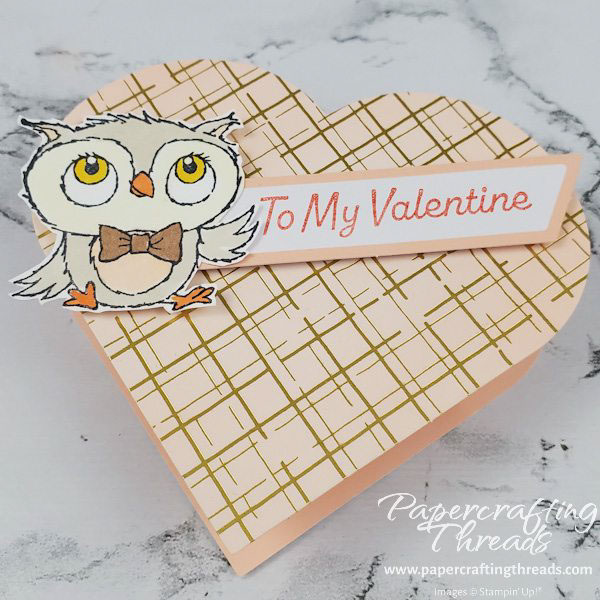
For the third treat package and the tiniest treats (a handful of Gimbal’s Cinnamon Hearts), I made up one of the Add-On treat boxes. This kit is an add-on to the Paper Pumpkin kit, with supplies to make 10 boxes. Each box base is labeled bottom and each box lid is labeled top. Choose one of each from the package and fold on all the scorelines. Then remove the adhesive backing on each end, fold over the end tabs and press to secure. Repeat on the opposite end.
I used one of the owl images from the Adorable Owls stamp set along with a sentiment and diecuts from the kit to decorate the box top. A three-month prepaid subscription to Paper Pumpkin earns you the stamp set for free during saleabration. Kits like this make it so fast and easy to create cute packaging! What will you put in your Valentine Treat Packages for your Valentine?


Leave a Reply